A service is the largest management category in microCMS. Concepts in microCMS, such as API, media, permission management, plans, and payment information, are generally linked to a single service. With one account, you can create or join multiple services. (Accounts that join a service are treated as members.)
Information
As an exception, in the case of the Enterprise plan, there may be contracts that allow multiple services to be used under a single plan.
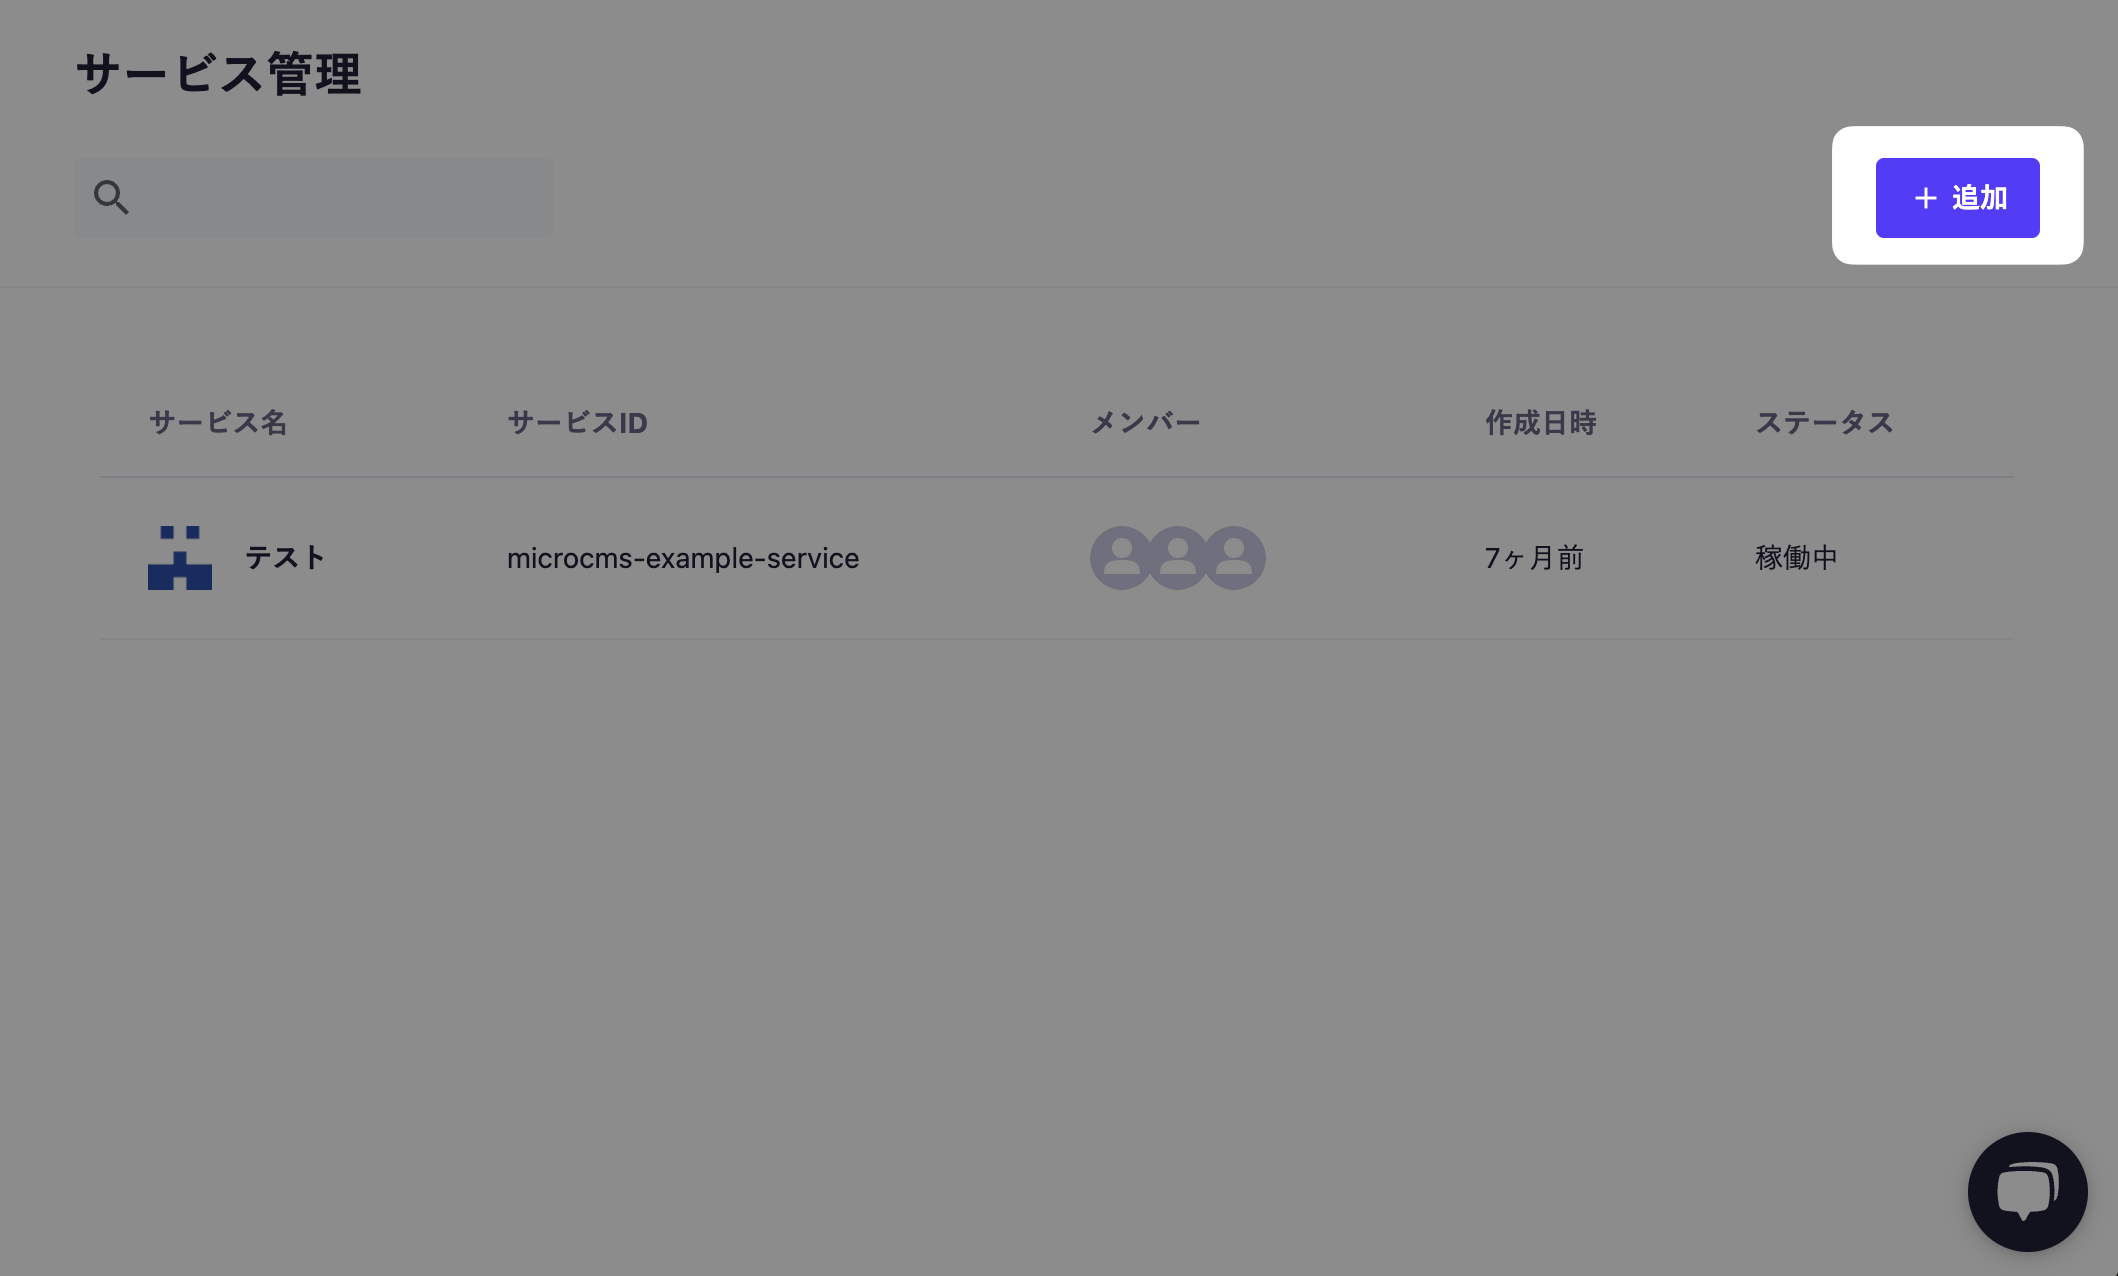
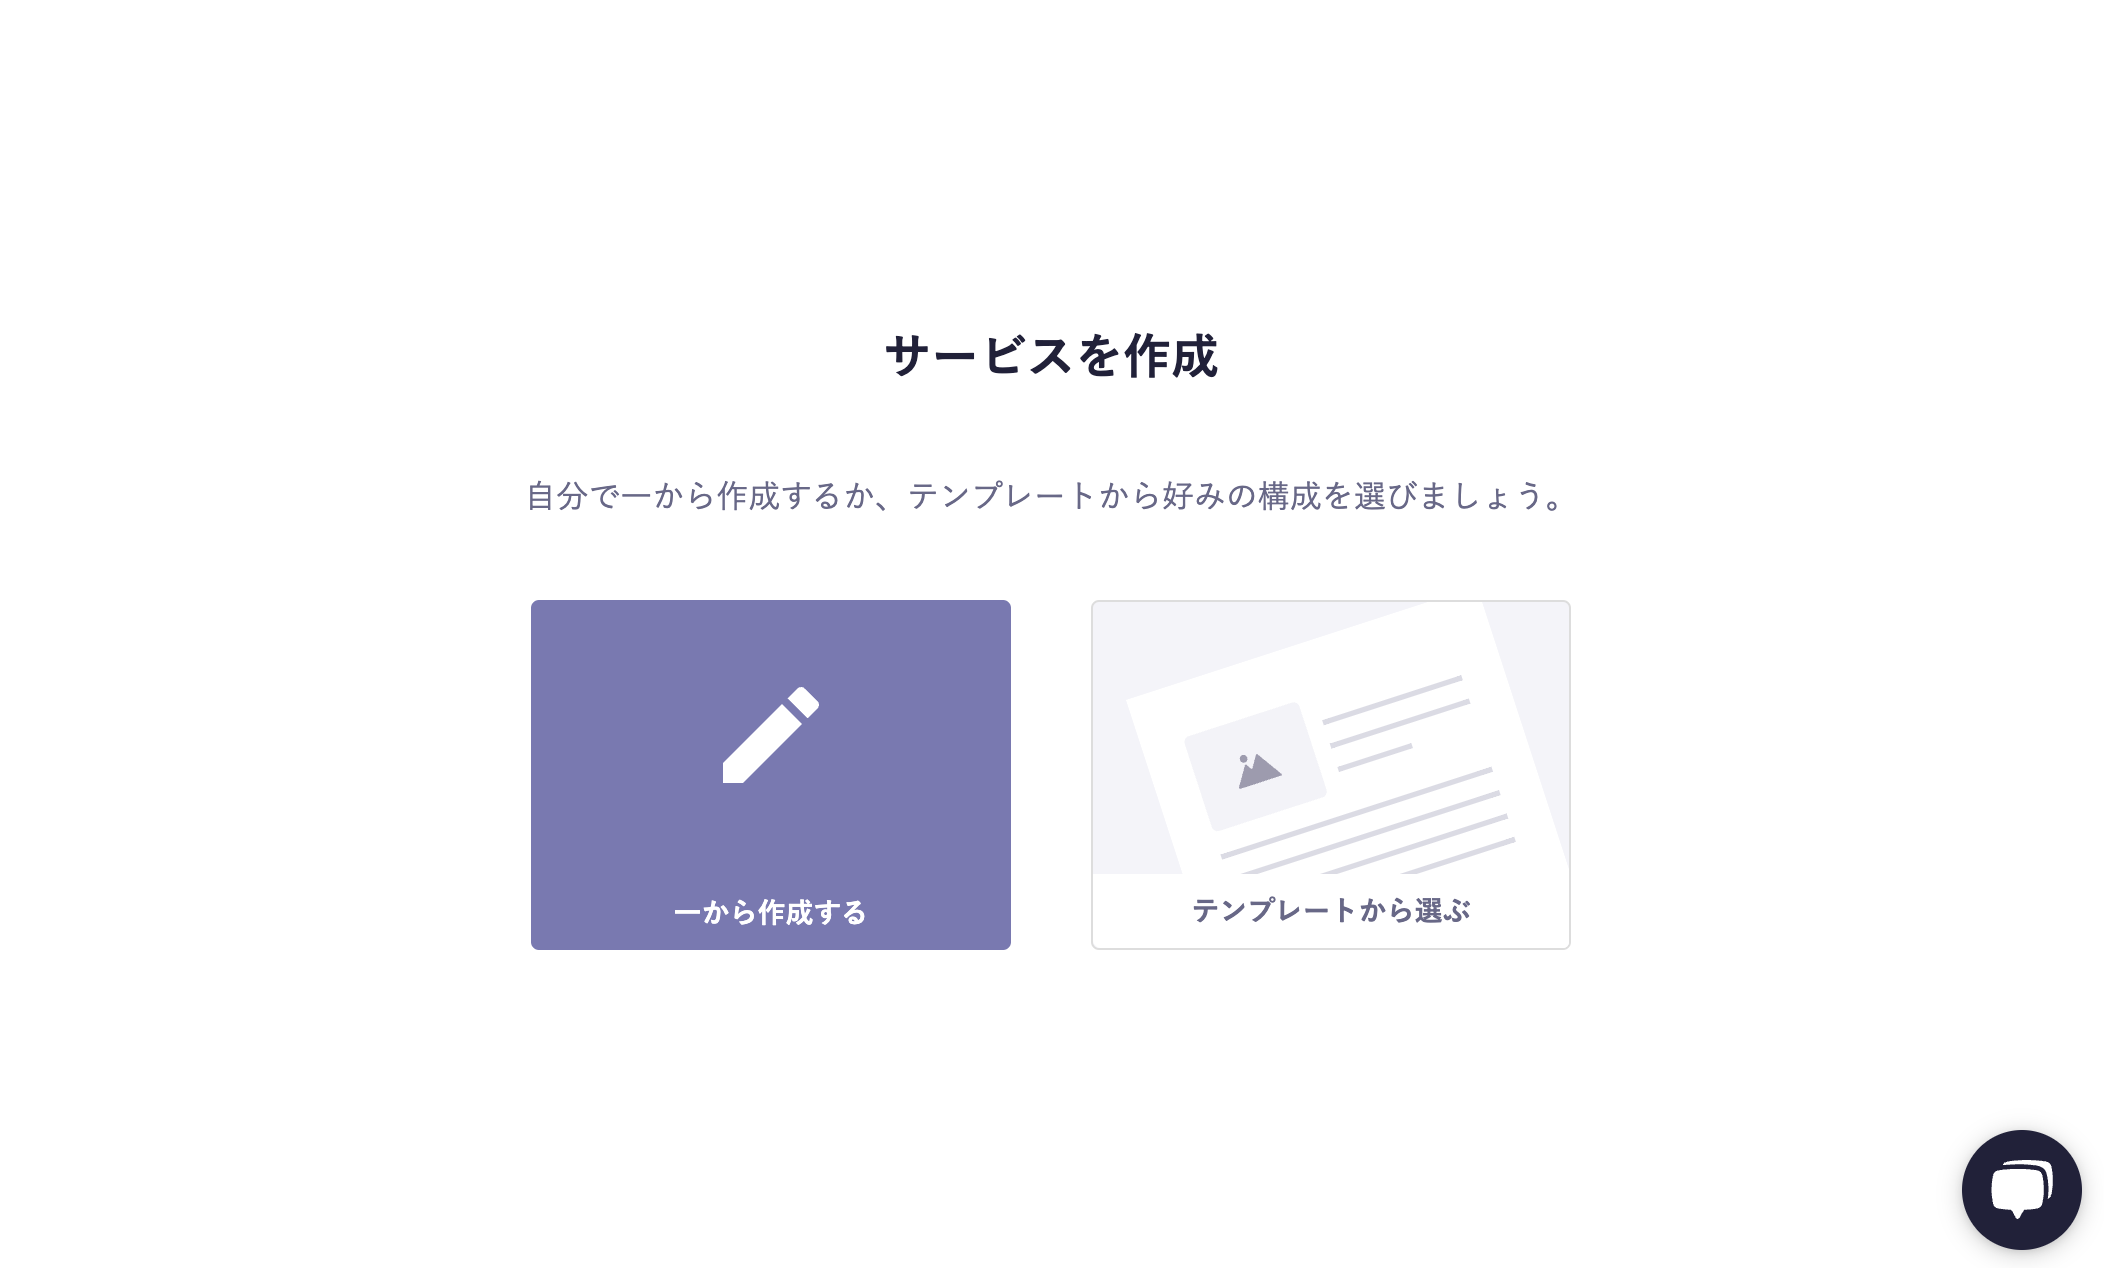
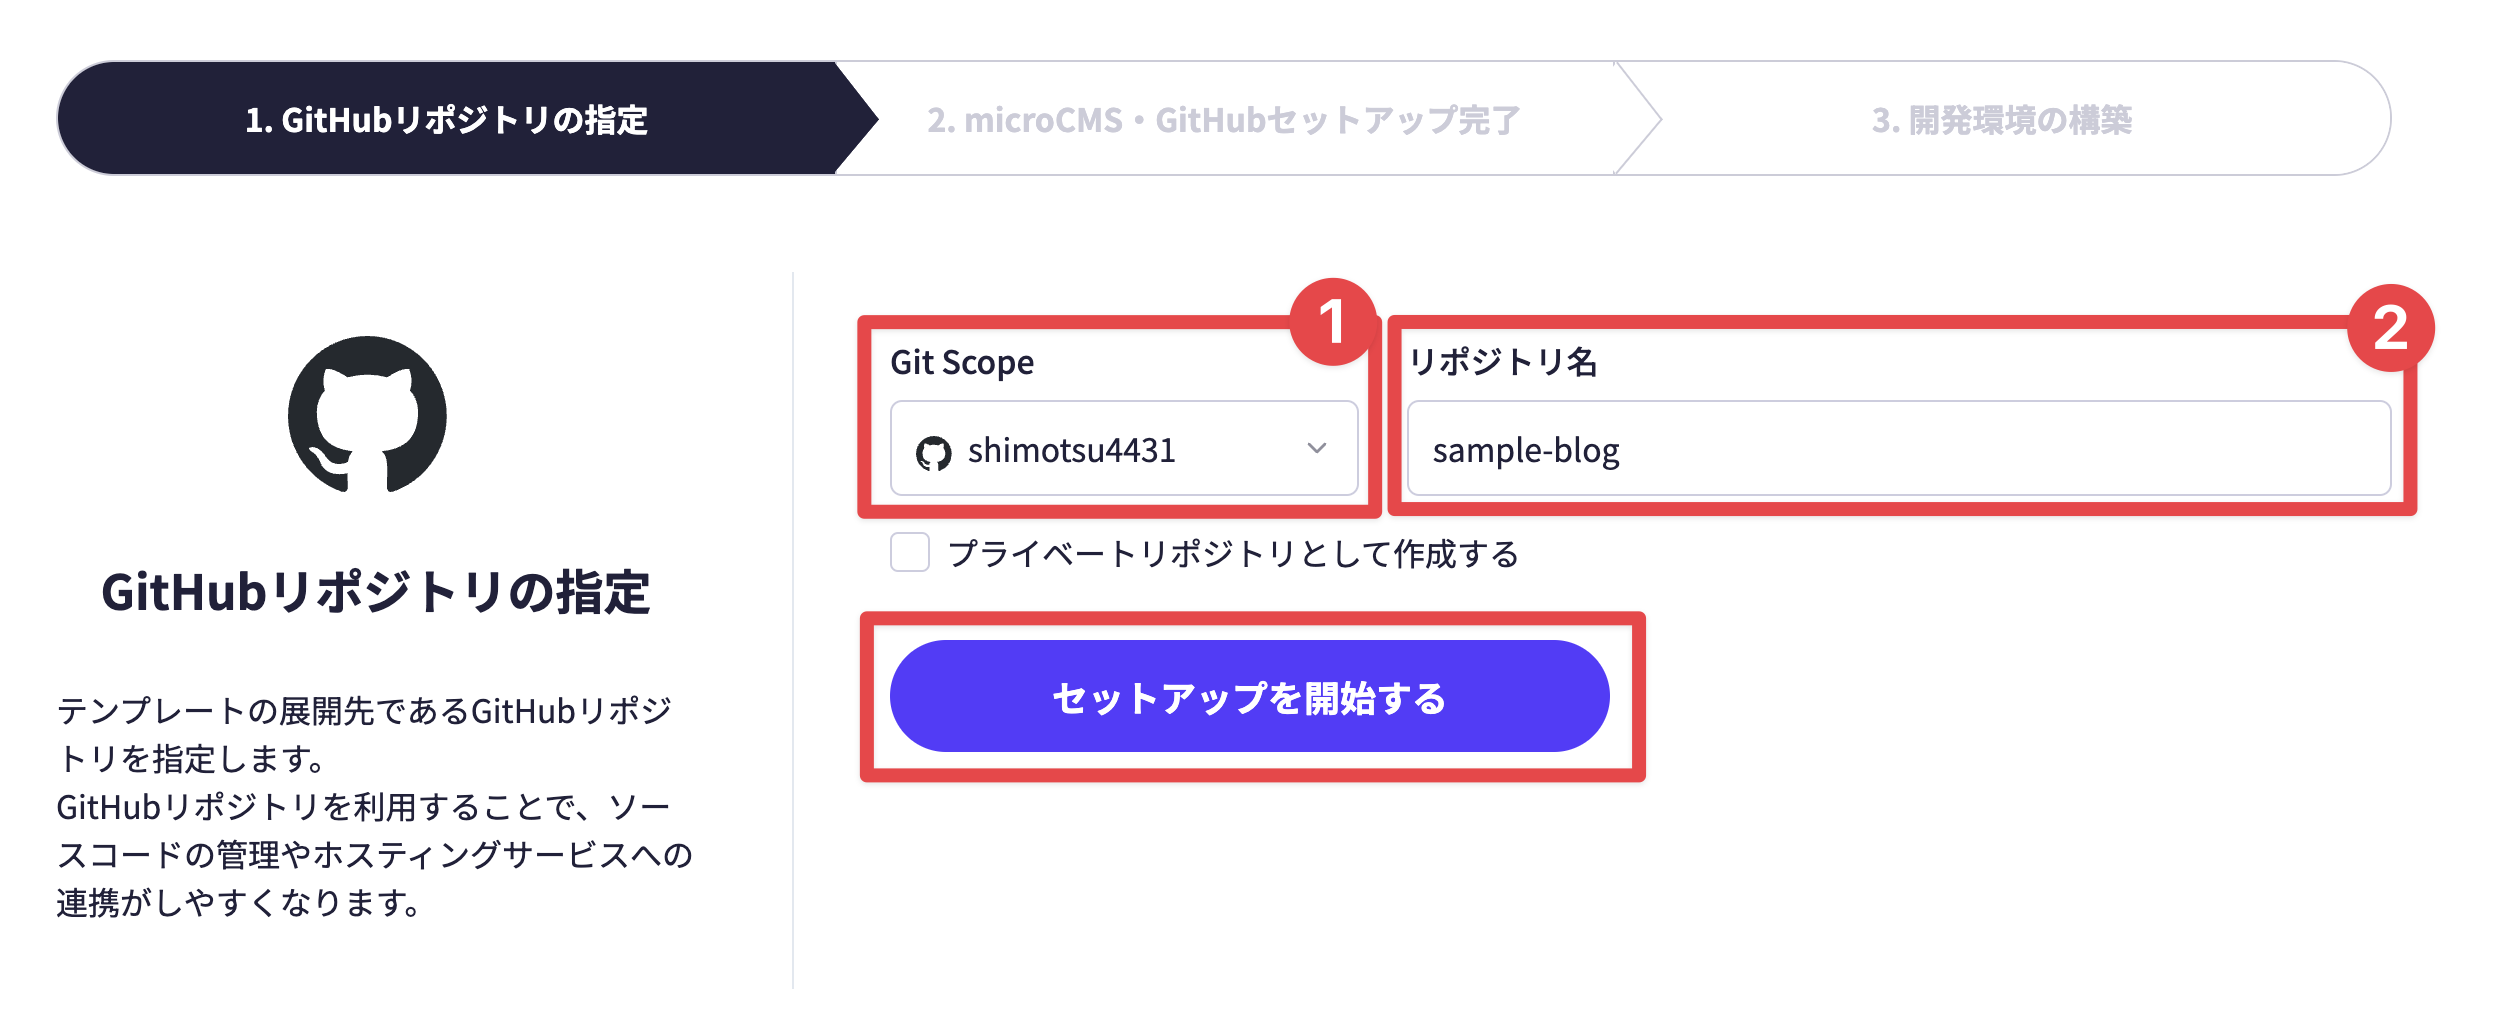
Click [Create from scratch] on the service creation screen. Then, the service information input screen will be displayed, where you need to enter the following:
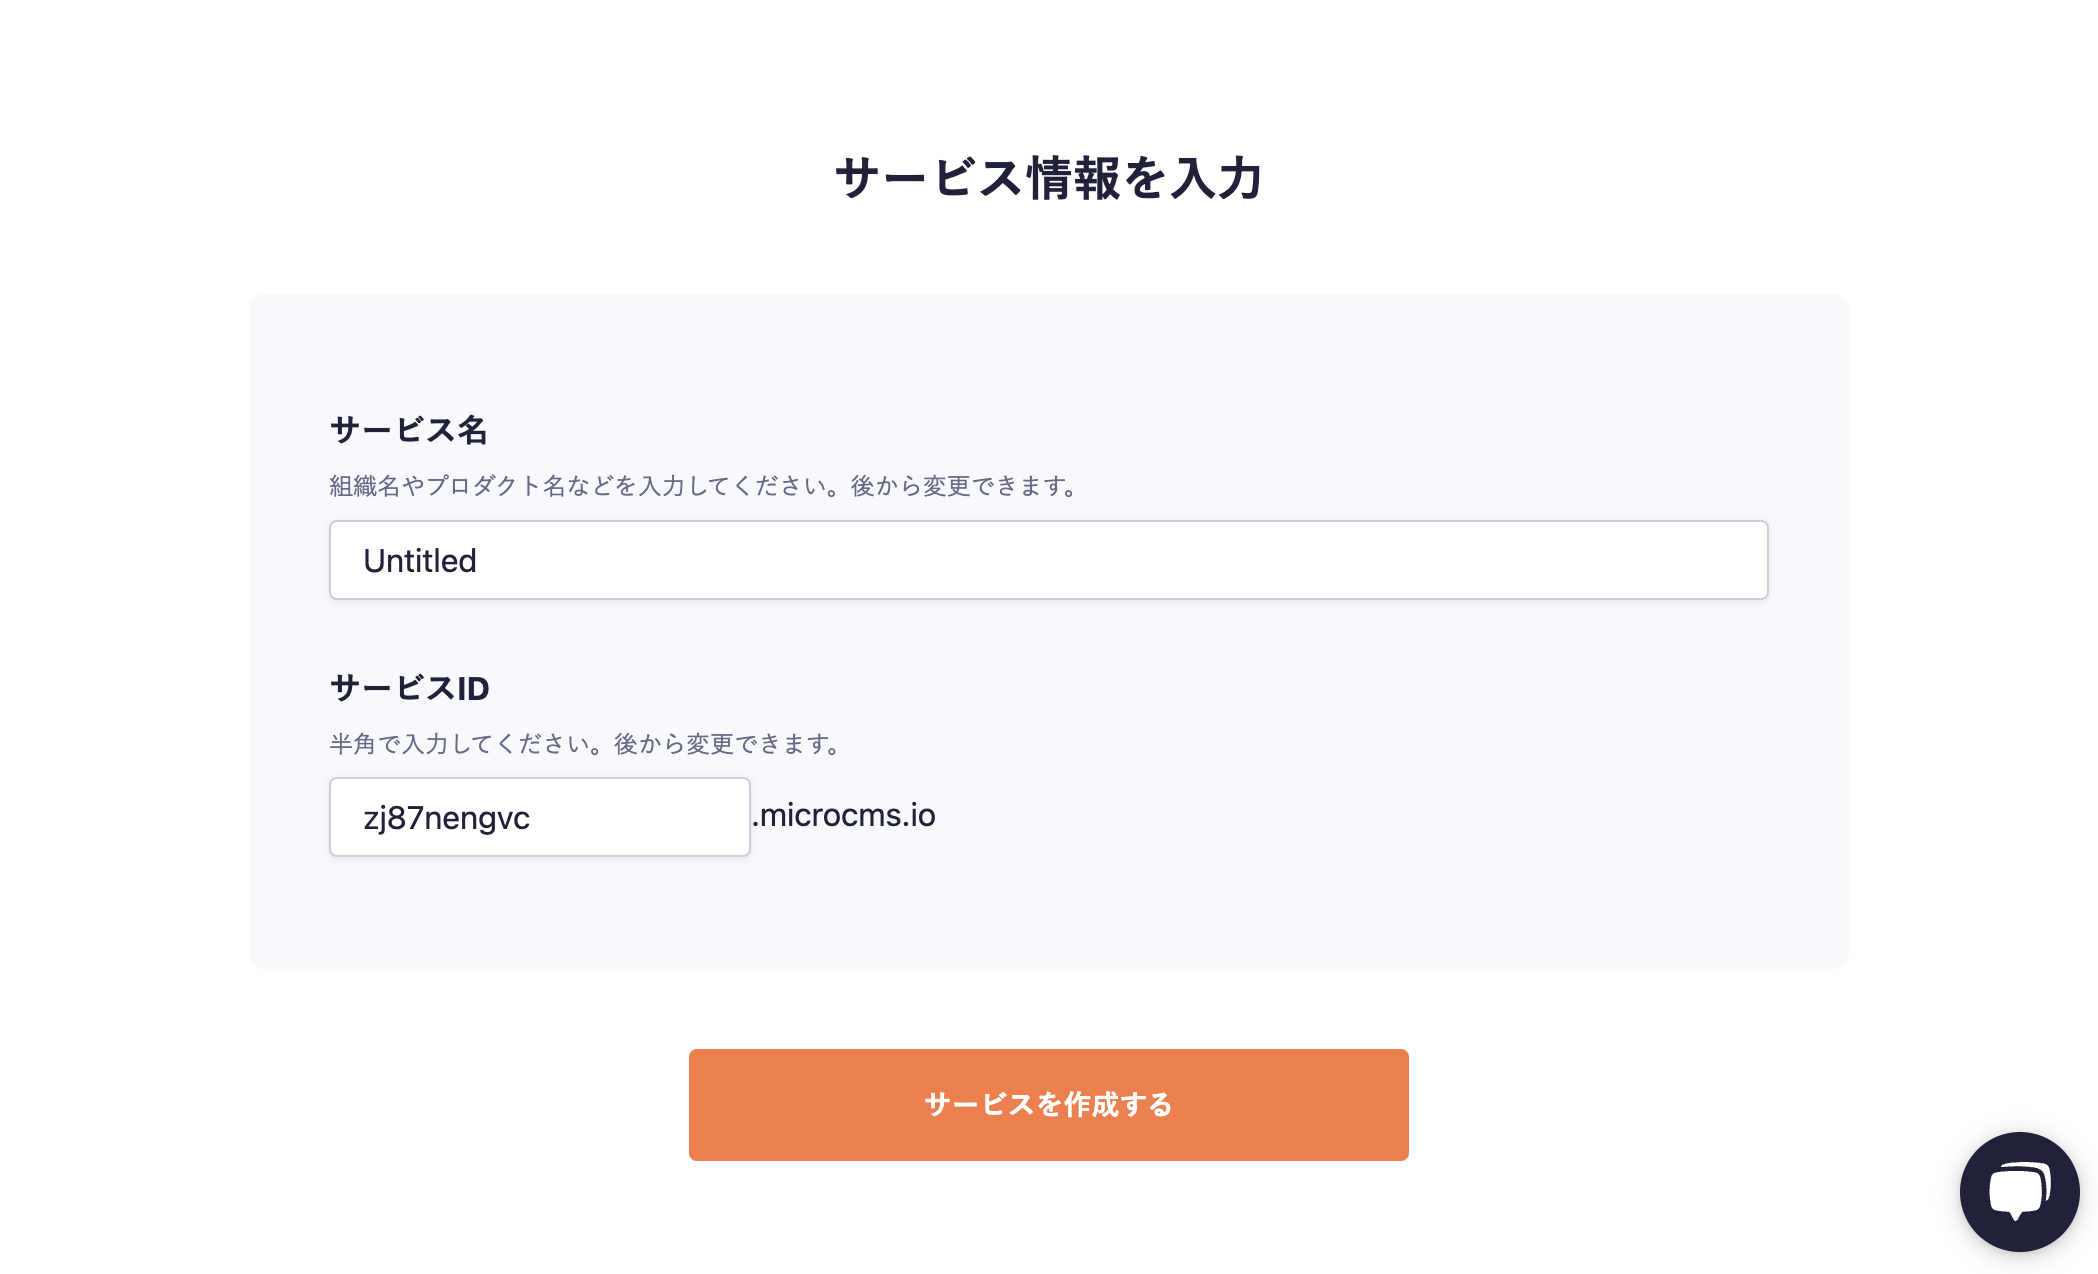
Service Name
Service ID
Service Name
This is the name used to identify the service within the management screen. It is recommended to enter the product name or organization name that you are considering for implementing microCMS.
Service ID
The Service ID is the value set in the URL of the management screen and the subdomain of the API endpoint.
Information
The service information input screen has default values filled in. The service name and service ID can be changed later, so you can skip them with the default values as they are.
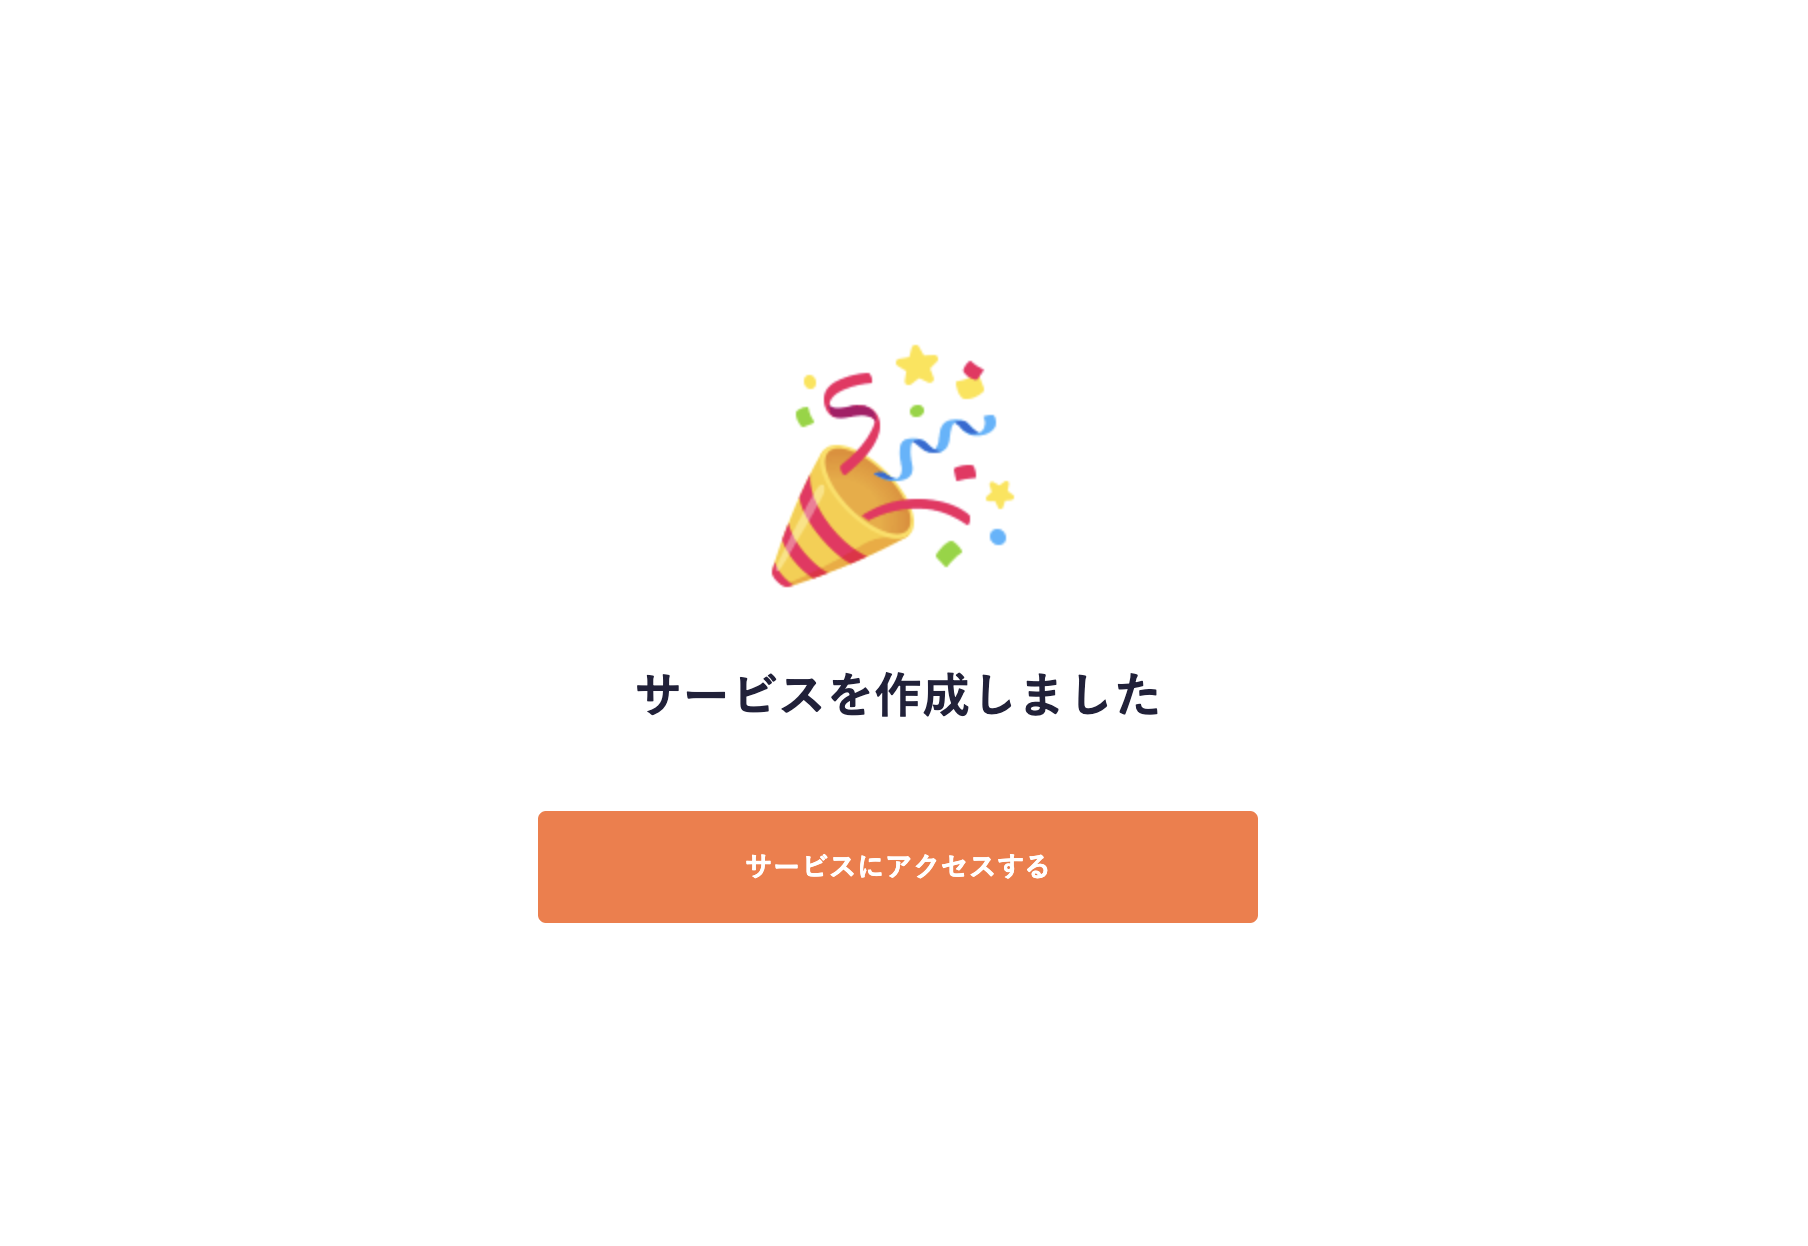
Finally, click the [Create Service] button. This completes the creation of the service.
From here, the service ID will be accessible as a subdomain on microcms.io.
Tips
At this point, the service plan will be the free Hobby plan.
To use the microCMS templates, you need to log in to GitHub. If you are not logged in yet, please log in from the following page. Sign in to GitHub · GitHub
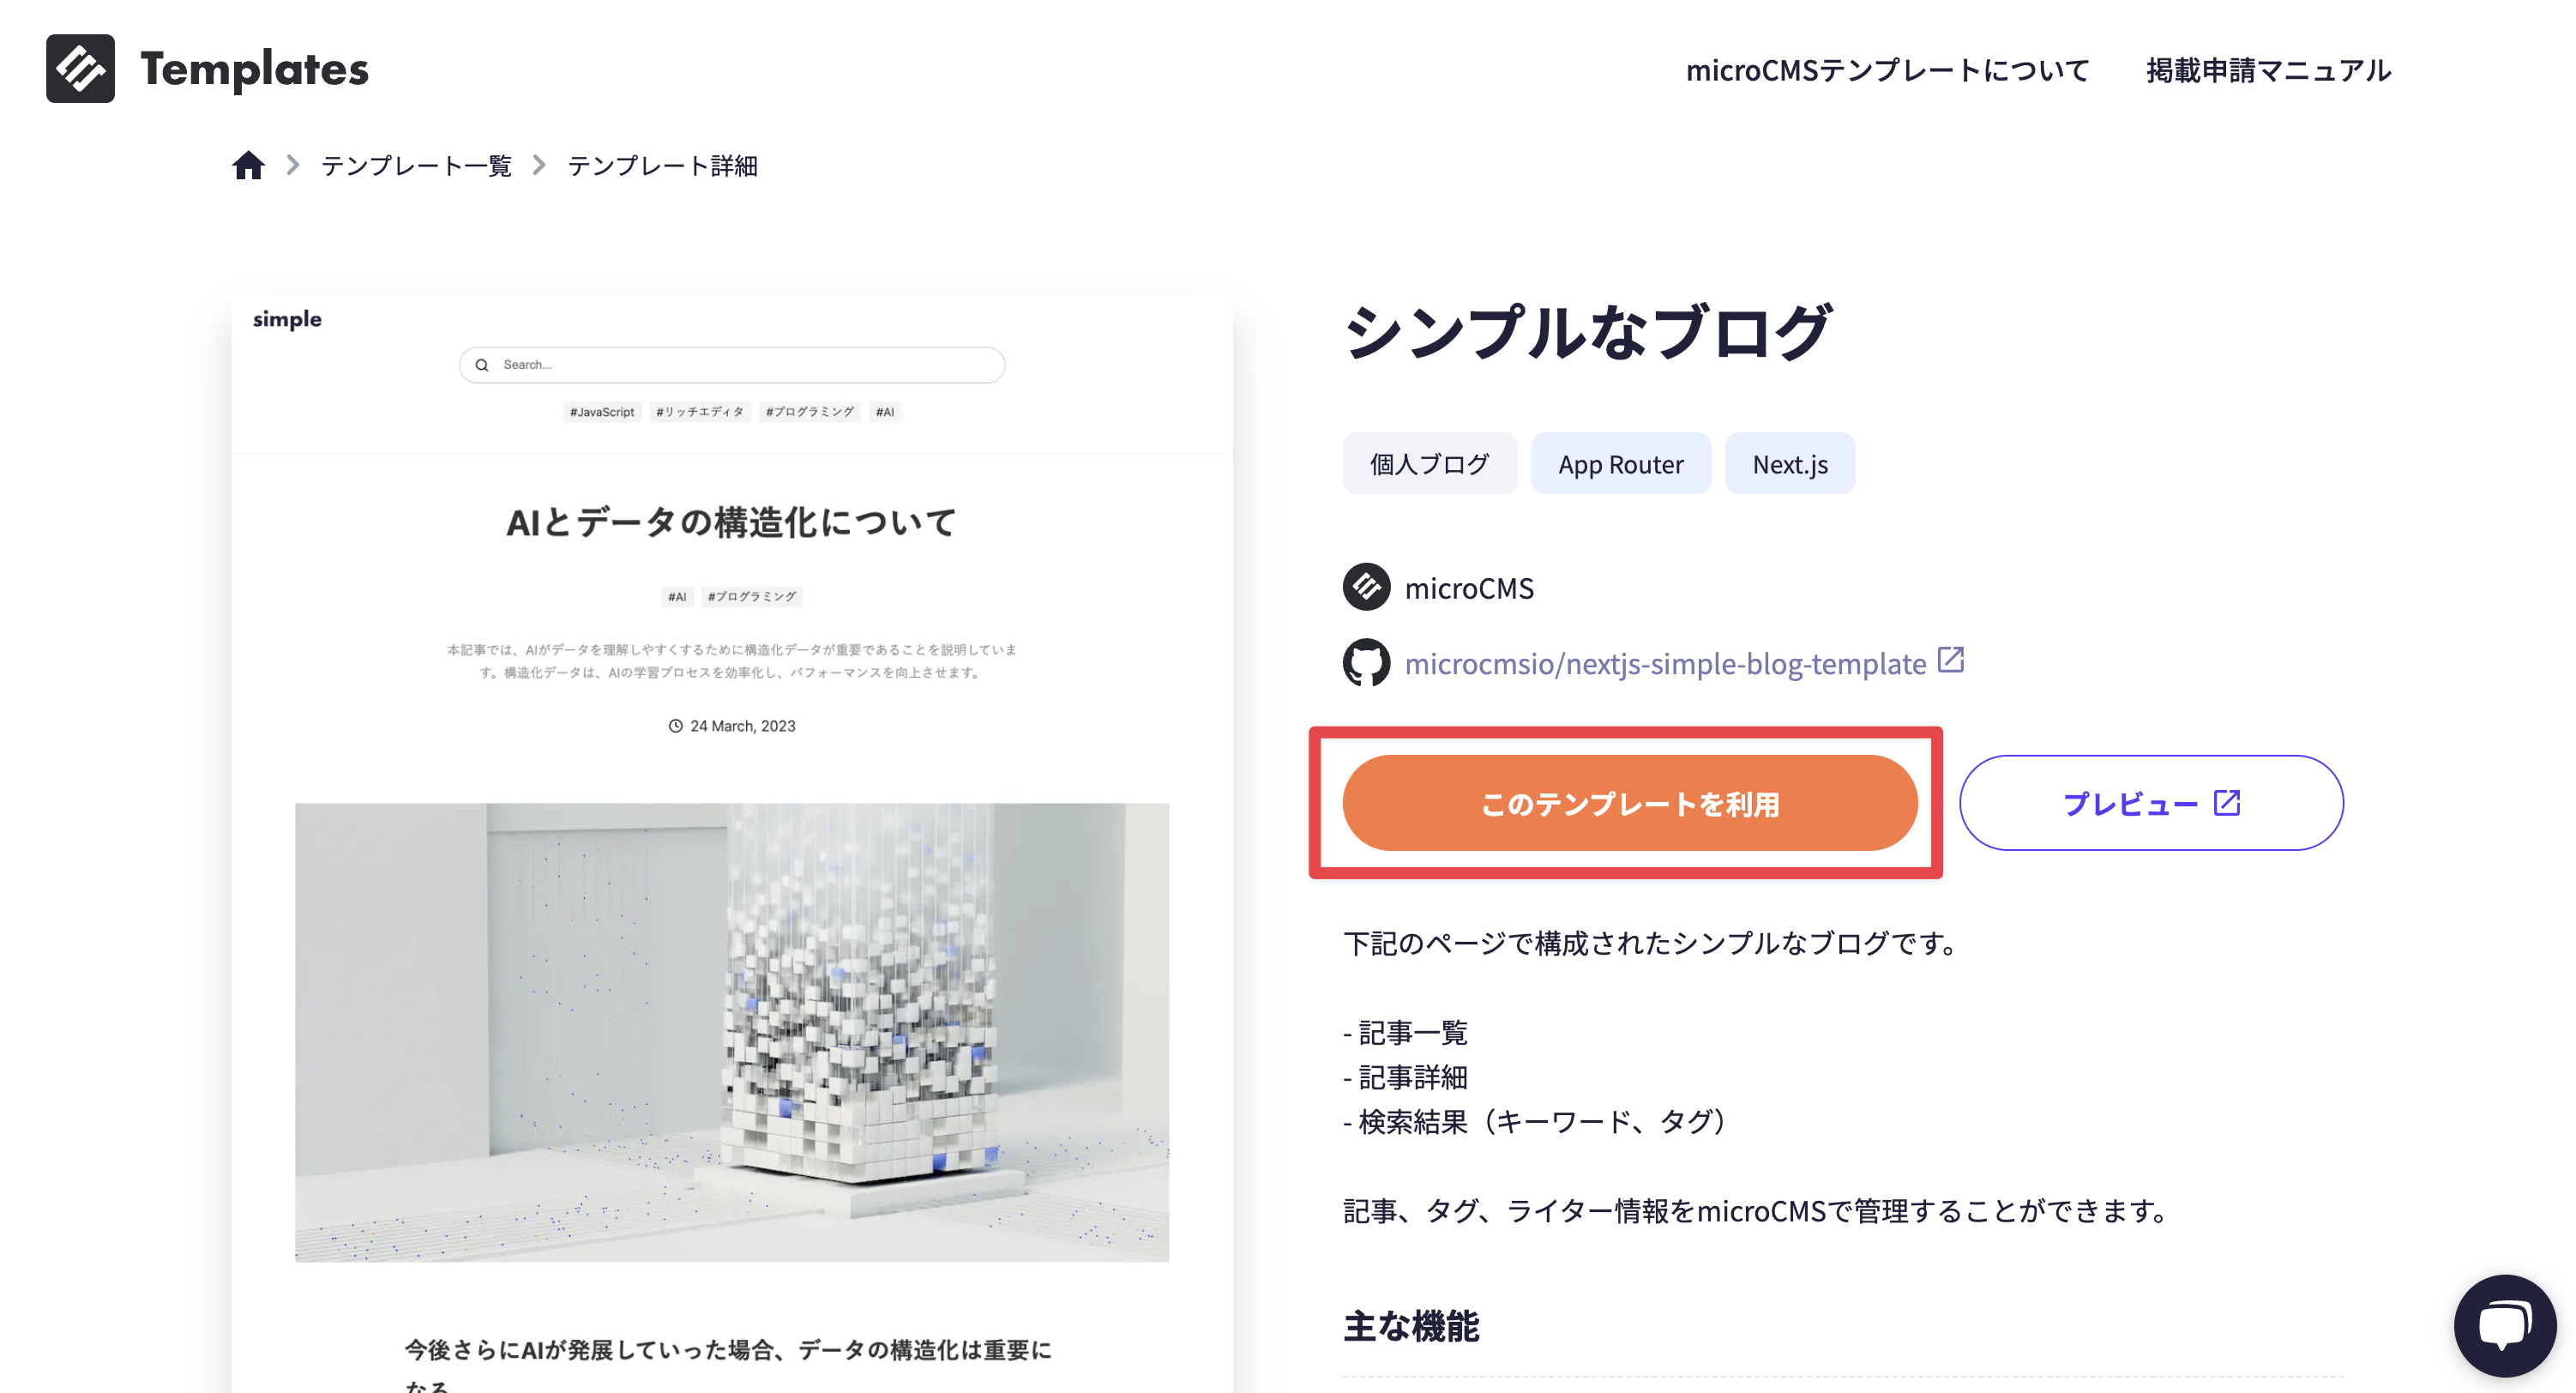
Once you are ready, follow the steps below to create a service.
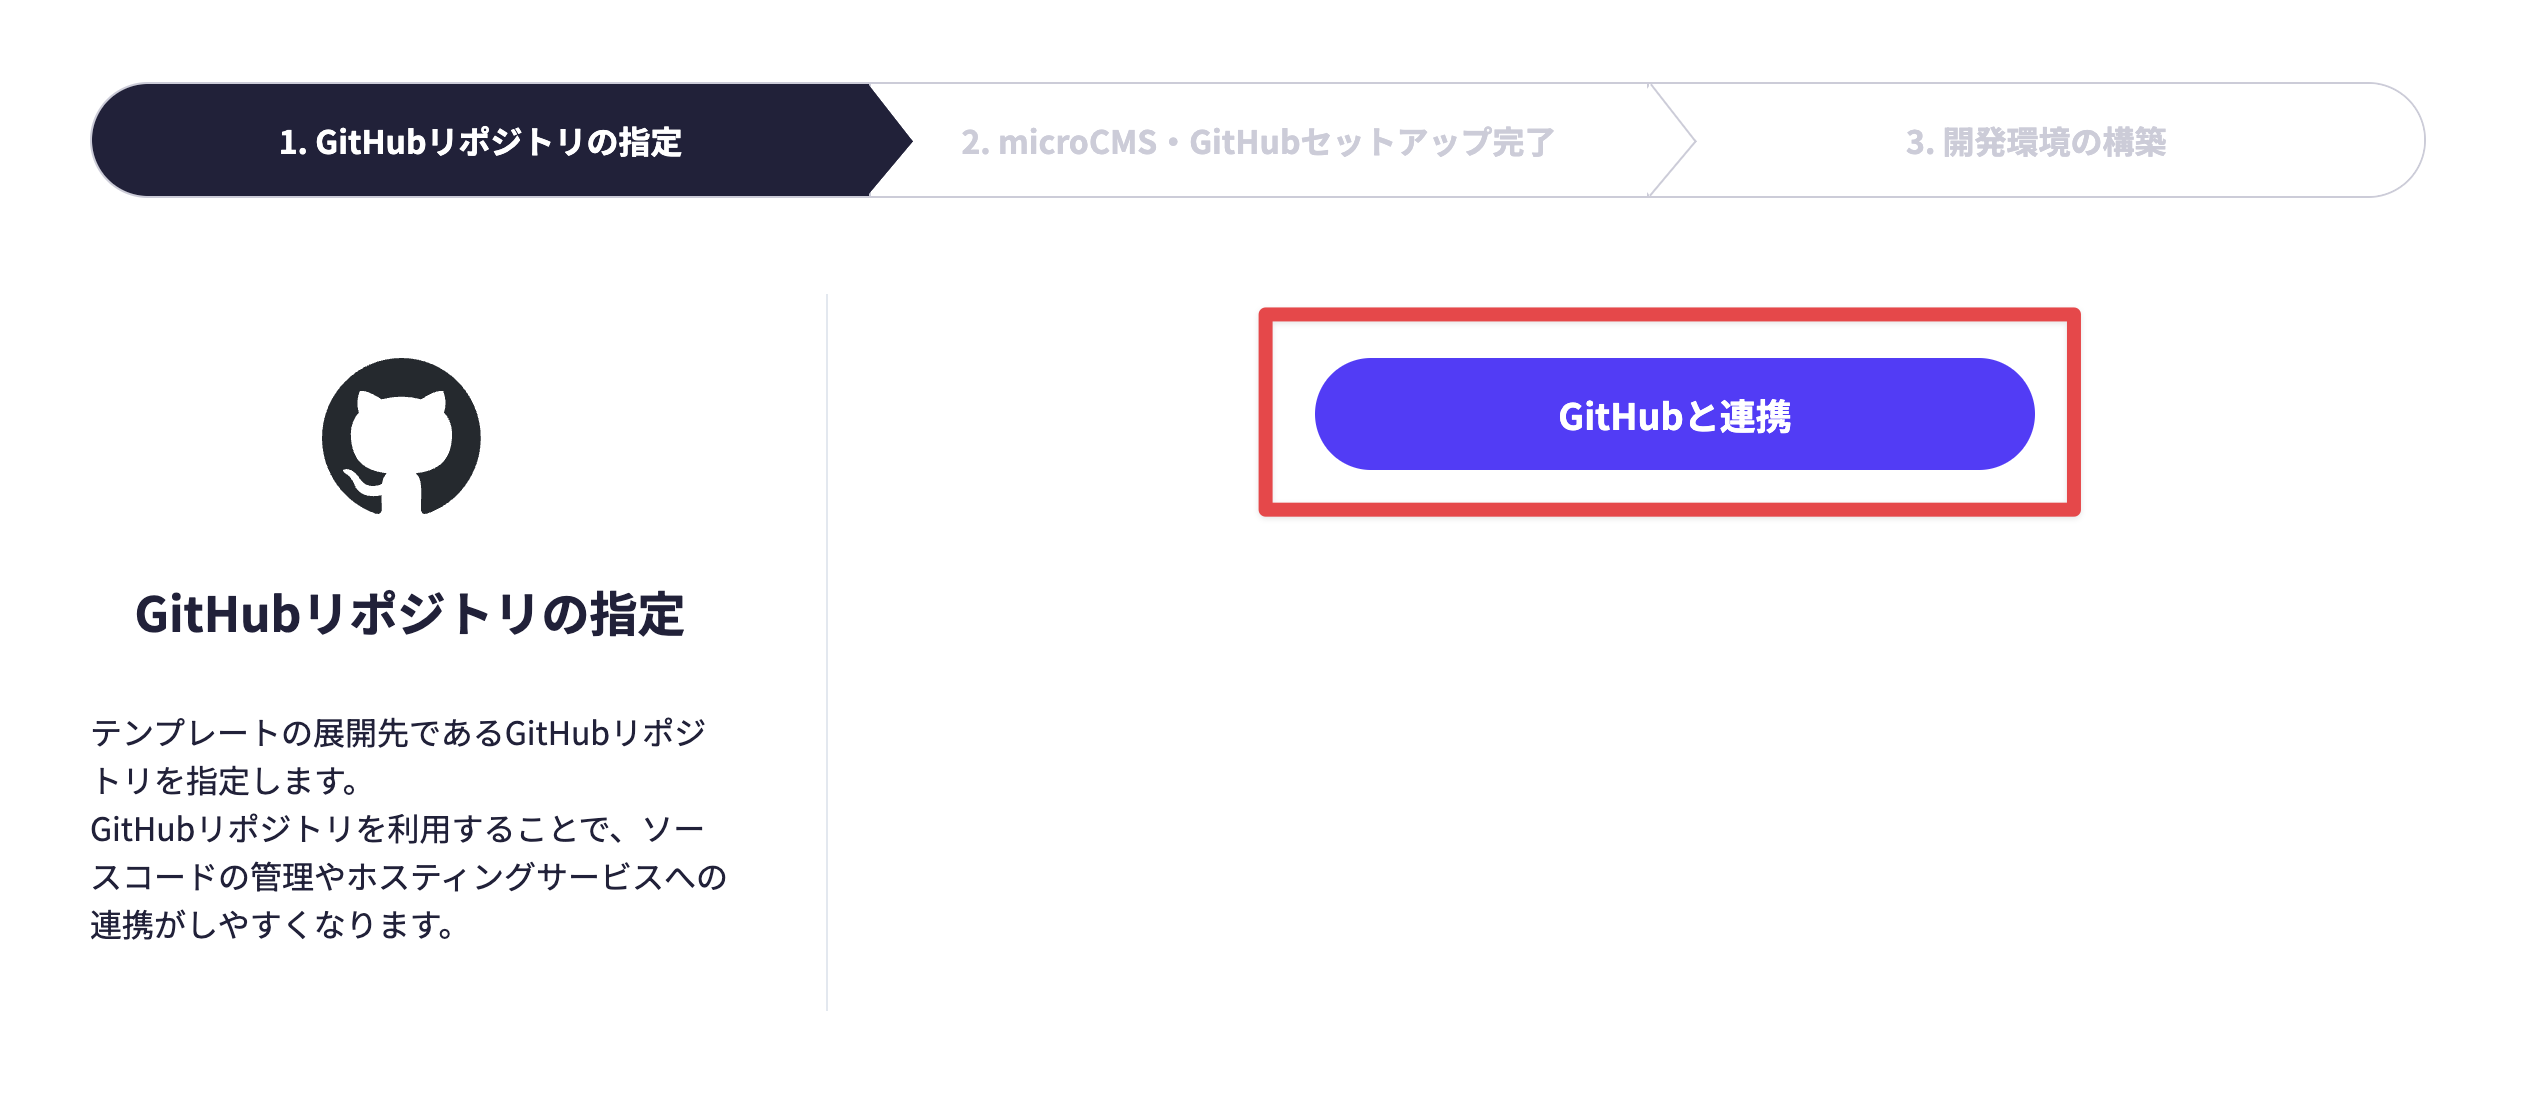
On the GitHub repository settings screen, click [Link with GitHub]. If you are logged into GitHub, clicking [Link with GitHub] will link it in the background.
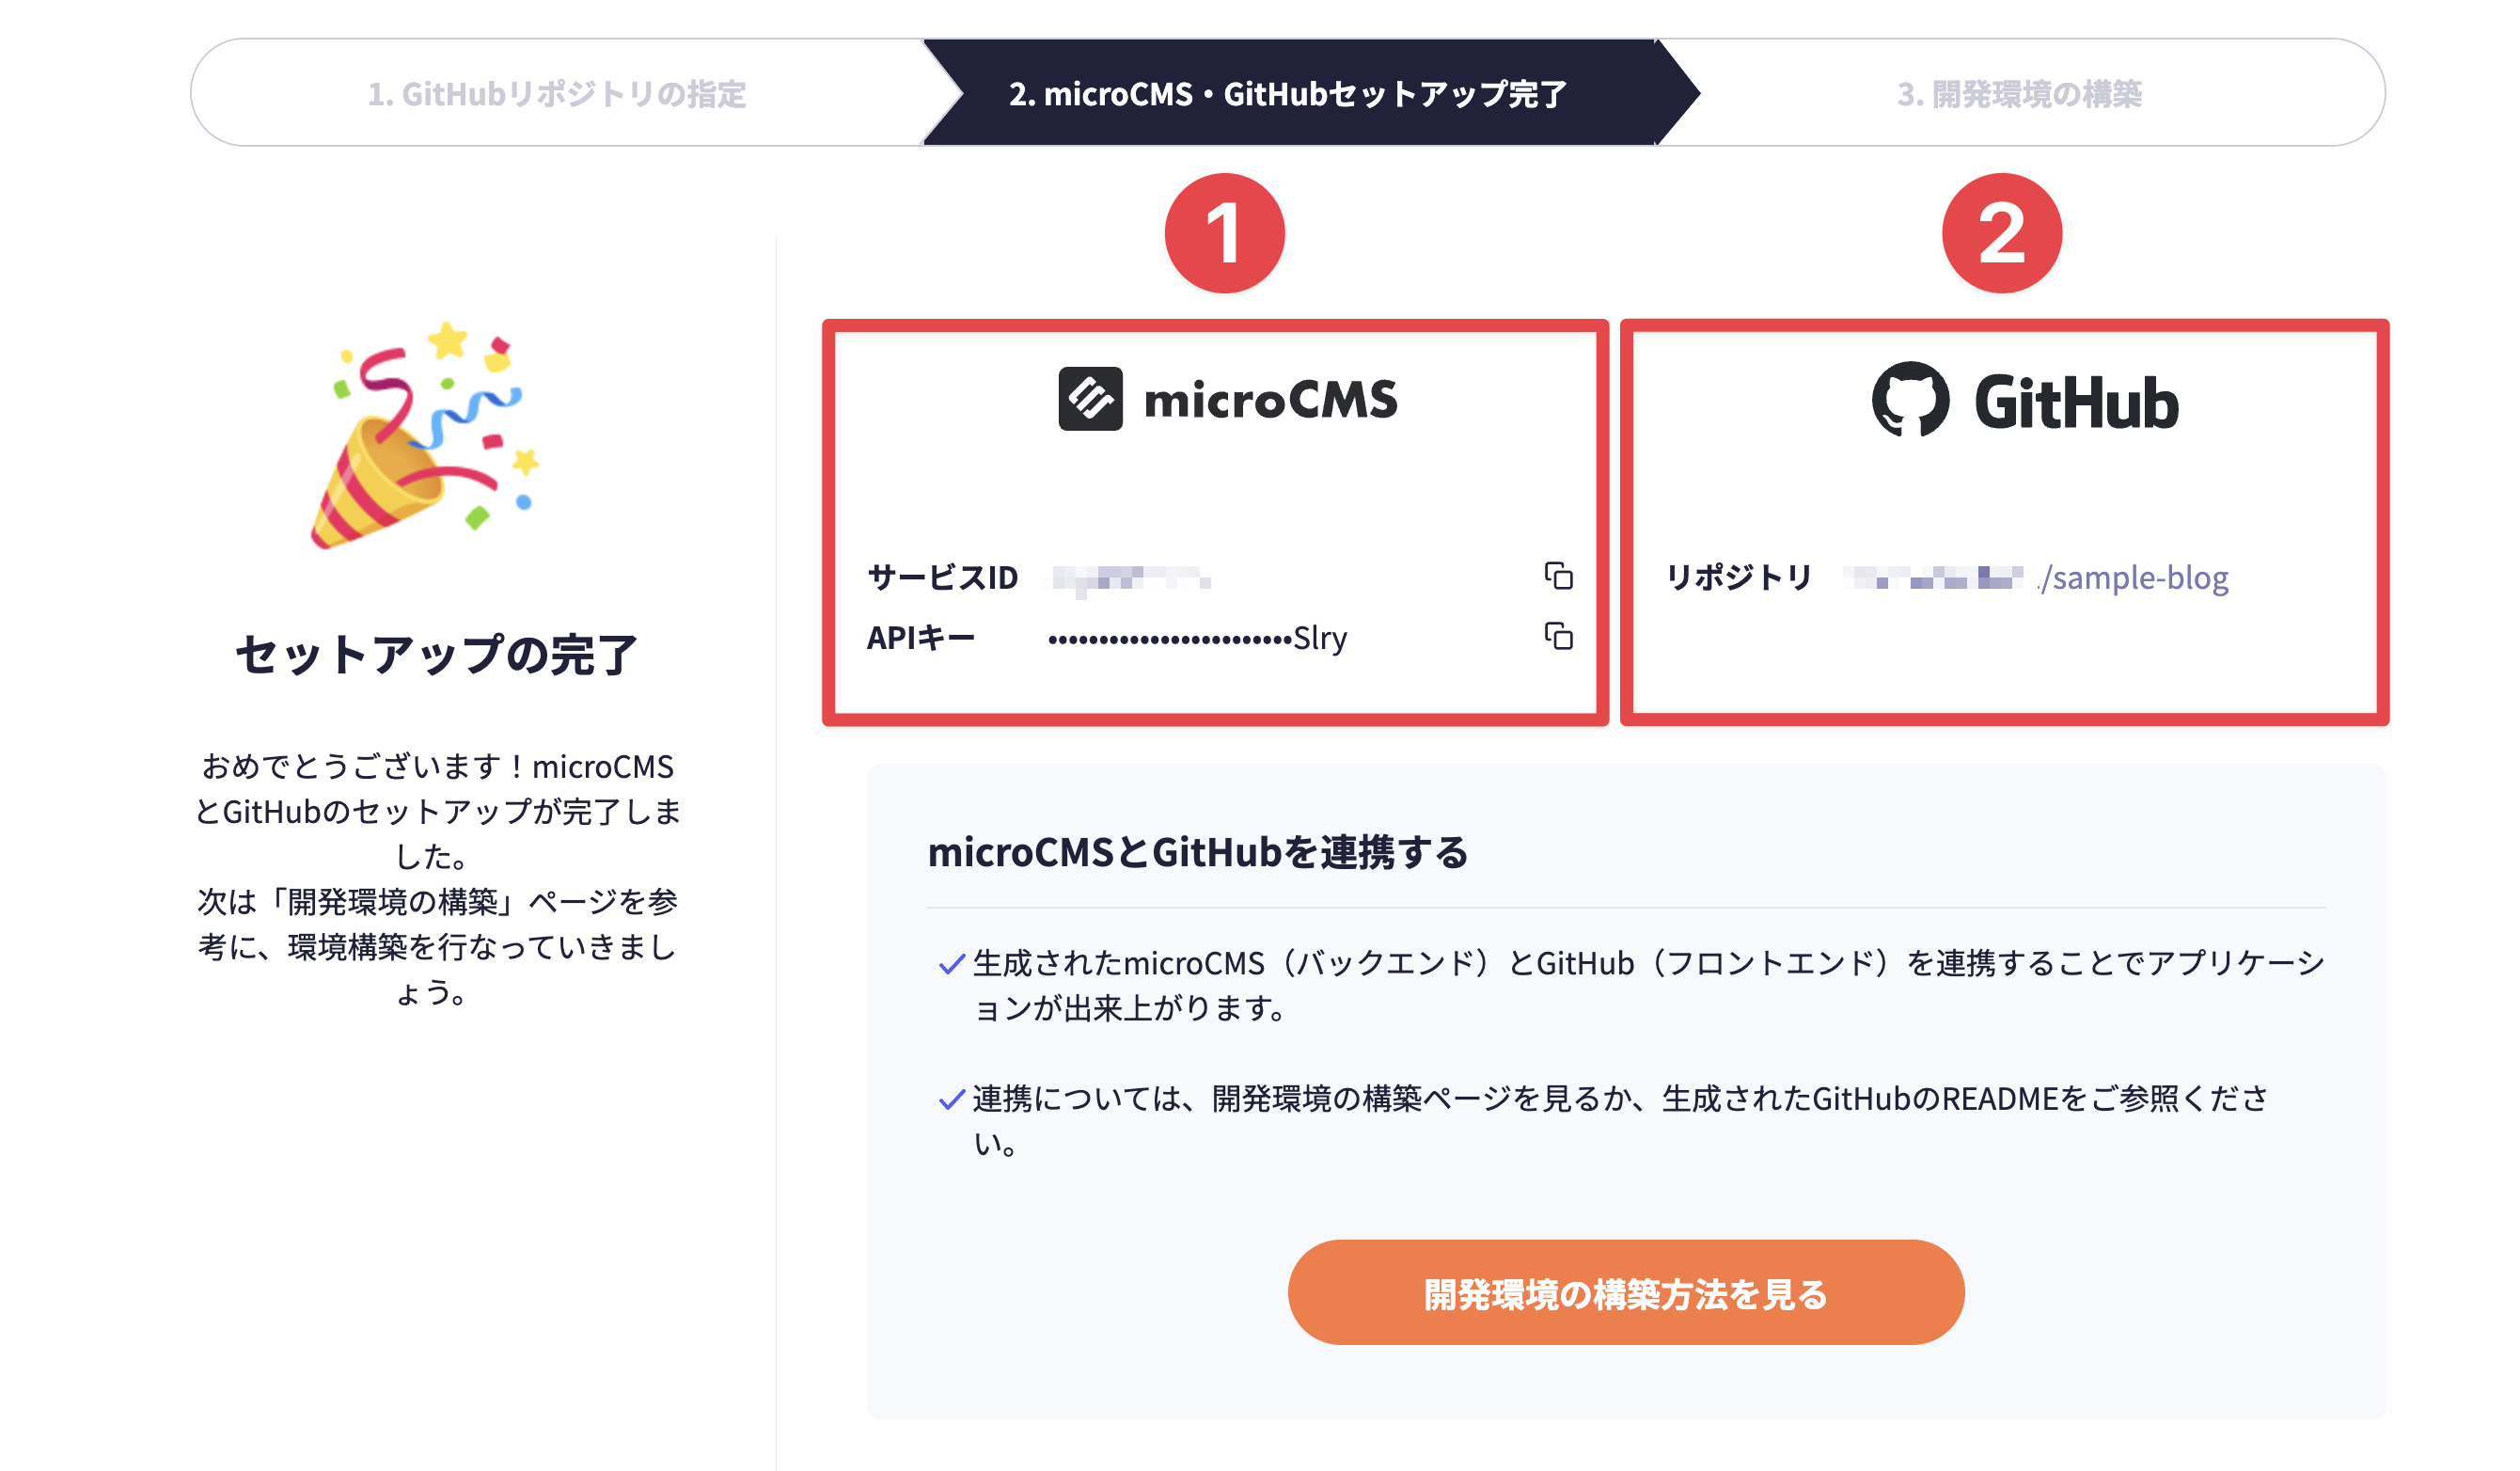
After a few seconds, the setup completion screen will be displayed.
This screen displays the service information of the newly created microCMS and the GitHub repository information.
1. microCMS Service Information
Service ID
API Key
2. GitHub Repository Information
Repository URL
At this point, if you access the management screen's top page (https://app.microcms.io/), you can access the newly created service.
Tips
After creating the service and repository, we will proceed to set up the development environment. For the specific flow after setting up the development environment, please refer to the blog below.