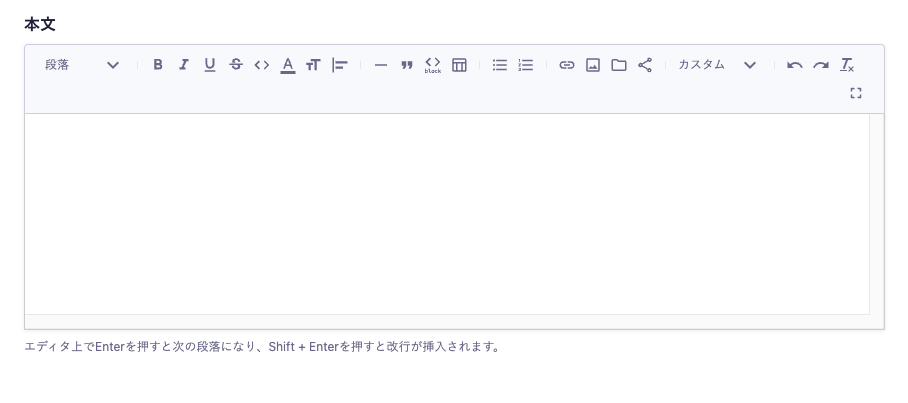
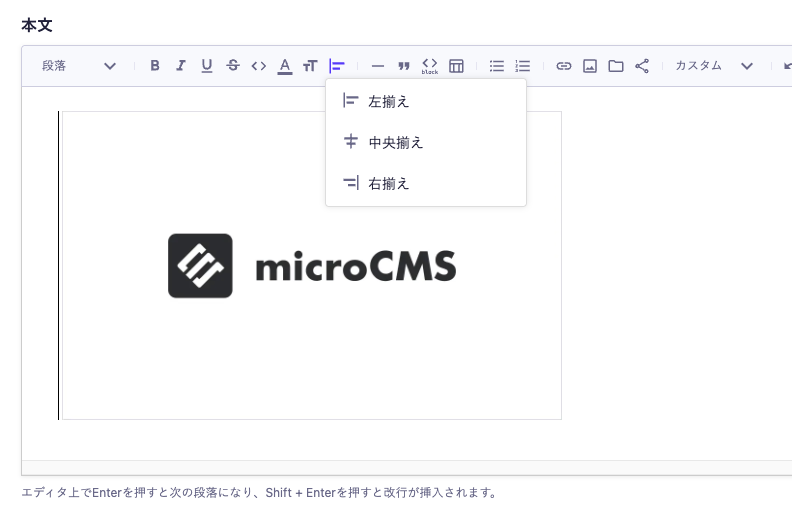
The rich editor is an editor that allows you to input formatted text. You can create content with a high degree of freedom, including headings, bold text, links, and image insertion. The created content can be retrieved as HTML via the API.
The rich editor is also known as a WYSIWYG editor and is commonly used in other CMSs and tools. The basic operation feels similar, so those who are familiar with it can quickly master it.
Information
When using the rich editor, it is assumed that you will directly input text in the management screen. Please note that while the submission format may be somewhat maintained when pasting text created in Word or HTML data, we cannot guarantee that all submitted content will be saved correctly.
h1 to h5 and p tags are supported. h1 to h5 will have a hashed string assigned as the id. (This means that the id remains fixed as long as the text is not changed.)
<h1 id="h634aaf8fde">Heading 1</h1>
Using the assigned id, it is possible to generate a table of contents on the frontend. For more details, please refer to the article below.
If the structure becomes deeply nested, there is a possibility of errors occurring due to database storage constraints. The number of nestings that can be configured varies depending on the structure, so if you have any questions, please contact us via the chat box in the bottom right corner.
If the structure becomes deeply nested, there is a possibility of errors occurring due to database storage constraints. The number of nestings that can be configured varies depending on the structure, so if you have any questions, please contact us via the chat box in the bottom right corner.
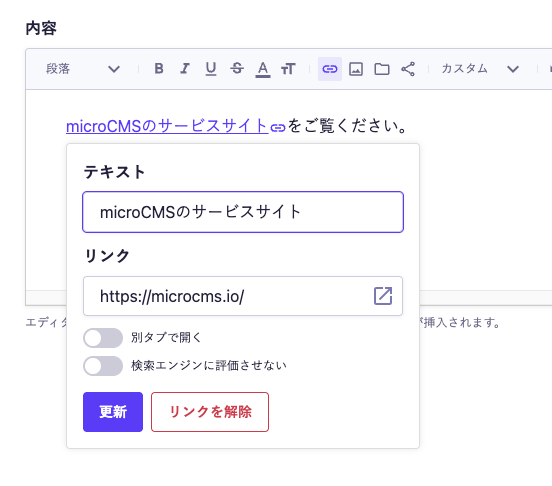
<p><ahref="https://microcms.io">microCMS Service Site</a></p>
Enabling "Open in a new tab" allows you to specify that the link opens in a new tab.
<p><ahref="https://microcms.io"target="_blank"rel="noopener noreferrer">microCMS Service Site</a></p>
Enabling "Do not allow search engines to evaluate" allows you to add the nofollow attribute. Below is an example where both "Open in a new tab" and "Do not allow search engines to evaluate" are enabled.
<p><ahref="https://microcms.io"target="_blank"rel="noopener noreferrer nofollow">microCMS Service Site</a></p>
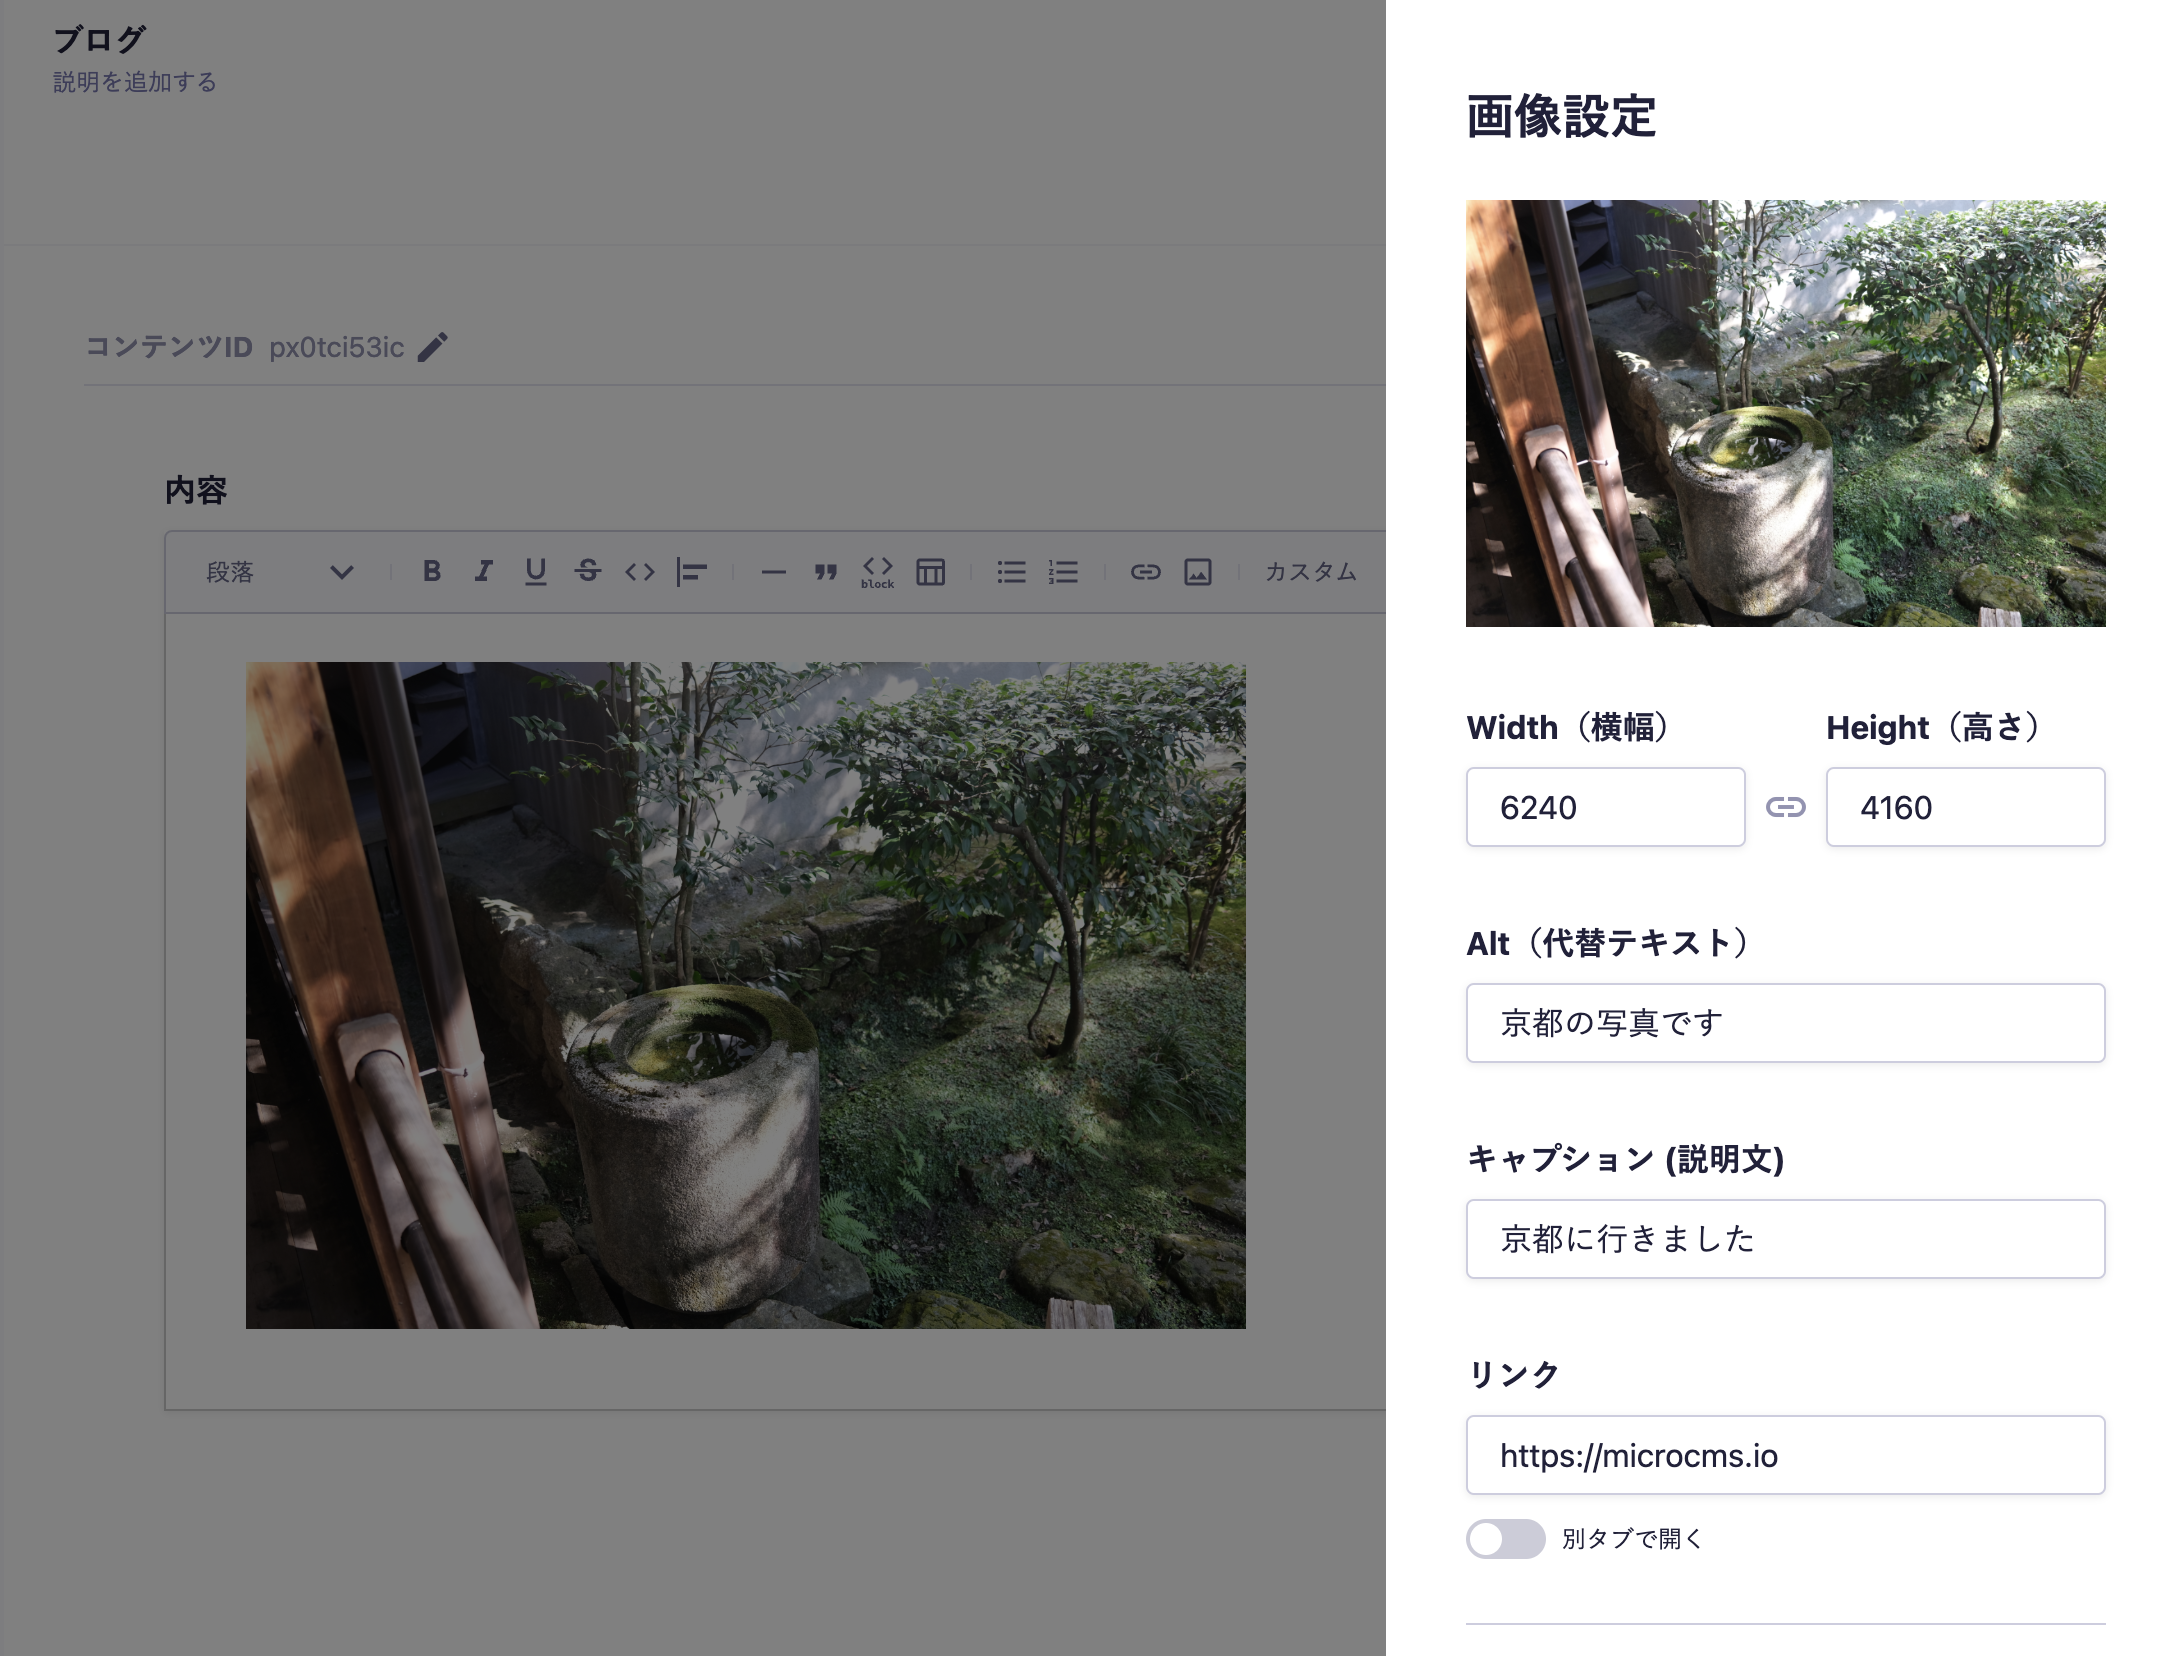
By clicking on the image entered in the rich editor, you can specify the image's width / height / alt / caption, as well as links (absolute path, relative path). For the alt (alternative text), if it has been set from the media management screen, it will be overwritten by the value set in the rich editor.
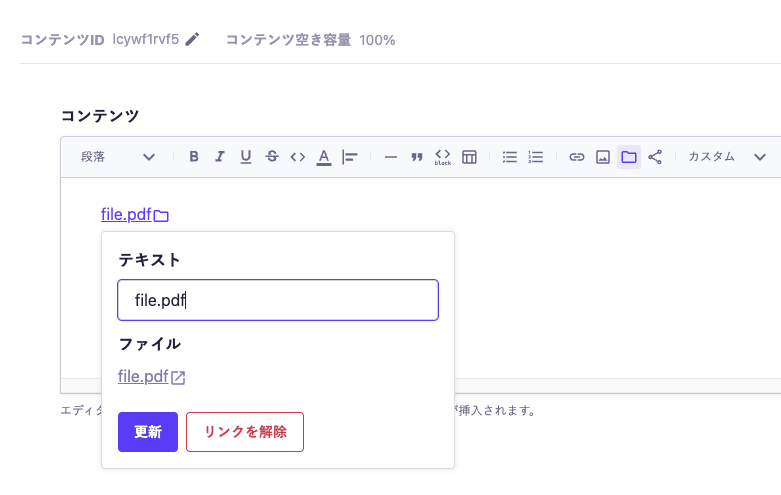
Note that the supported link formats are the same as those that can be specified for text elements. For details, please refer to the section on "Links".
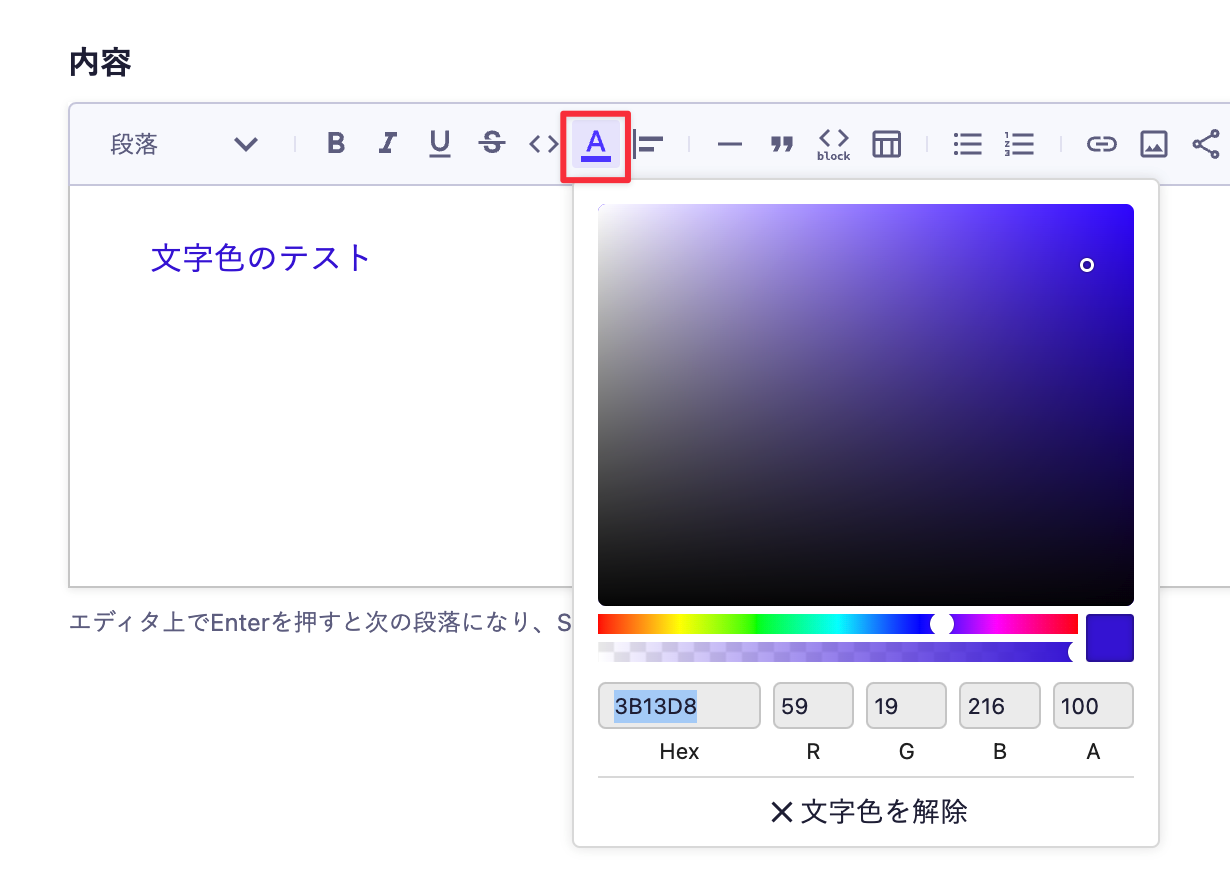
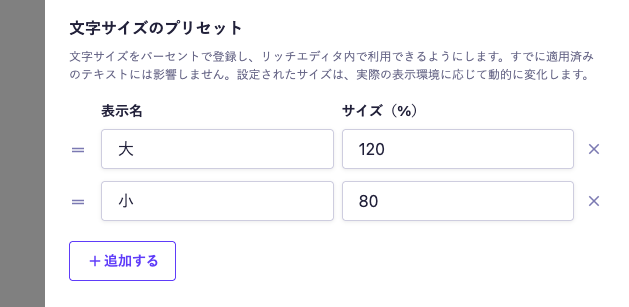
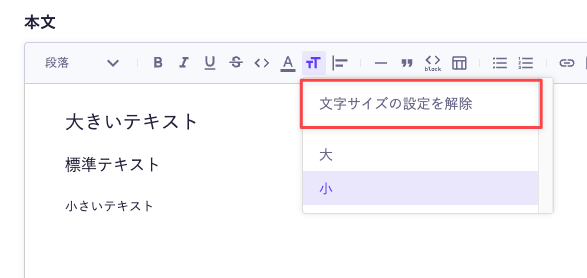
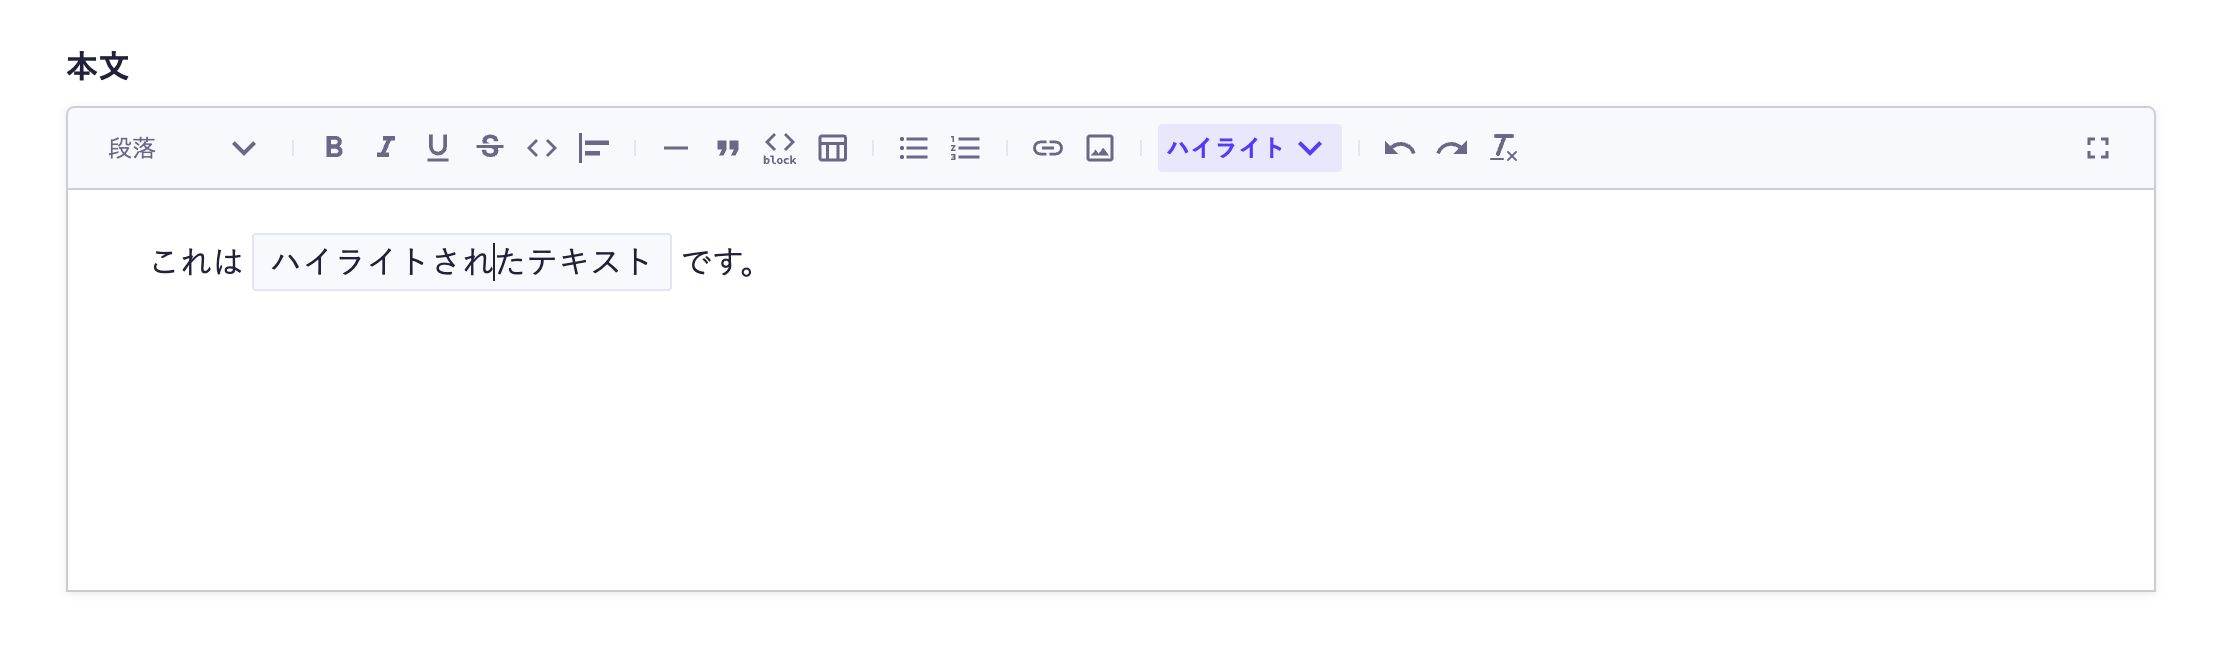
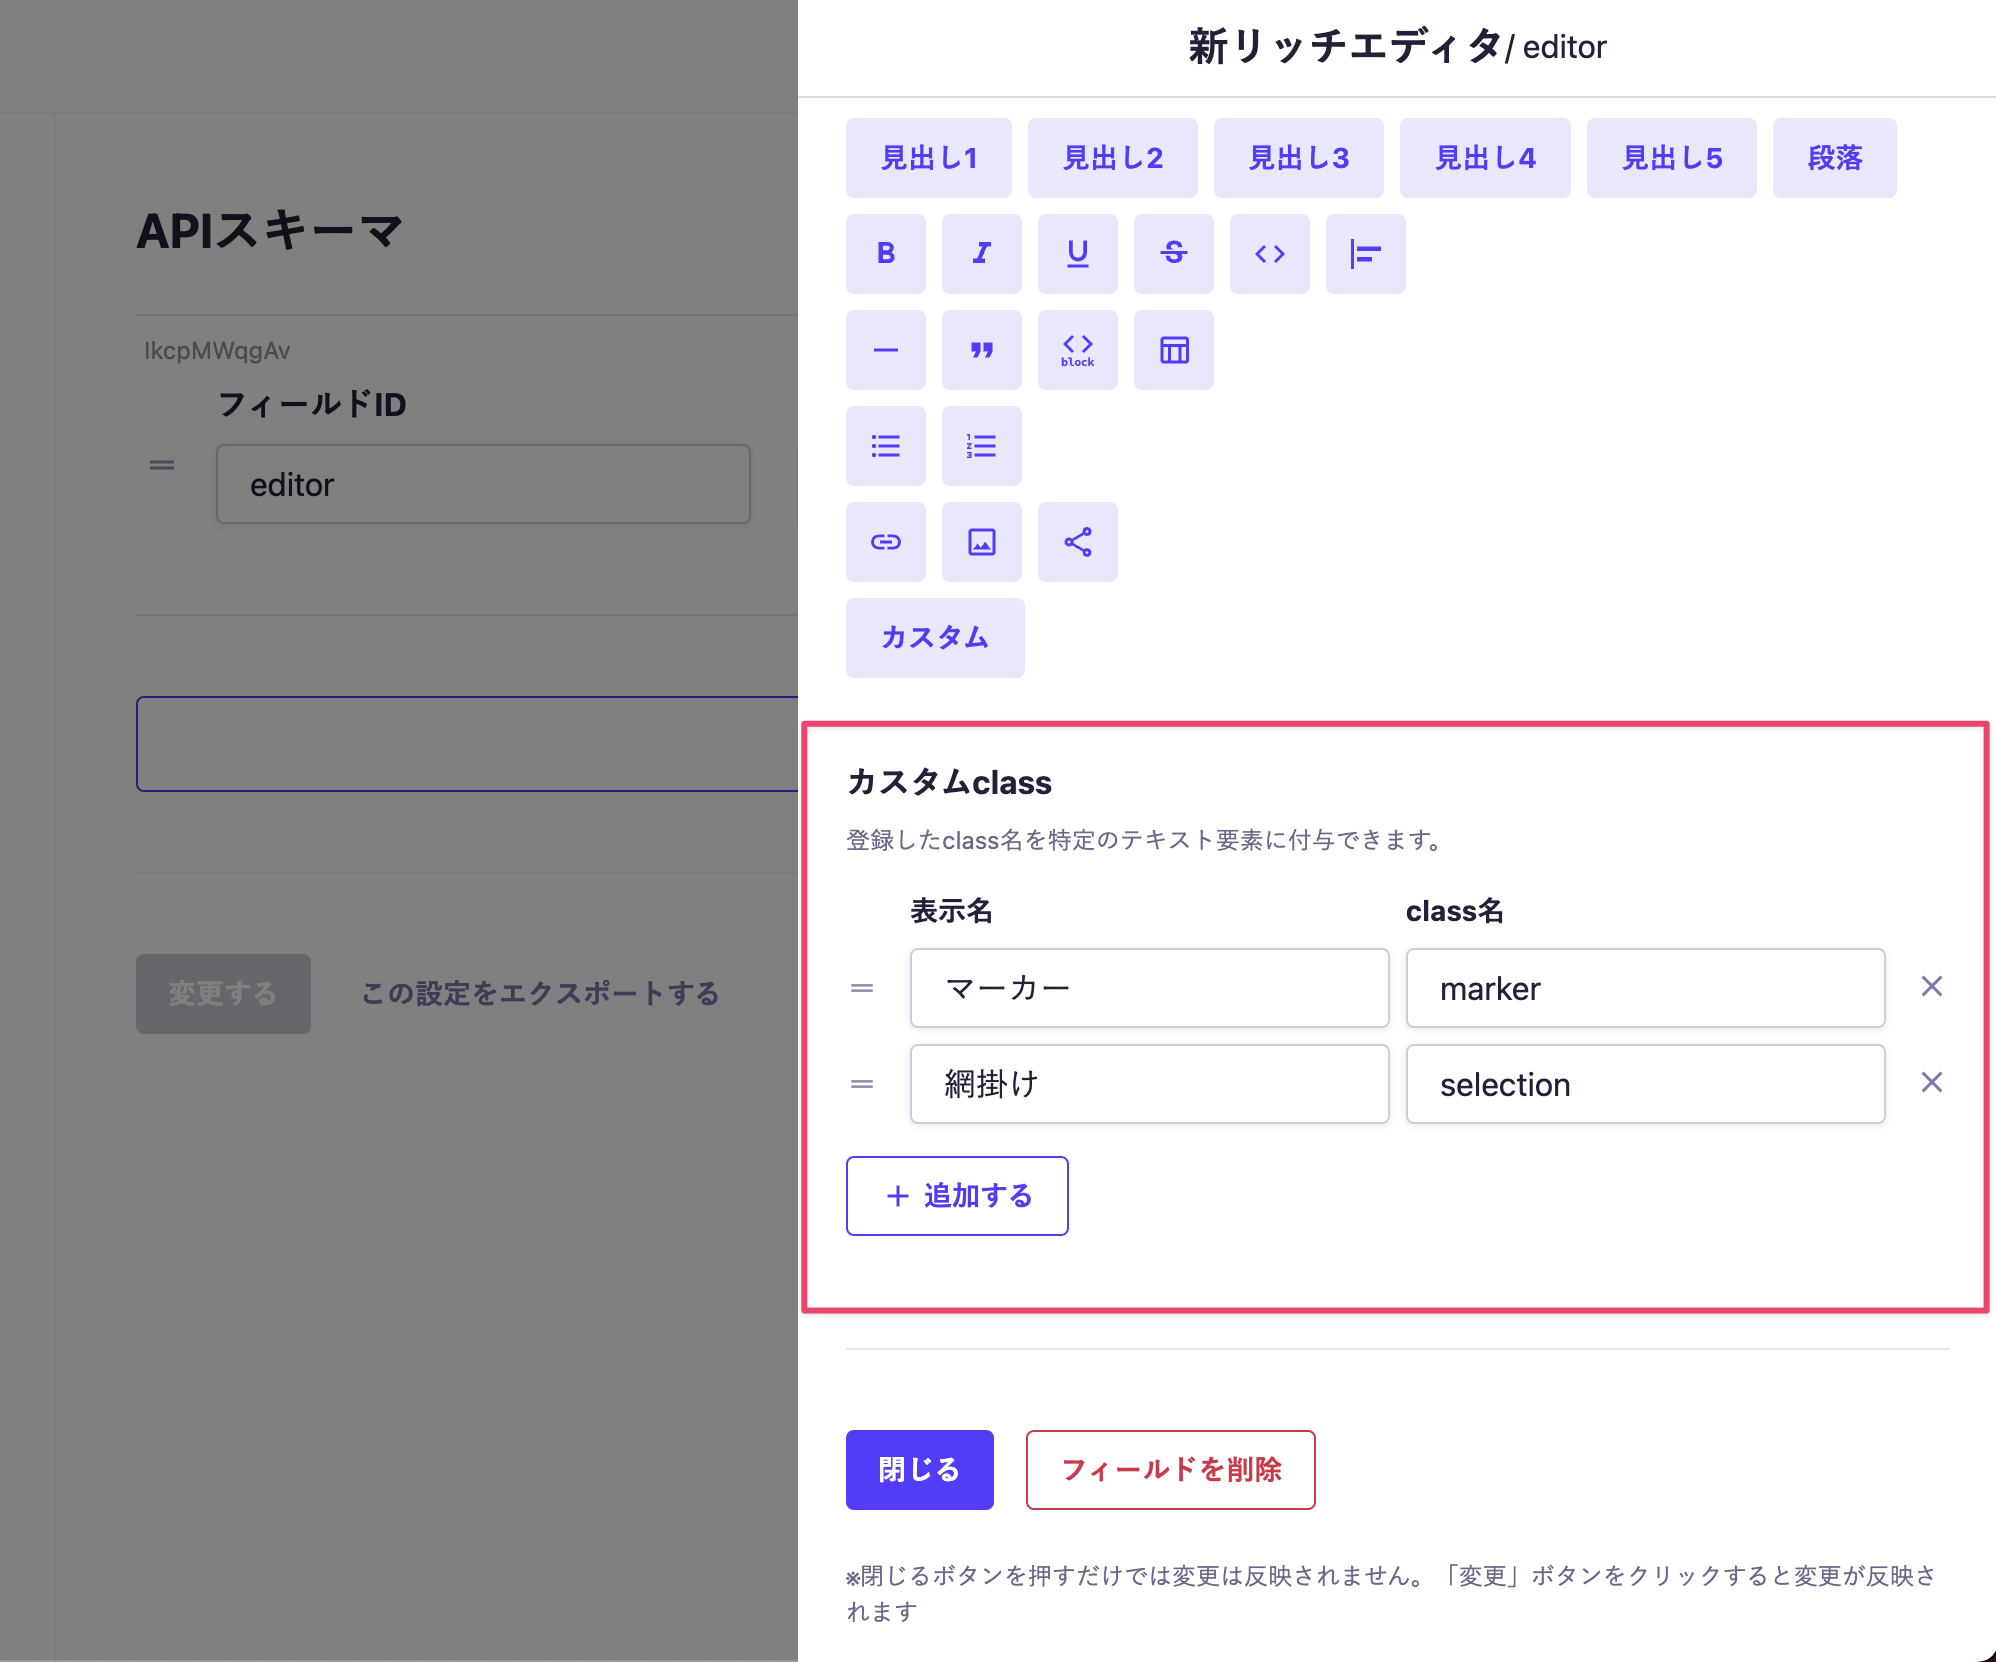
This feature allows you to apply any class to the text. The applied class can be freely utilized, such as applying styles on the front-end implementation.
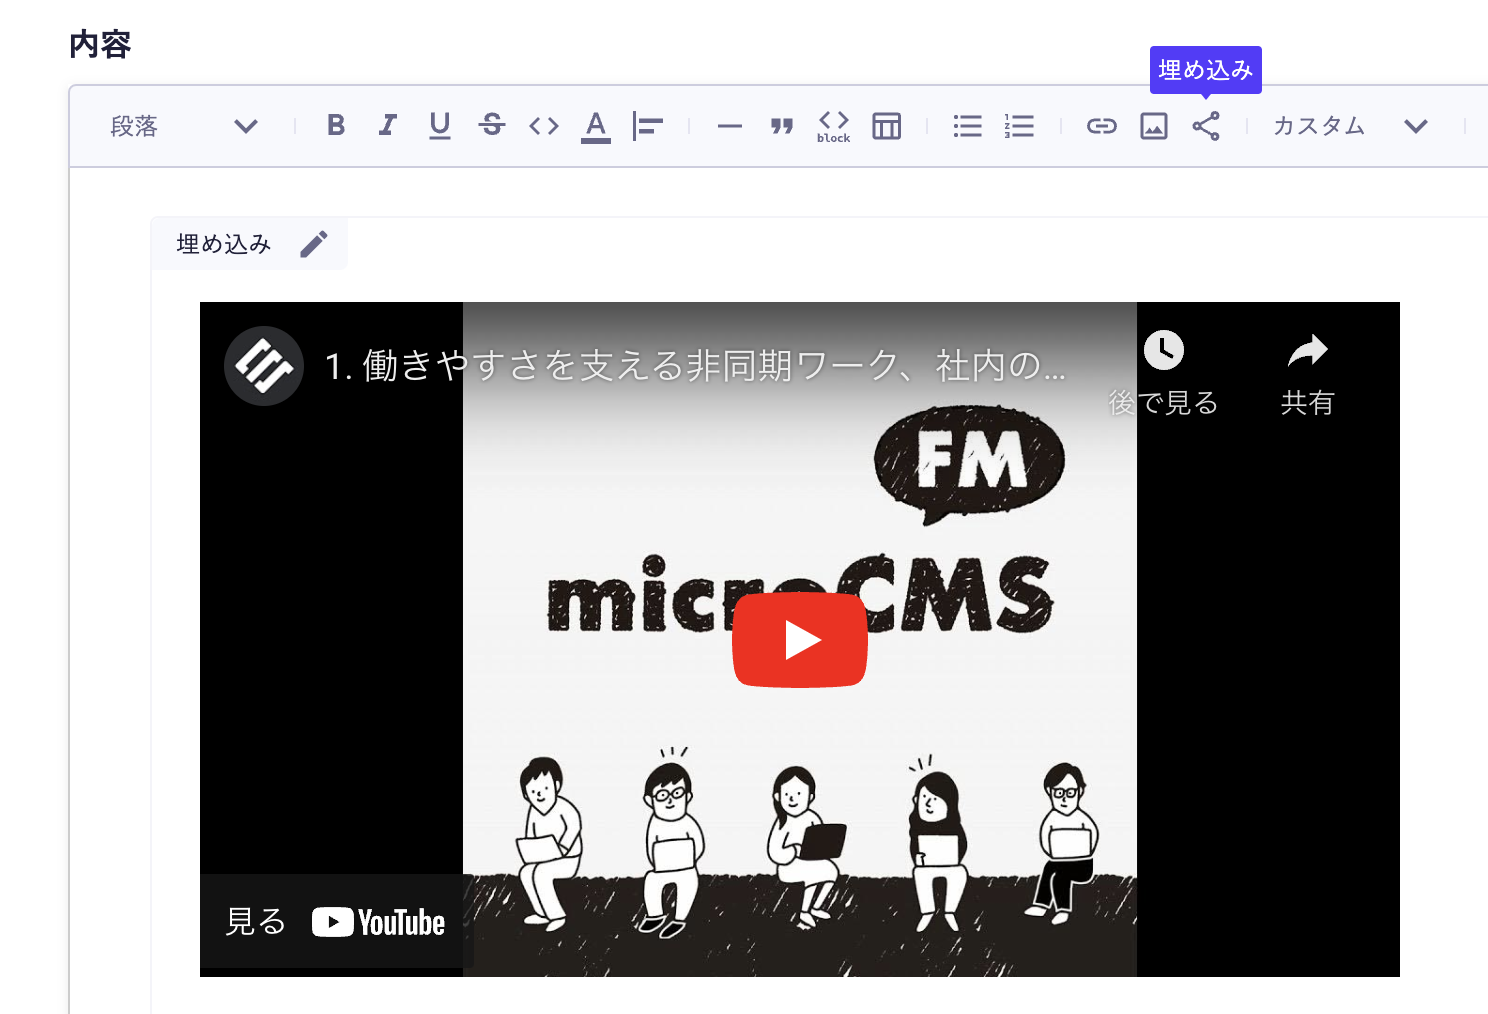
You can embed external services like X and YouTube. It supports approximately 1,900 types of external services. You can also embed general website URLs that are not dependent on specific services. For the services in question, please refer to the "Iframely Embeds API Domains".
You can customize the decoration buttons of the rich editor. By clicking on Advanced Settings from the rich editor in the API schema, a side menu will open, allowing you to customize from Edit Toolbar.
You can conveniently use it by narrowing down to only the decorations considered on the website.
The old Rich Editor is treated as a separate field due to its different internal data structure. Therefore, switching from the old Rich Editor requires manual migration work. For more details, please refer to the help page below.