This document outlines the steps to use microCMS with Astro. If you are using microCMS from Astro for the first time, please try the following steps first.
First, let's create a simple API in microCMS. This time, we will create it with the following configuration.
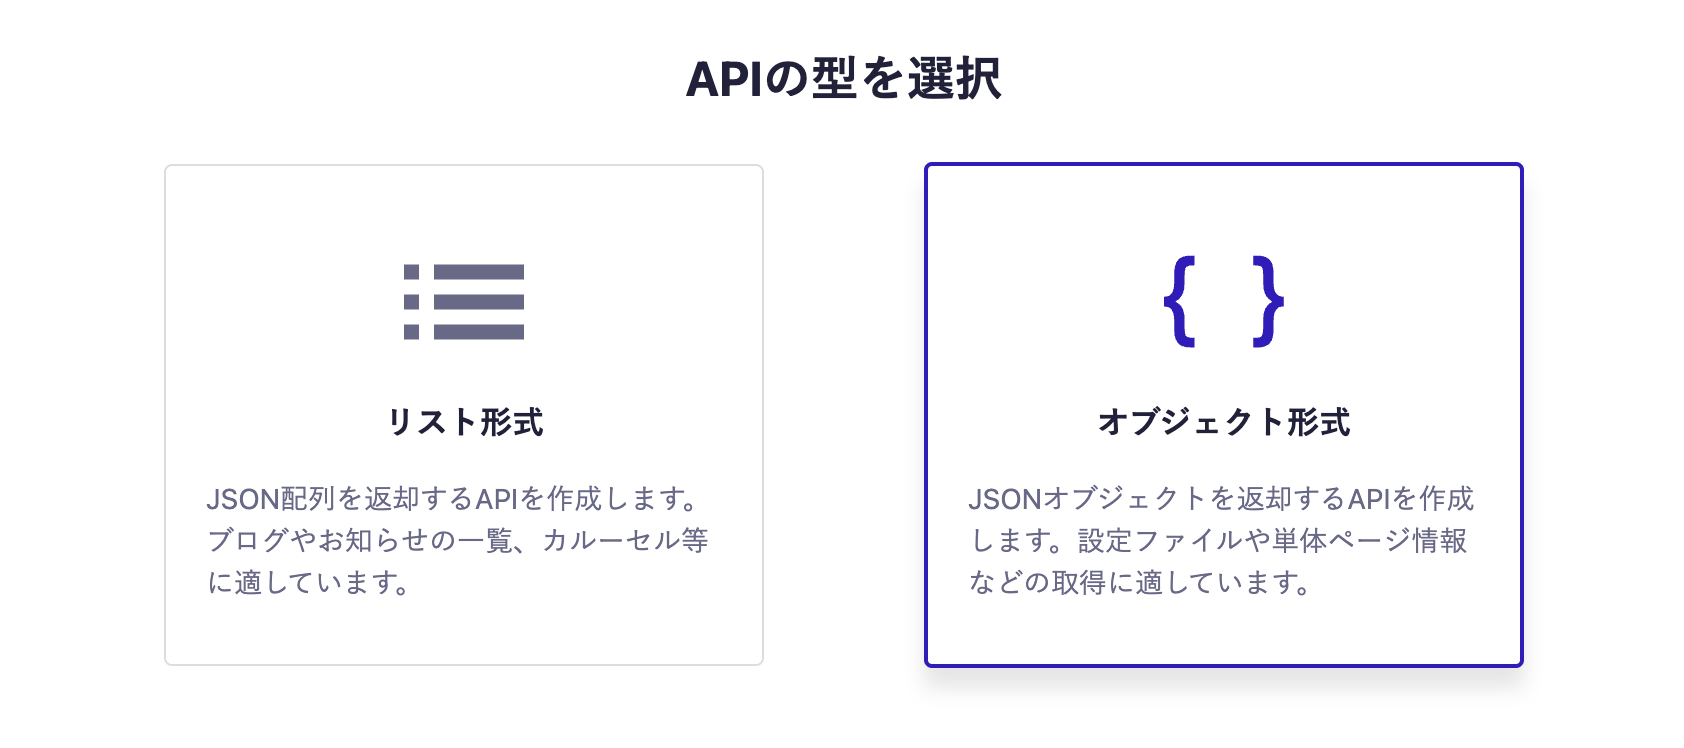
API Type: Object format
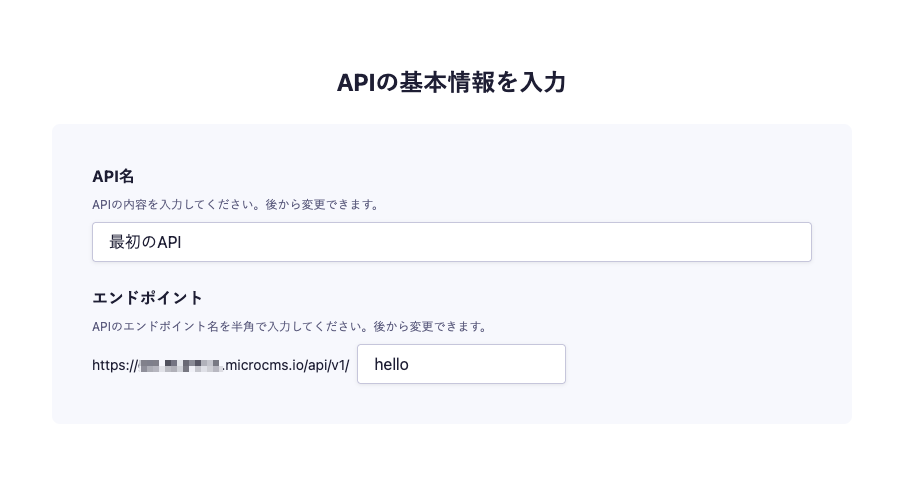
Endpoint: hello
Field Type: Text Field
Field ID: text
In the API creation screen, enter any API name and endpoint. Please enter hello for the endpoint.
Next, select "Object format" as the API type.
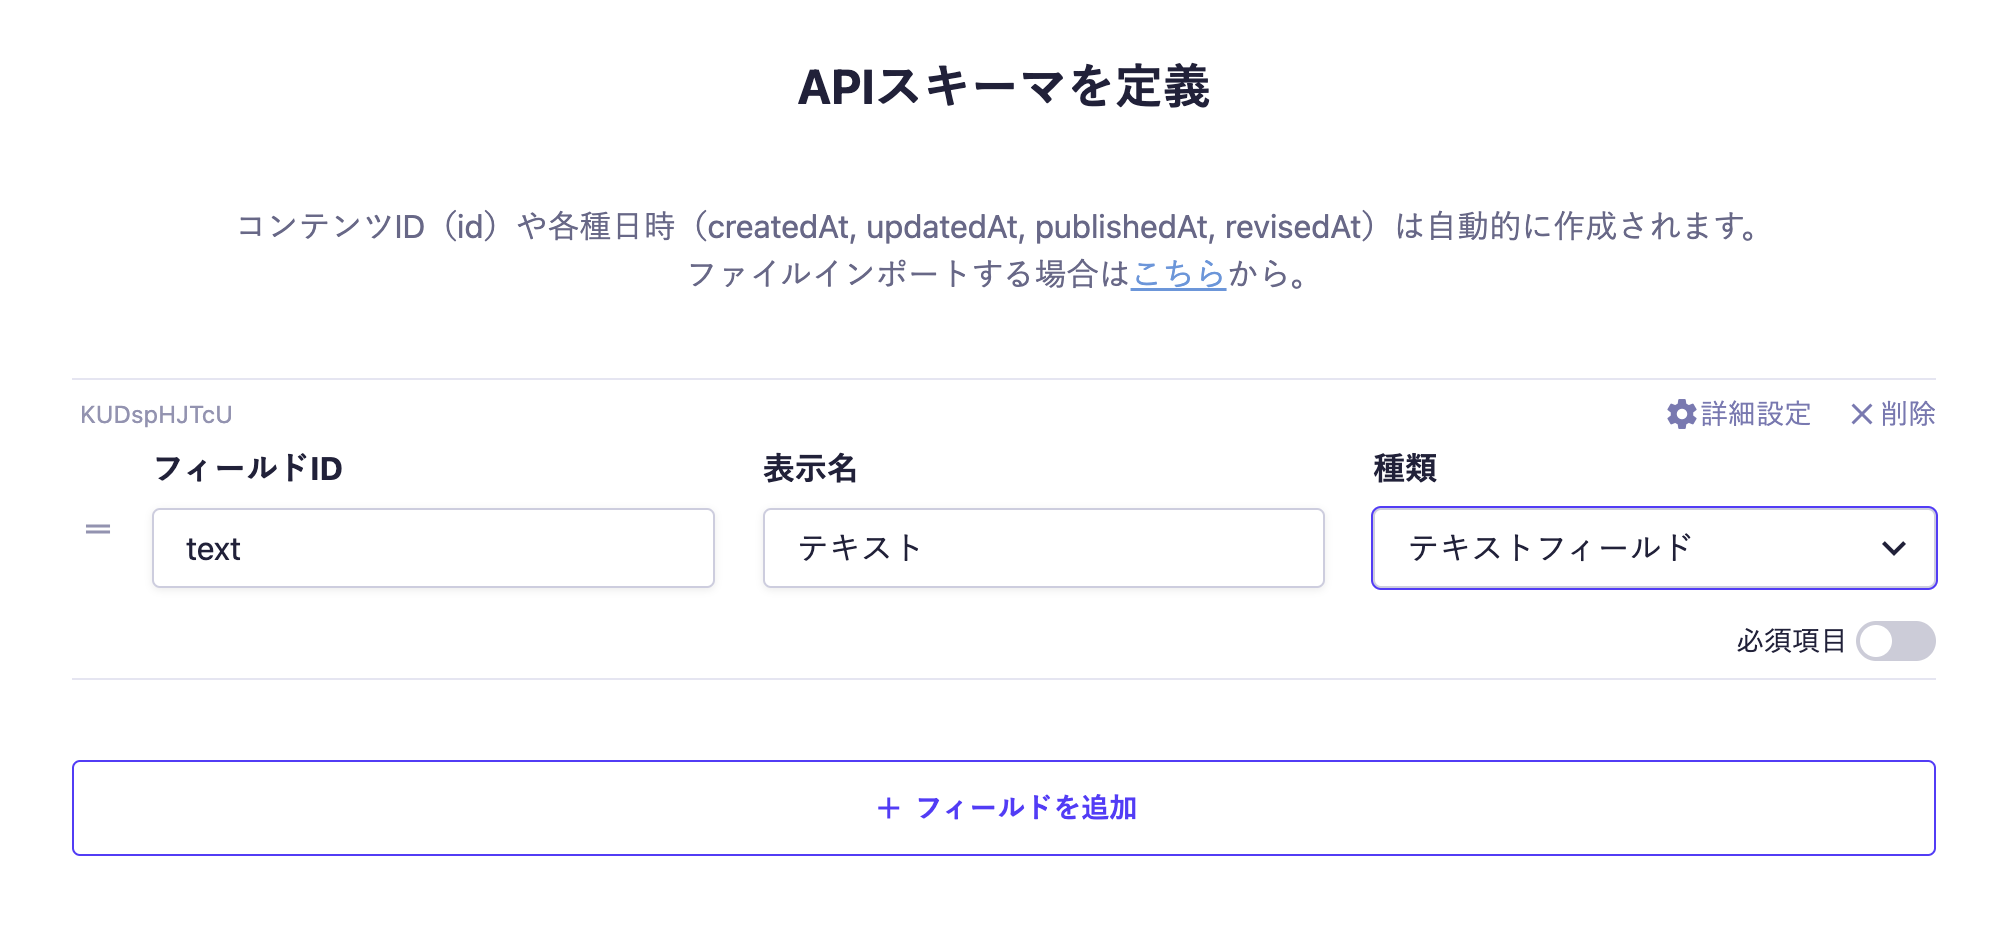
Finally, set up the field. This time, we will create one text field as follows.
Field ID: text
Display Name: Text
Type: Text Field
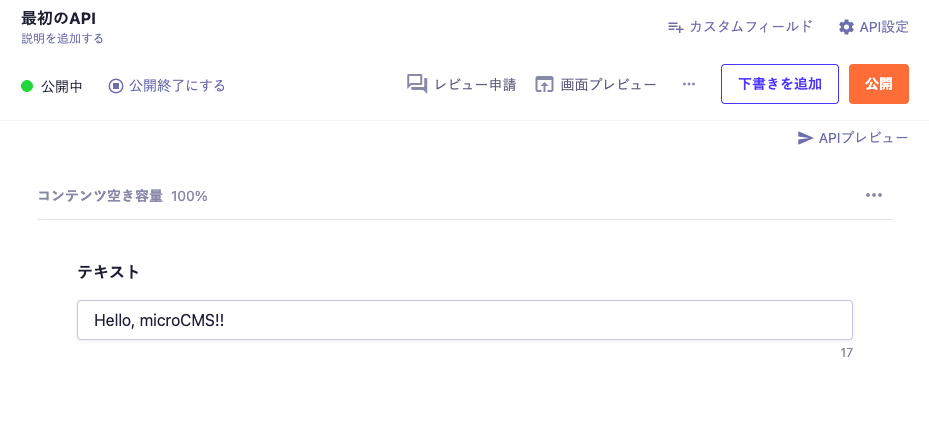
Once you create the API with the above settings, you will be able to submit content. Move to the editing screen, enter any value in the text field, and publish the content. For example, enter the following content.
Hello, microCMS!!
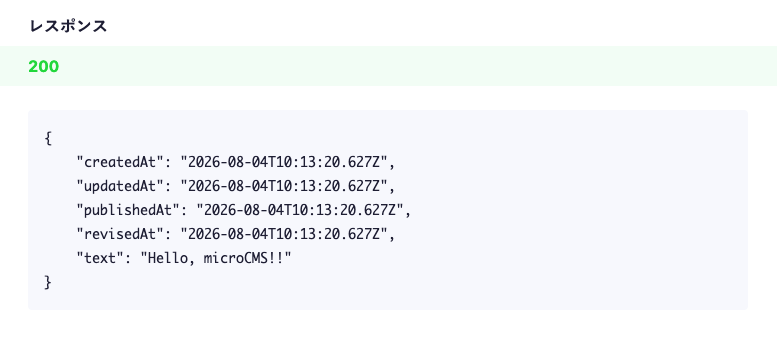
Now, you are able to retrieve content from the API. Click on "API Preview" in the upper right corner to access the created API and confirm that a JSON response is returned.
For MICROCMS_SERVICE_DOMAIN, set the service domain of microCMS. For example, if the URL of the Administration console is "https://example.microcms.io", specify example as the service domain.
For MICROCMS_API_KEY, set the API key that can be confirmed in the microCMS Administration console.
The section at the top of the Astro file, surrounded by ---, is called the component script. In the component script, we are fetching content from the microCMS API.
Since the API we created this time is in object format, we will use the getObject method of microcms-js-sdk. By specifying the Hello type, we also define the type of the text field to be retrieved.
const data = await client.getObject<Hello>({
  endpoint: 'hello',
});
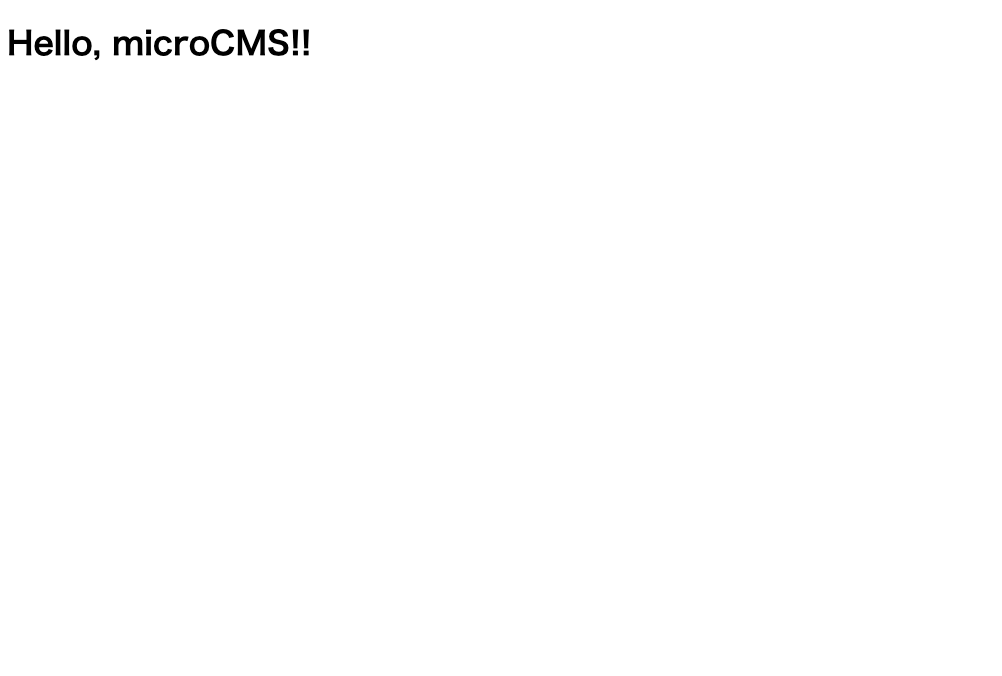
The text of the retrieved data will be displayed in the HTML h1 element.
<h1>{data.text}</h1>
If the development server is not running, execute the following command.
npm run dev
Please access http://localhost:4321 from your browser. The content submitted to microCMS will be displayed on the screen.
Change the text in the microCMS Administration console and publish it, then refresh the browser to confirm that the displayed content changes.
Finally, if the production build completes successfully, the initial setup is complete.

 Integration with Astro