With the microCMS service, you can add (invite) members at any time. Additionally, each member can participate in multiple services. Below, we will explain how to add members to the service.
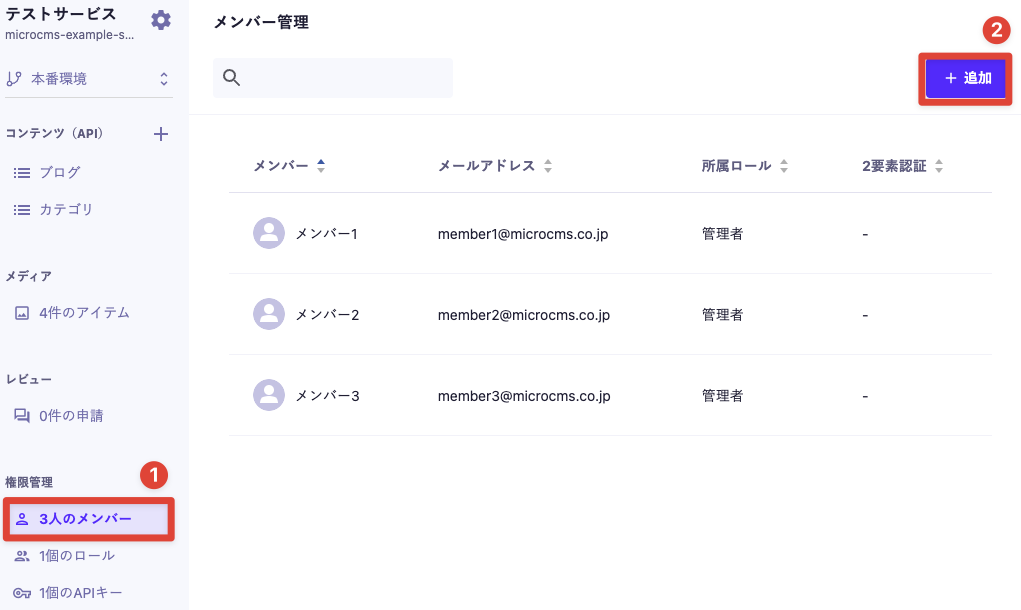
1: Click on "◯ members" in the sidebar on the left of the management screen. 2: Click on "Add".
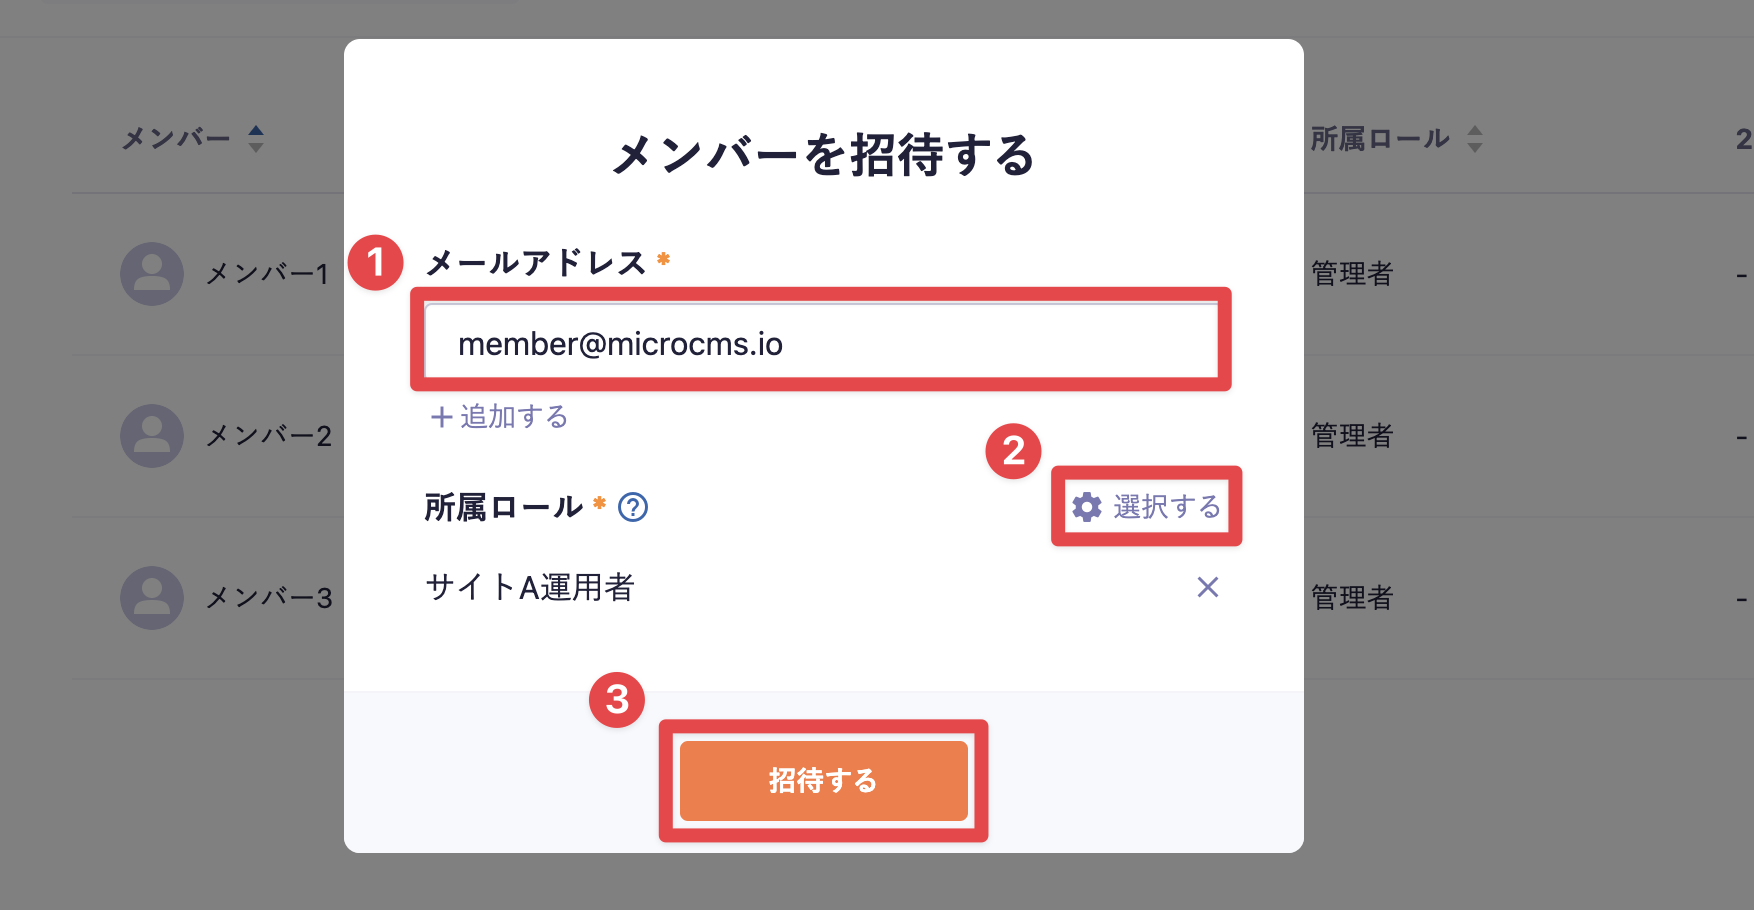
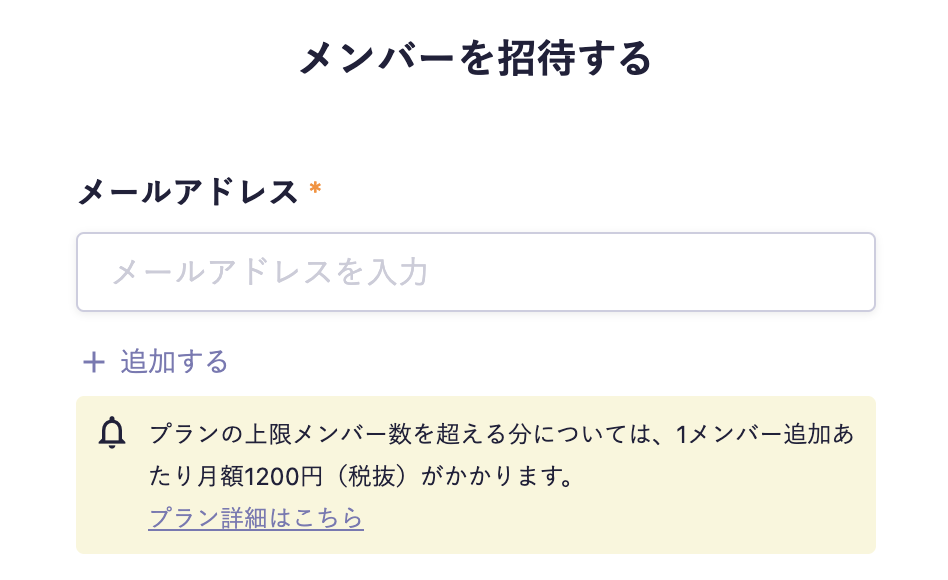
3: Enter the email address of the member you want to invite, select the role you want to assign, and click the "Invite" button. (By selecting "+ Add", you can invite multiple members at once.)
4: From here on, the process will differ depending on the account registration status of the invited email address. Please proceed according to the applicable patterns below.
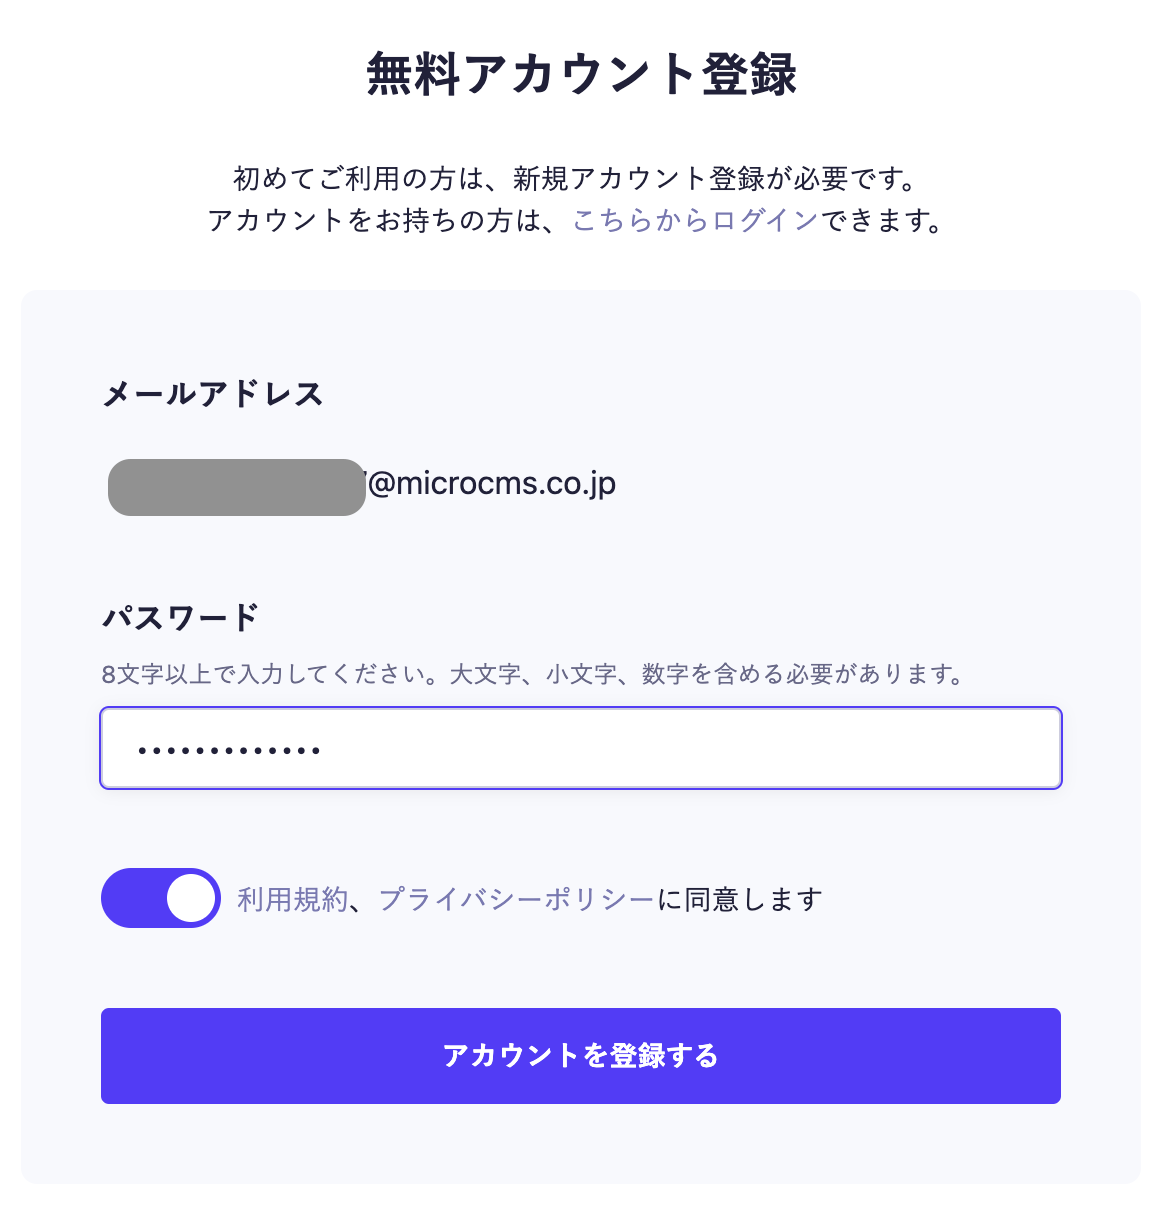
Pattern A: If the account has not been created yet
Pattern B: If the account has already been created and the email address has been verified
Pattern C: If the account has been created but the email address is unverified
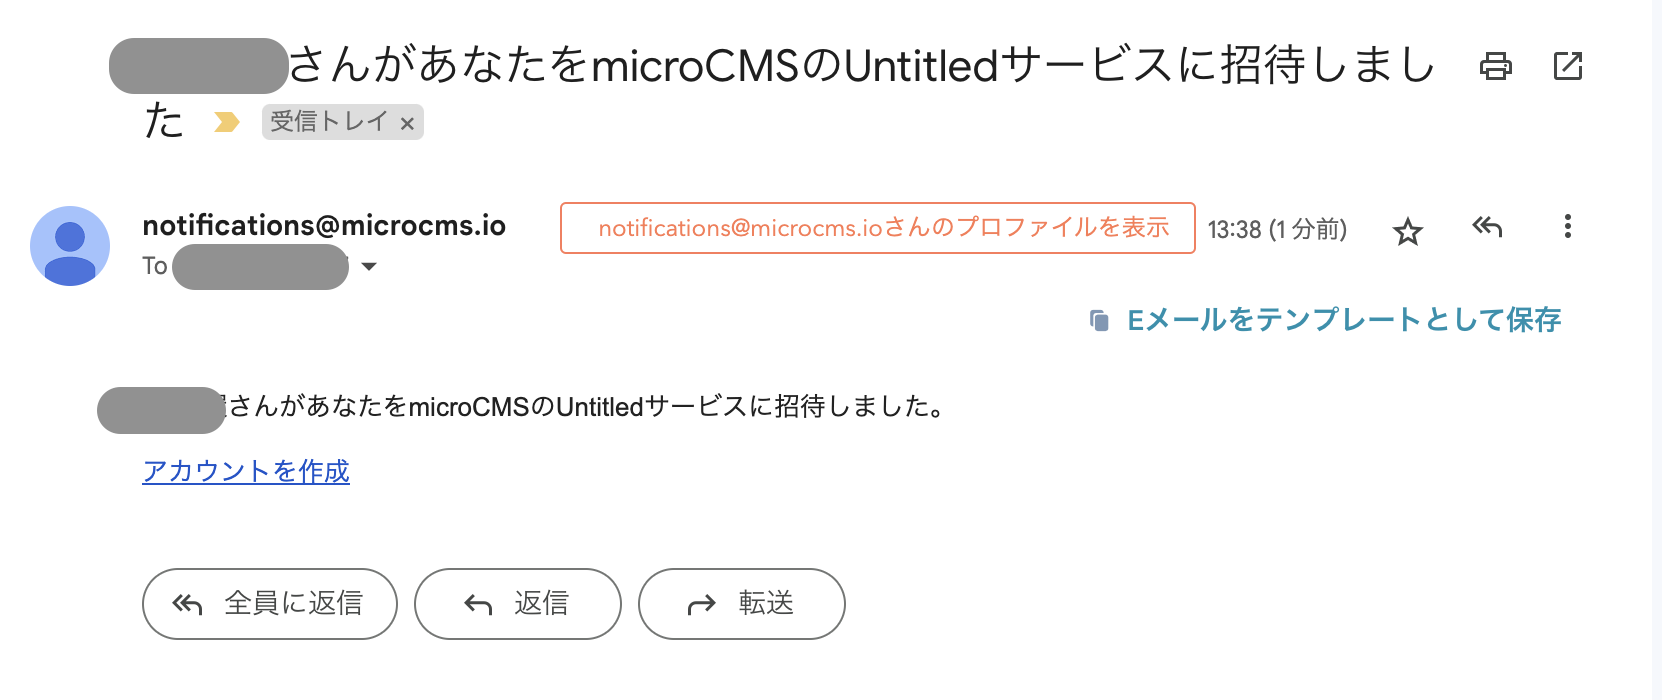
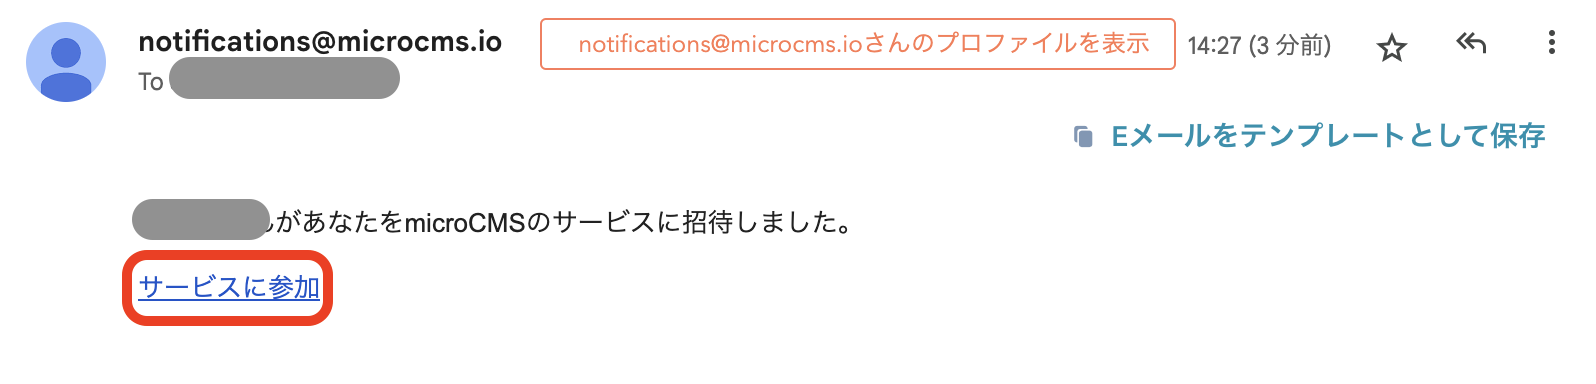
B-1: An email will be sent to the invited email address from notifications@microcms.io, containing the following message.
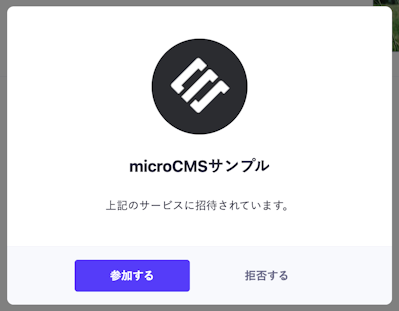
B-2: Click the "Open Service" link, and when you access the service, an invitation confirmation dialog will appear as shown below.
B-3: By clicking the "Join" button, you will complete the addition of a member to the service. On the other hand, if you choose "Decline," the invitation will be treated as canceled.
Information
If you access the invited service directly from the service management screen instead of through the B-1 invitation email, the same confirmation operation will be required.
C-1: An email will be sent to the invited email address from notifications@microcms.io, containing the following message.
C-2: Clicking the "Join the Service" link will complete the email address verification and finalize the addition of the member.
Information
If you open the URL while logged in with an account different from the invited email address, an error saying "Invalid user" will occur. If you have multiple accounts, please log out and then proceed with the registration.
The number of members has a specified value for each pricing plan. Please note that if you exceed the specified value of the plan, additional charges will apply monthly based on usage.
If you invite more members than the specified value, a warning will be displayed on the invitation screen.
Information
Users who are "invited" cannot access the service at that time, so they are not counted towards the number of billable members (except for certain Enterprise plans).
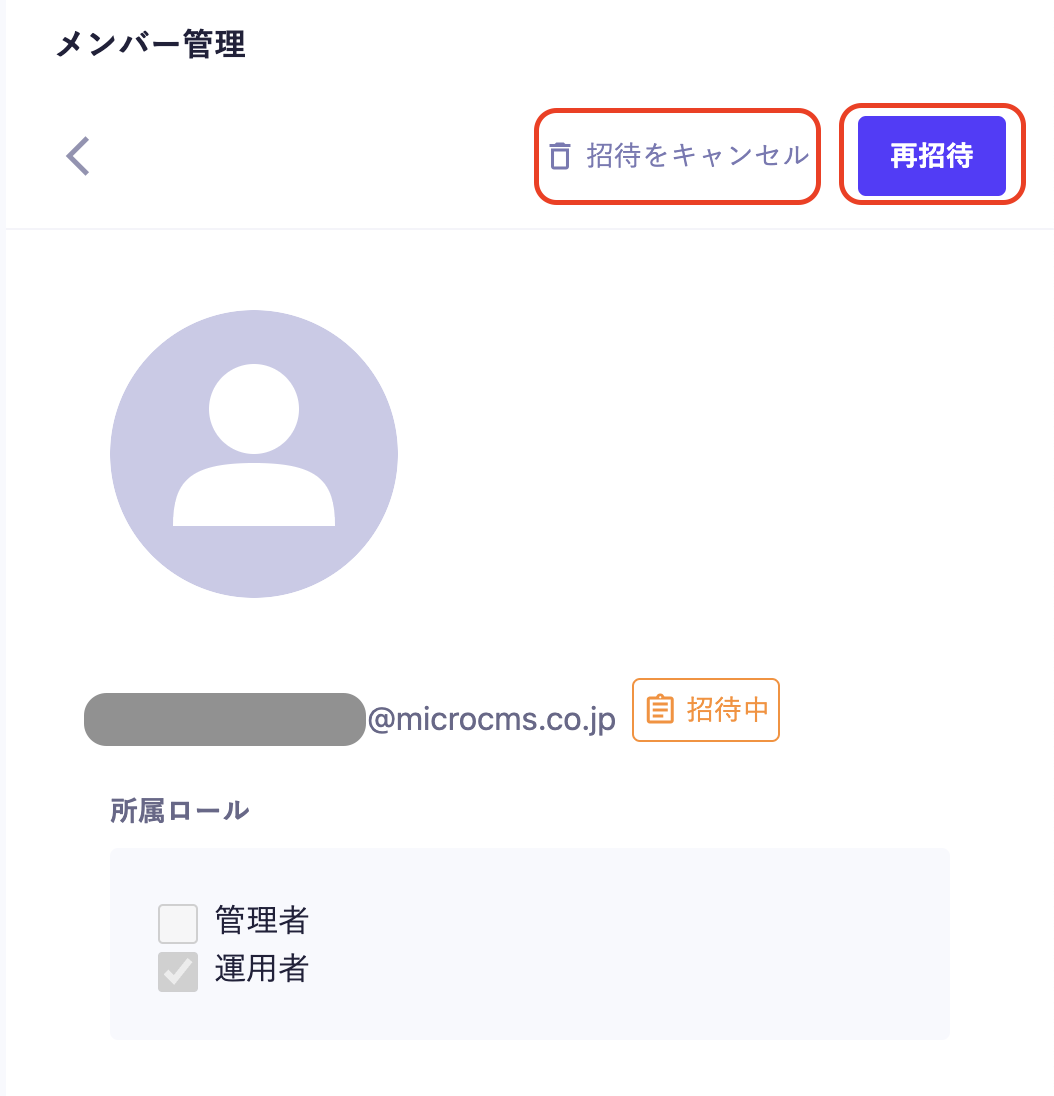
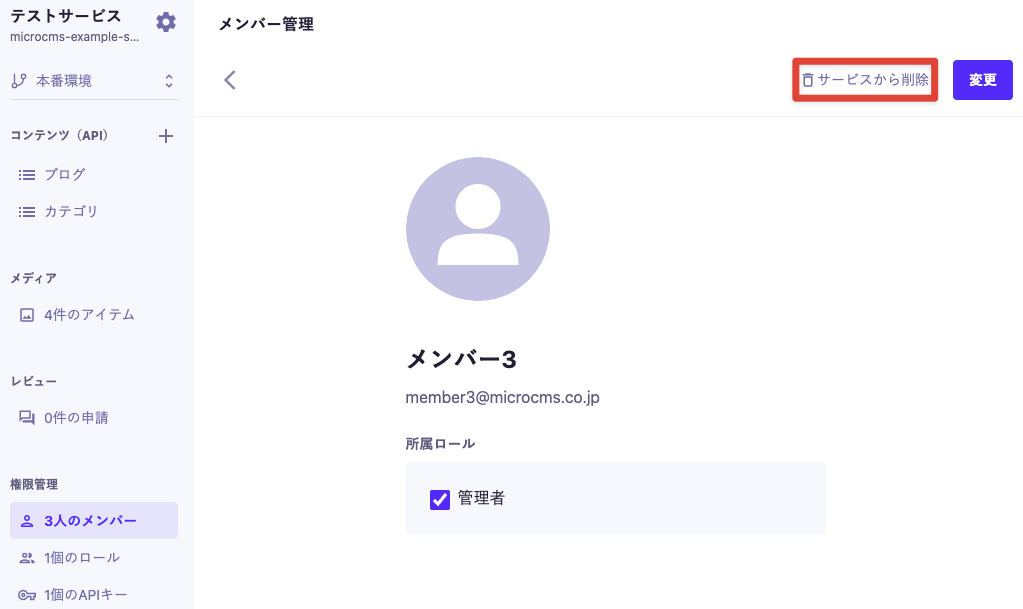
1: Click on "◯ members" in the sidebar on the left of the admin panel. 2: In the member management screen, click on the member you want to delete. 3: Click on "Remove from Service."
4: A dialog will appear asking, "Are you sure you want to remove [Member Name] from the service?" Click OK.
Caution
The service requires at least one administrator. You cannot delete the last remaining administrator.
Members who have been removed from the service can be added again.
Information
If a member is deleted, the content/media created by the corresponding member will be in a state where the creator does not exist within the service. Therefore, if the permission settings specify "only content/media created by members of this role," members belonging to the same role as the deleted member will not be able to read the corresponding content/media. In that case, you can address this by using the content/media creator change function to change the creator to another member of the same role.
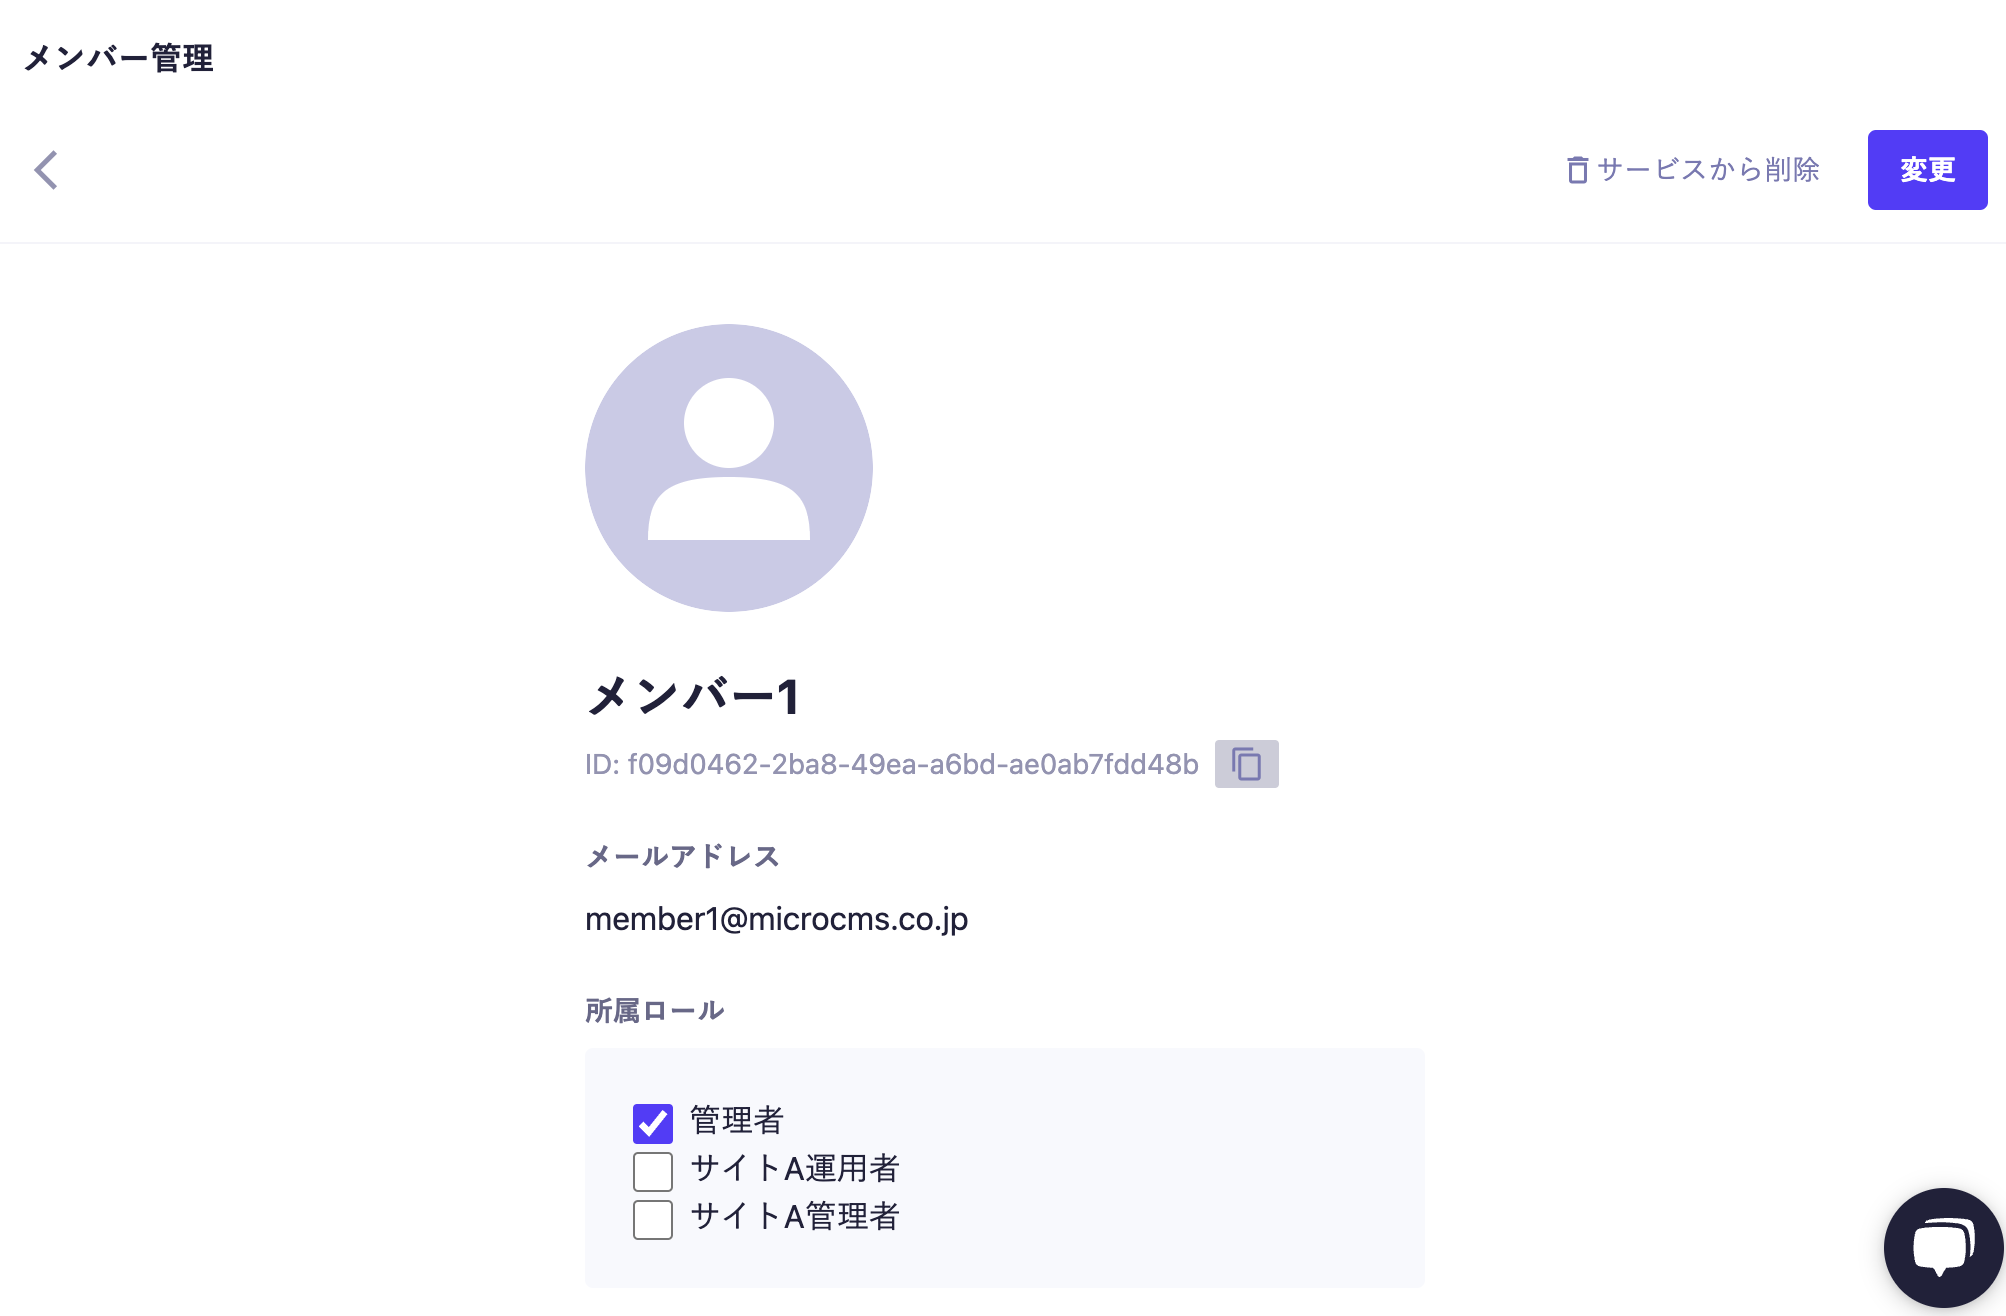
The member list can be displayed by clicking on "◯ Members" in the sidebar on the left of the Administration console. All members belonging to the service will be displayed in the list.
The items displayed for each member are as follows:
Member Name
Email Address
Assigned Role
Two-Factor Authentication (Enabled/Disabled)
Last Access (※1)
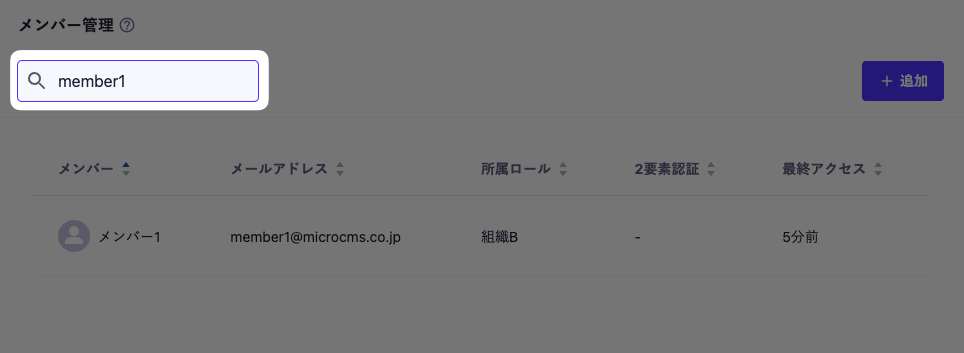
Additionally, you can use the following operations to search for specific members.
You can sort by any attribute. The sortable attributes are Member Name, Email Address, Assigned Role, Two-Factor Authentication Status, and Last Access (※1). You can toggle between ascending and descending order.
Information
(Note 1) The last access is only displayed for the Enterprise plan.