This page is focused on Nuxt 2. Please note that it does not contain information compatible with Nuxt 3.
Development for Nuxt 2 is scheduled to end. It is not recommended to use it for new development. For details on support, please check the Nuxt 2 website.
This document outlines the steps to use microCMS with Nuxt 2. If you are using microCMS from Nuxt 2 for the first time, please try the steps below.
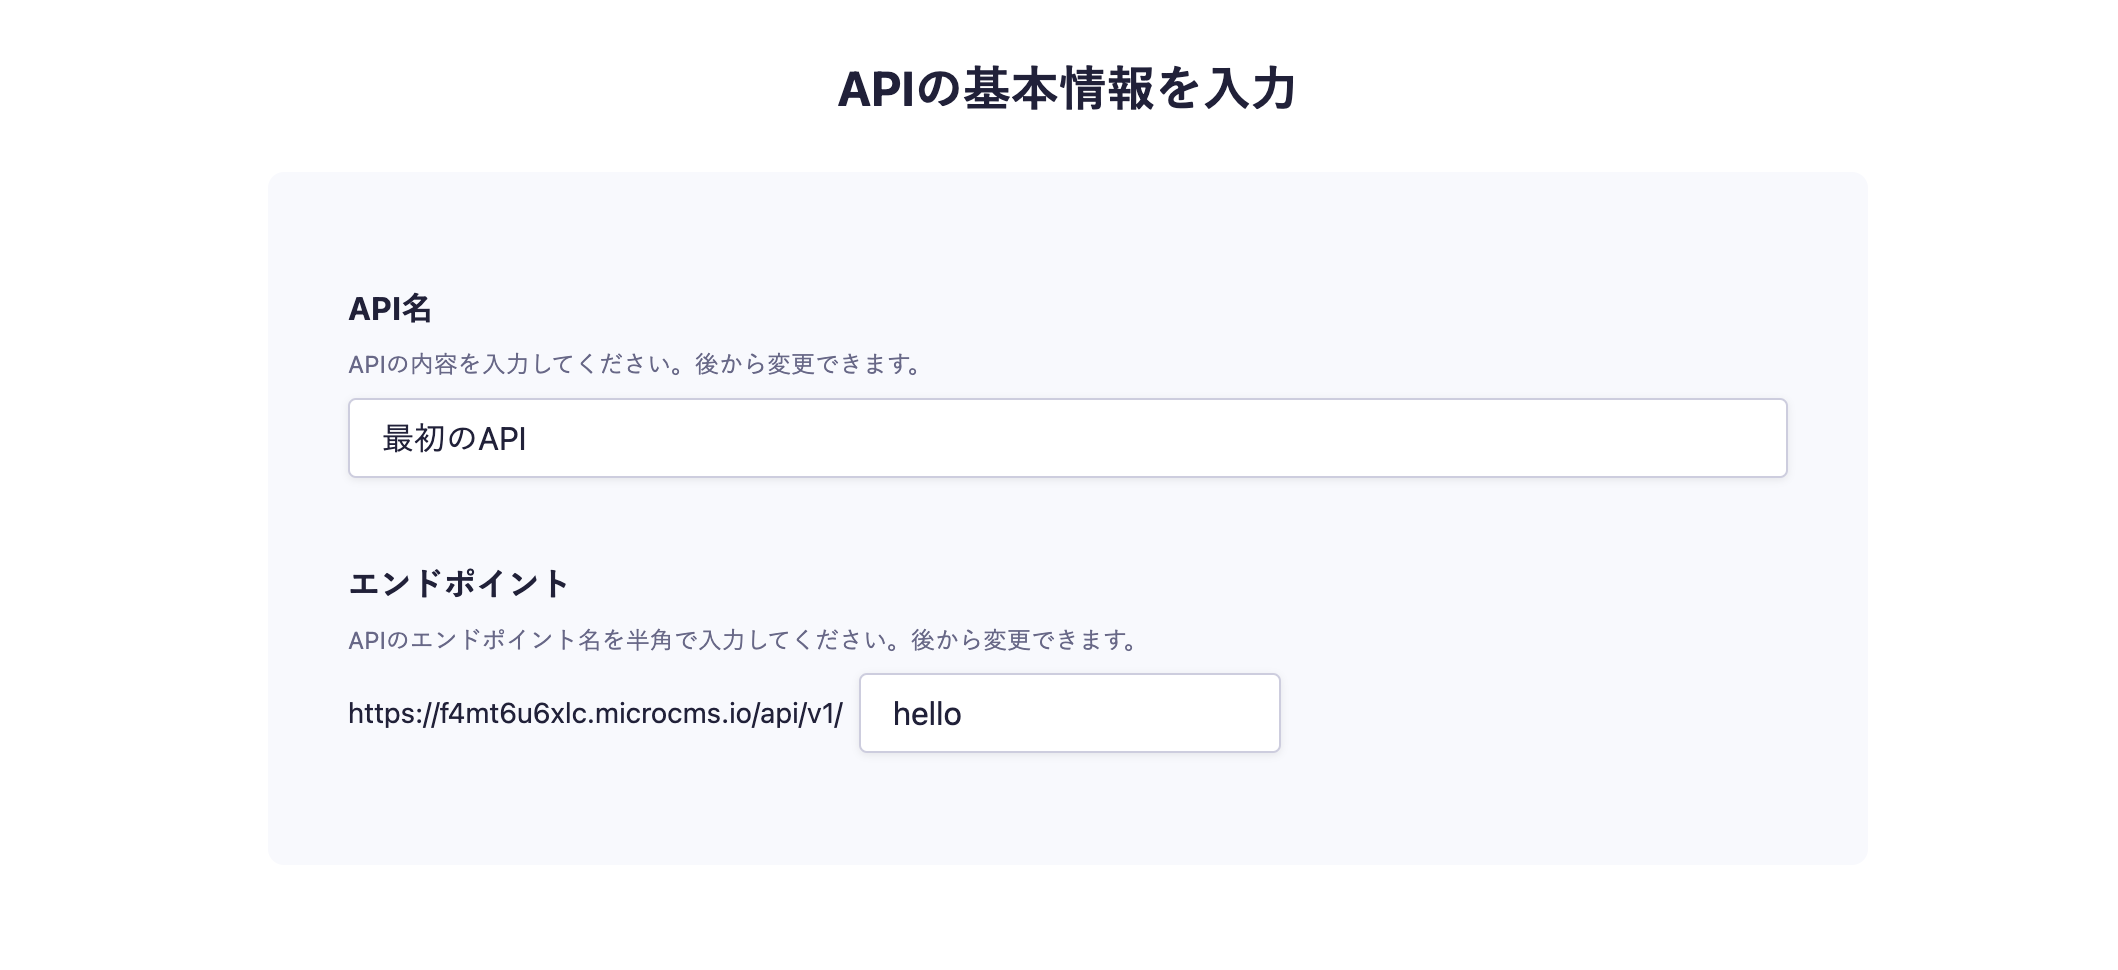
In the API creation screen, enter your desired API name and endpoint.
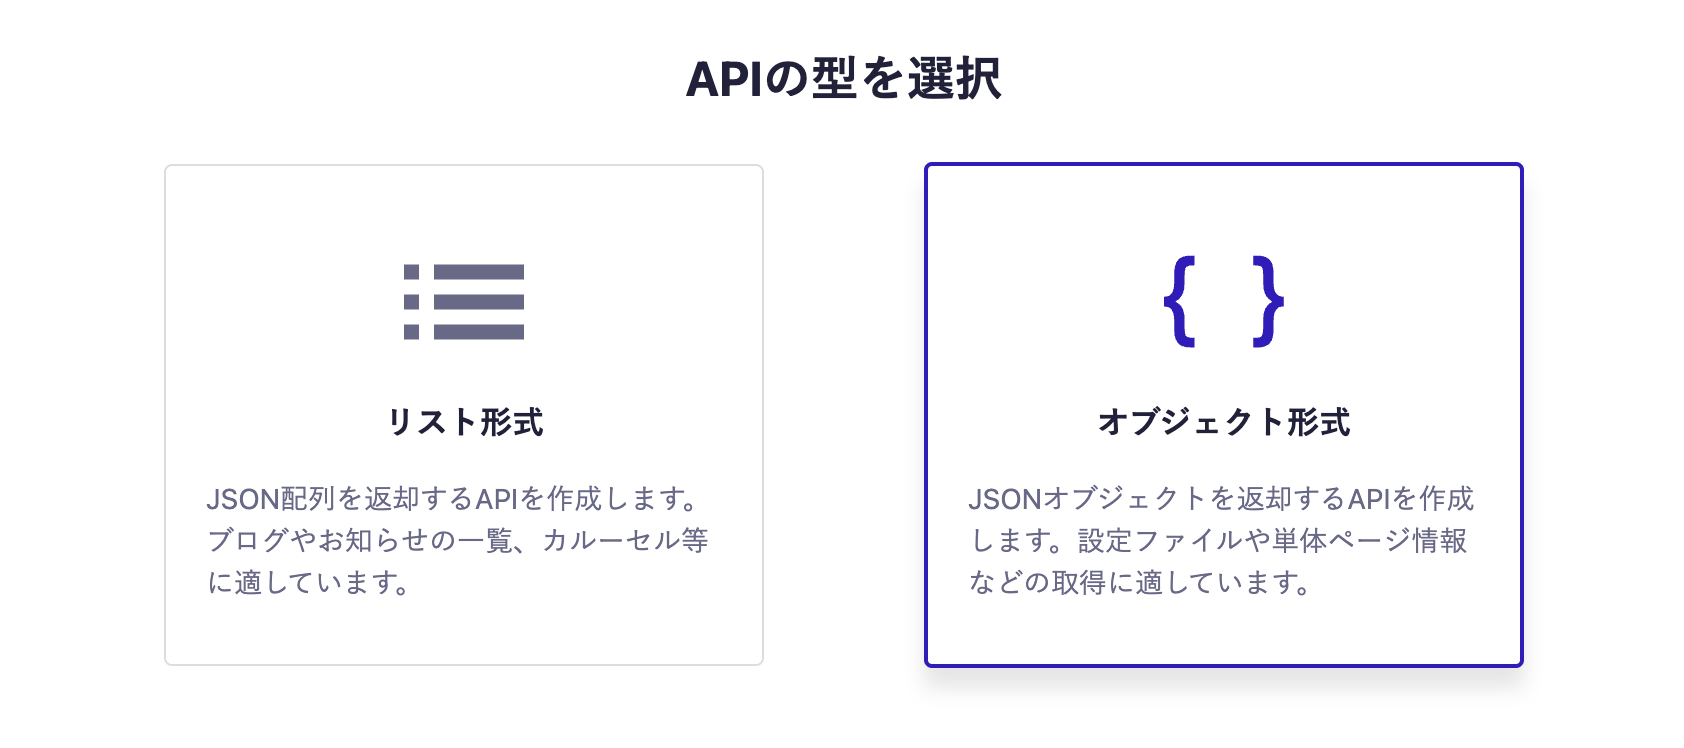
Next, select the object format.
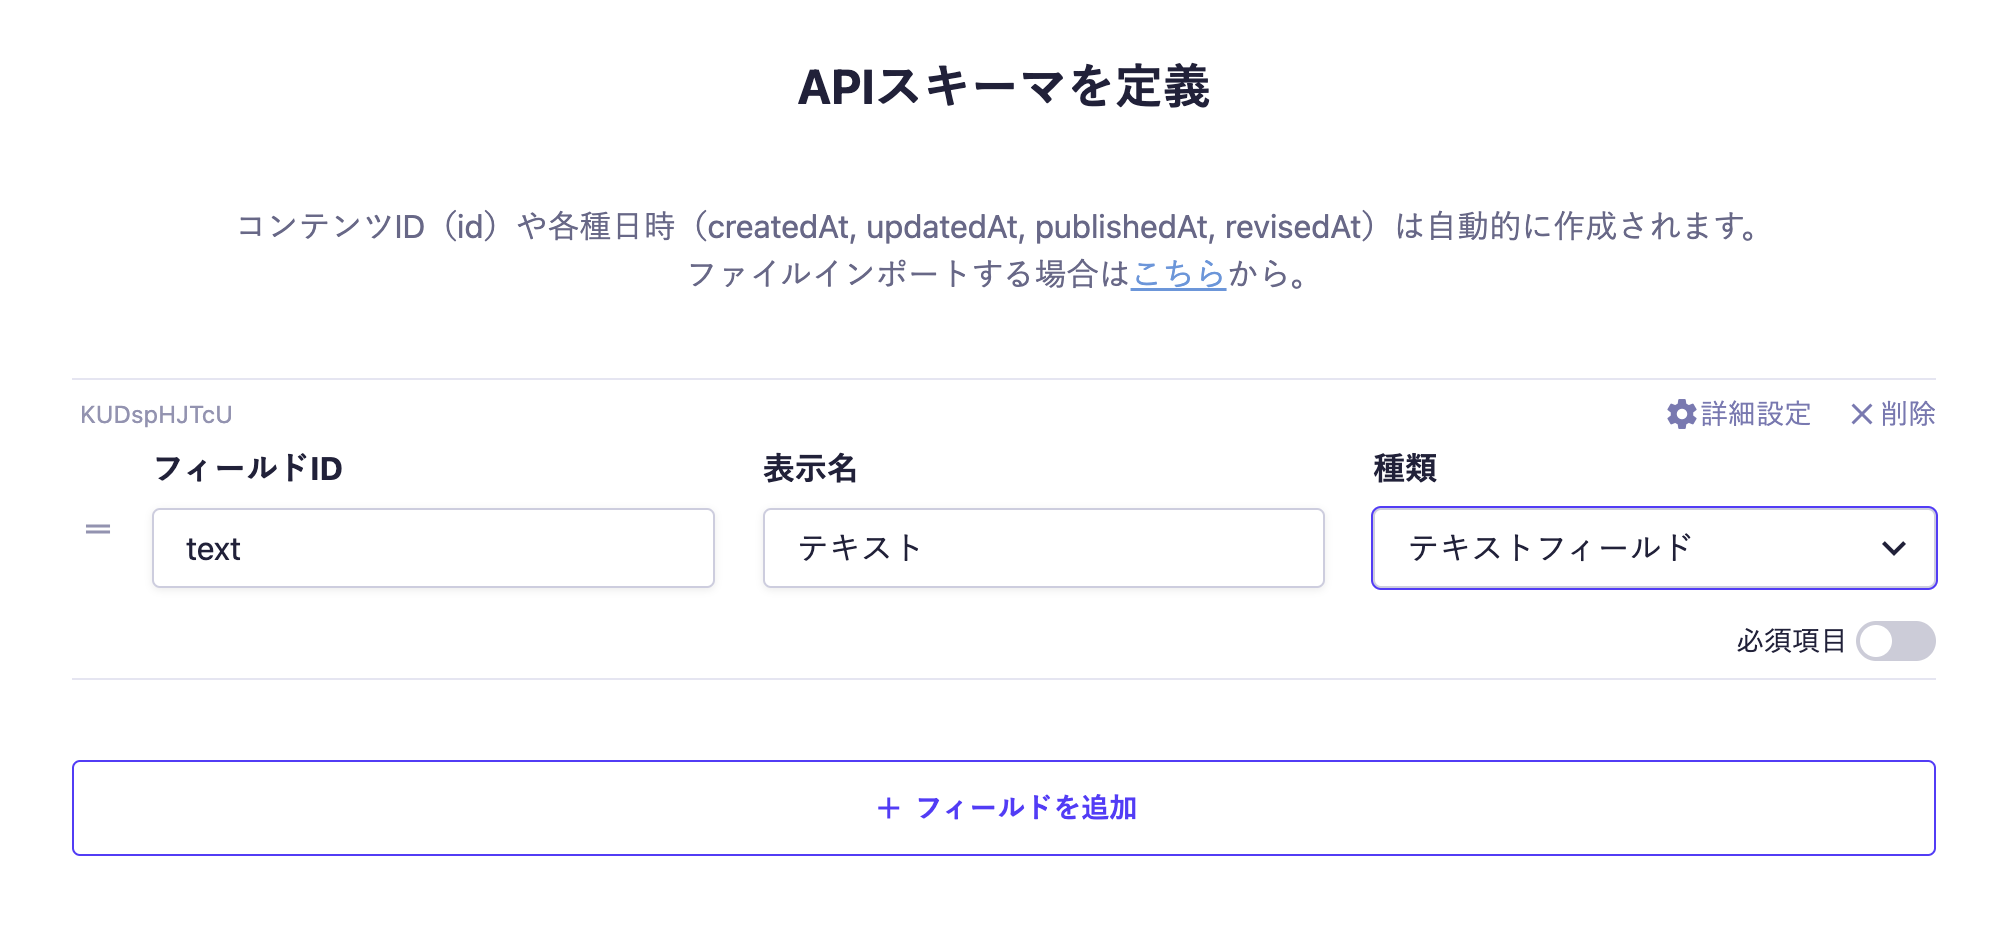
Finally, set the fields. This time, we will set only one text field.
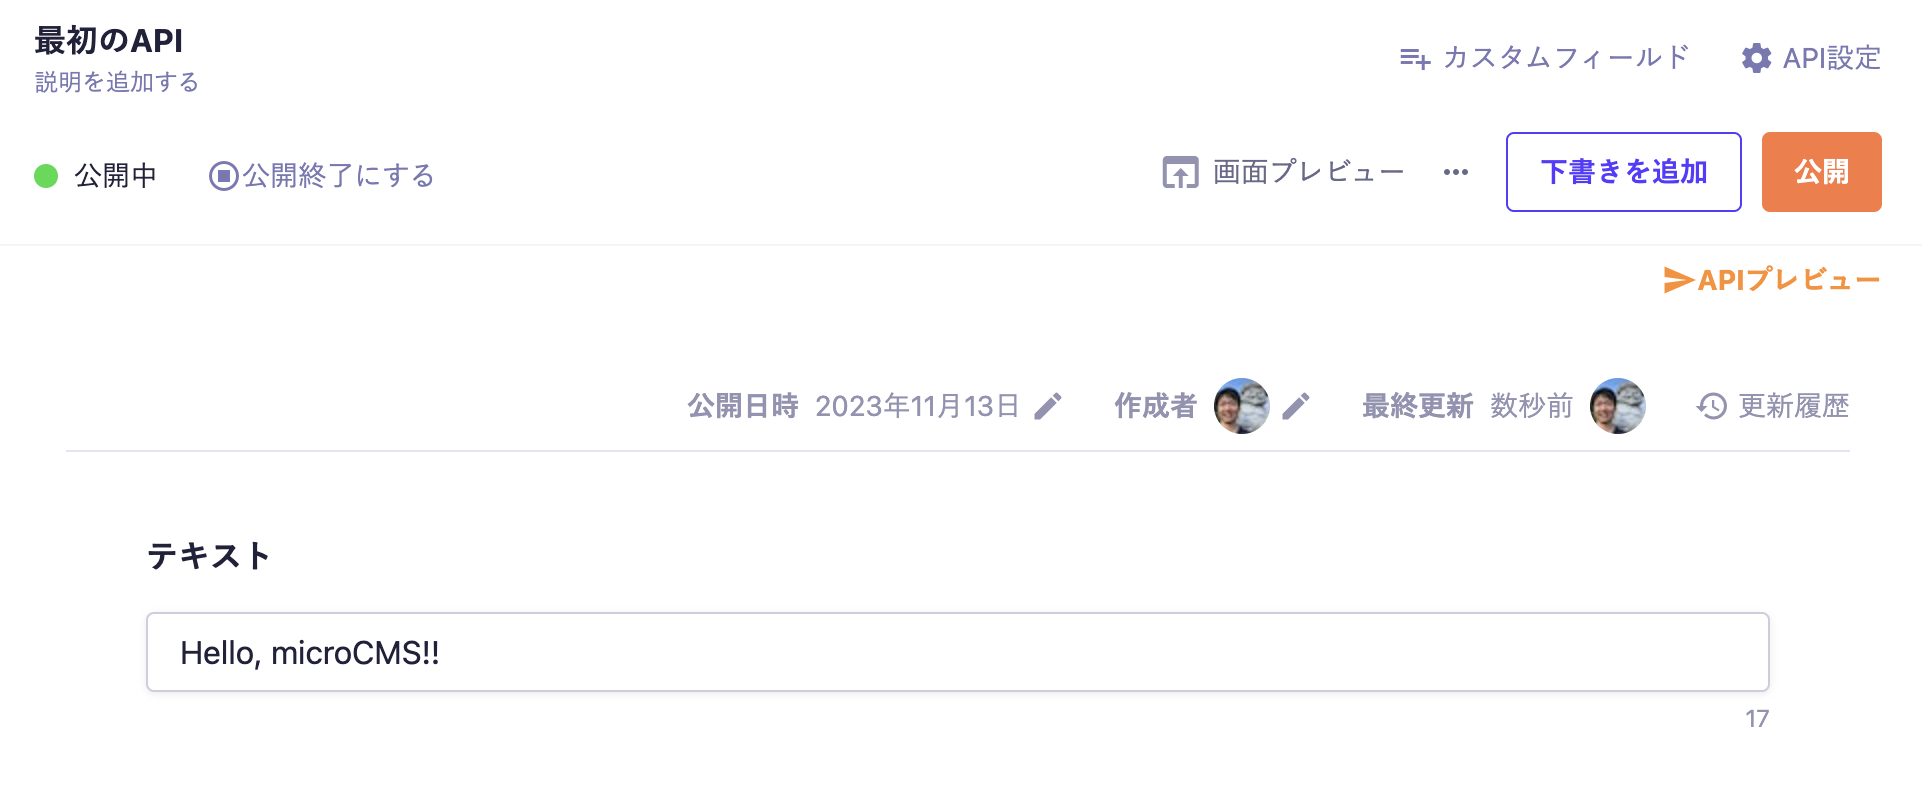
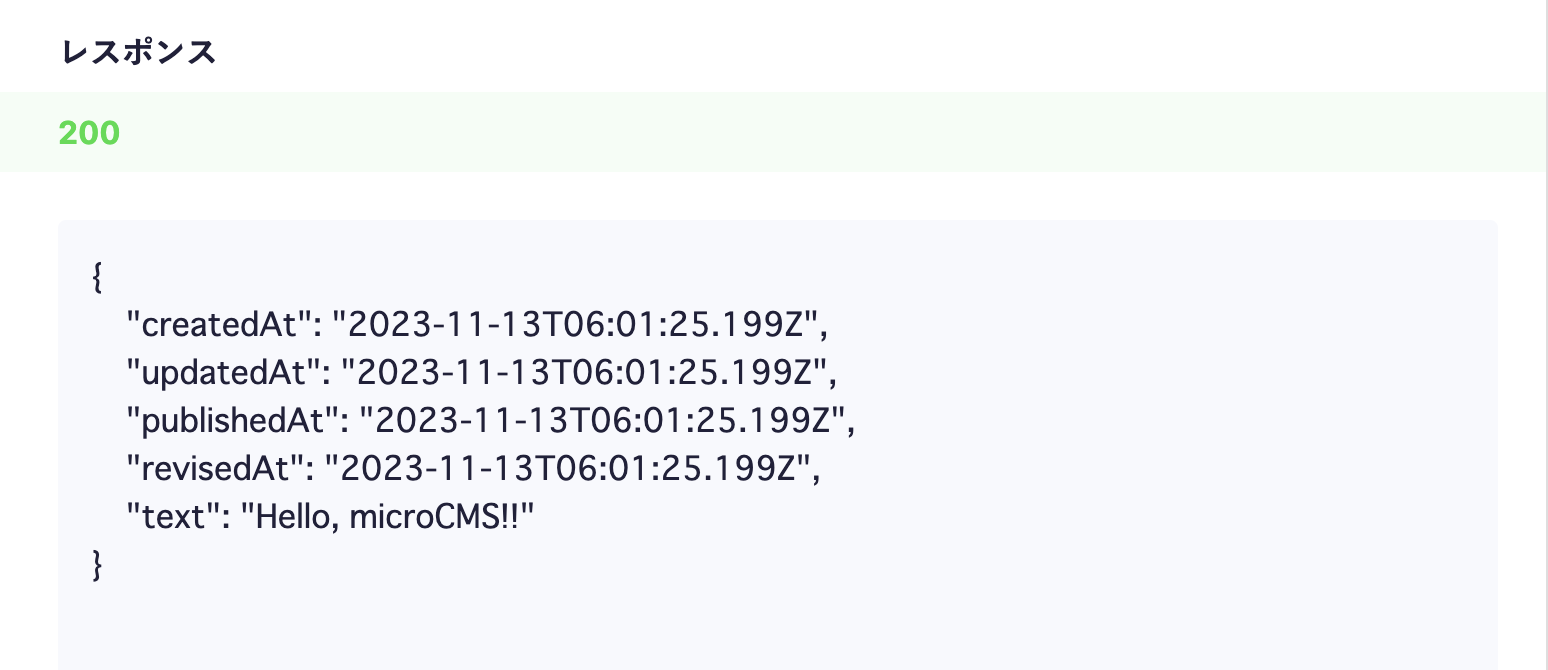
With the above settings, the API will be created, allowing you to submit content. Move to the editing screen, enter your desired values, and publish.
At this point, a response containing content data will be returned from the API. Click on the API preview in the upper right corner to access the created API and confirm that a JSON response is being returned.
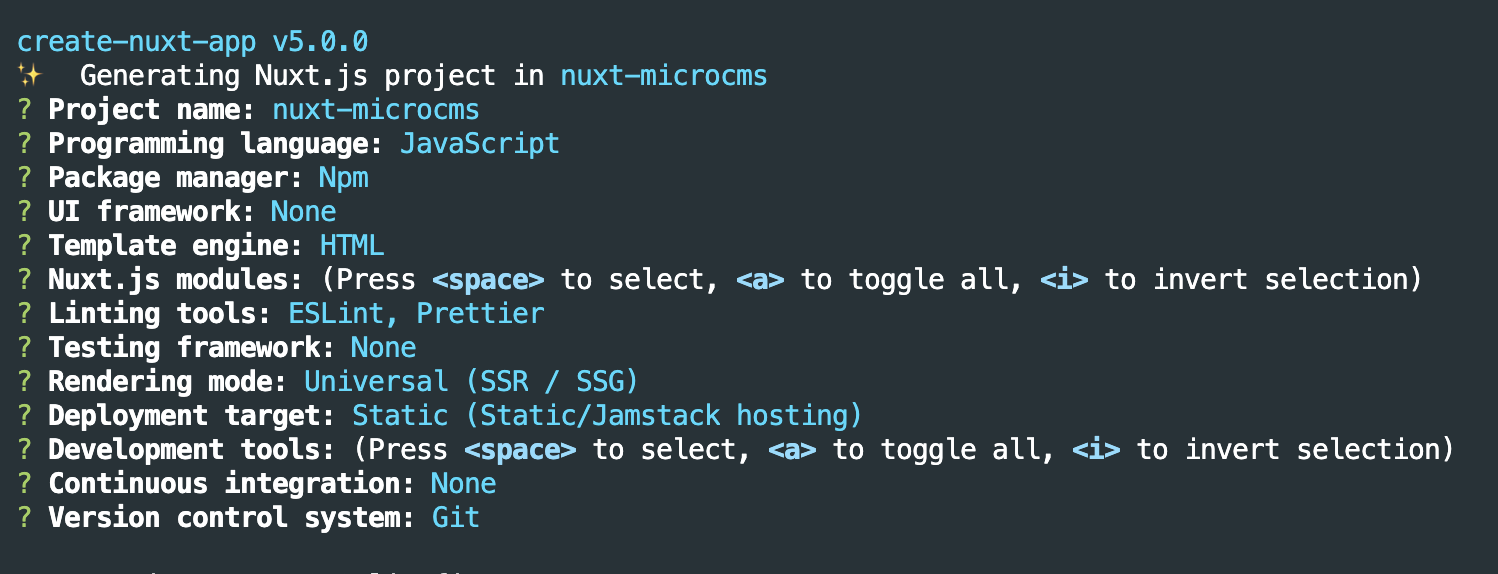
Next, create a Nuxt project using the official CLI provided by Nuxt. Let's run the following command.
$ npx create-nuxt-app nuxt-microcms
Information
npx command is a command that allows you to easily execute the CLI of npm packages.
When executing the command, a dialog prompt will be displayed, and you can freely input according to your environment. Below are some example settings for reference.
After the project creation is complete, let's start the development server using the dev command.
$ cd nuxt-microcms
$ npm run dev
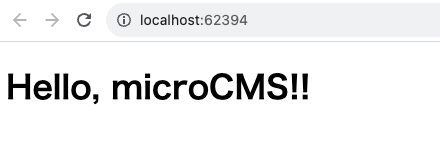
Then, access localhost:3000. If the creation is successful, a screen like the one below will appear in the browser.
Then, configure it in nuxt.config.js as follows. Enter the microCMS service ID (subdomain part) in serviceDomain and the service-specific API key in apiKey.
The asyncData() method can operate on both the server side and the client side. By performing API communication here, you can unify the processing during build time and page transitions. Reference: https://ja.nuxtjs.org/guide/async-data/
Within asyncData(), we communicate with microCMS and pass the results to the template for display.
Now, let's access localhost:3000 to see the results.
Change the content submitted to microCMS and confirm that the displayed content on the screen also changes.