This document outlines the steps to use microCMS with Next.js's App Router. If you are using microCMS from Next.js's App Router for the first time, please try these steps first.
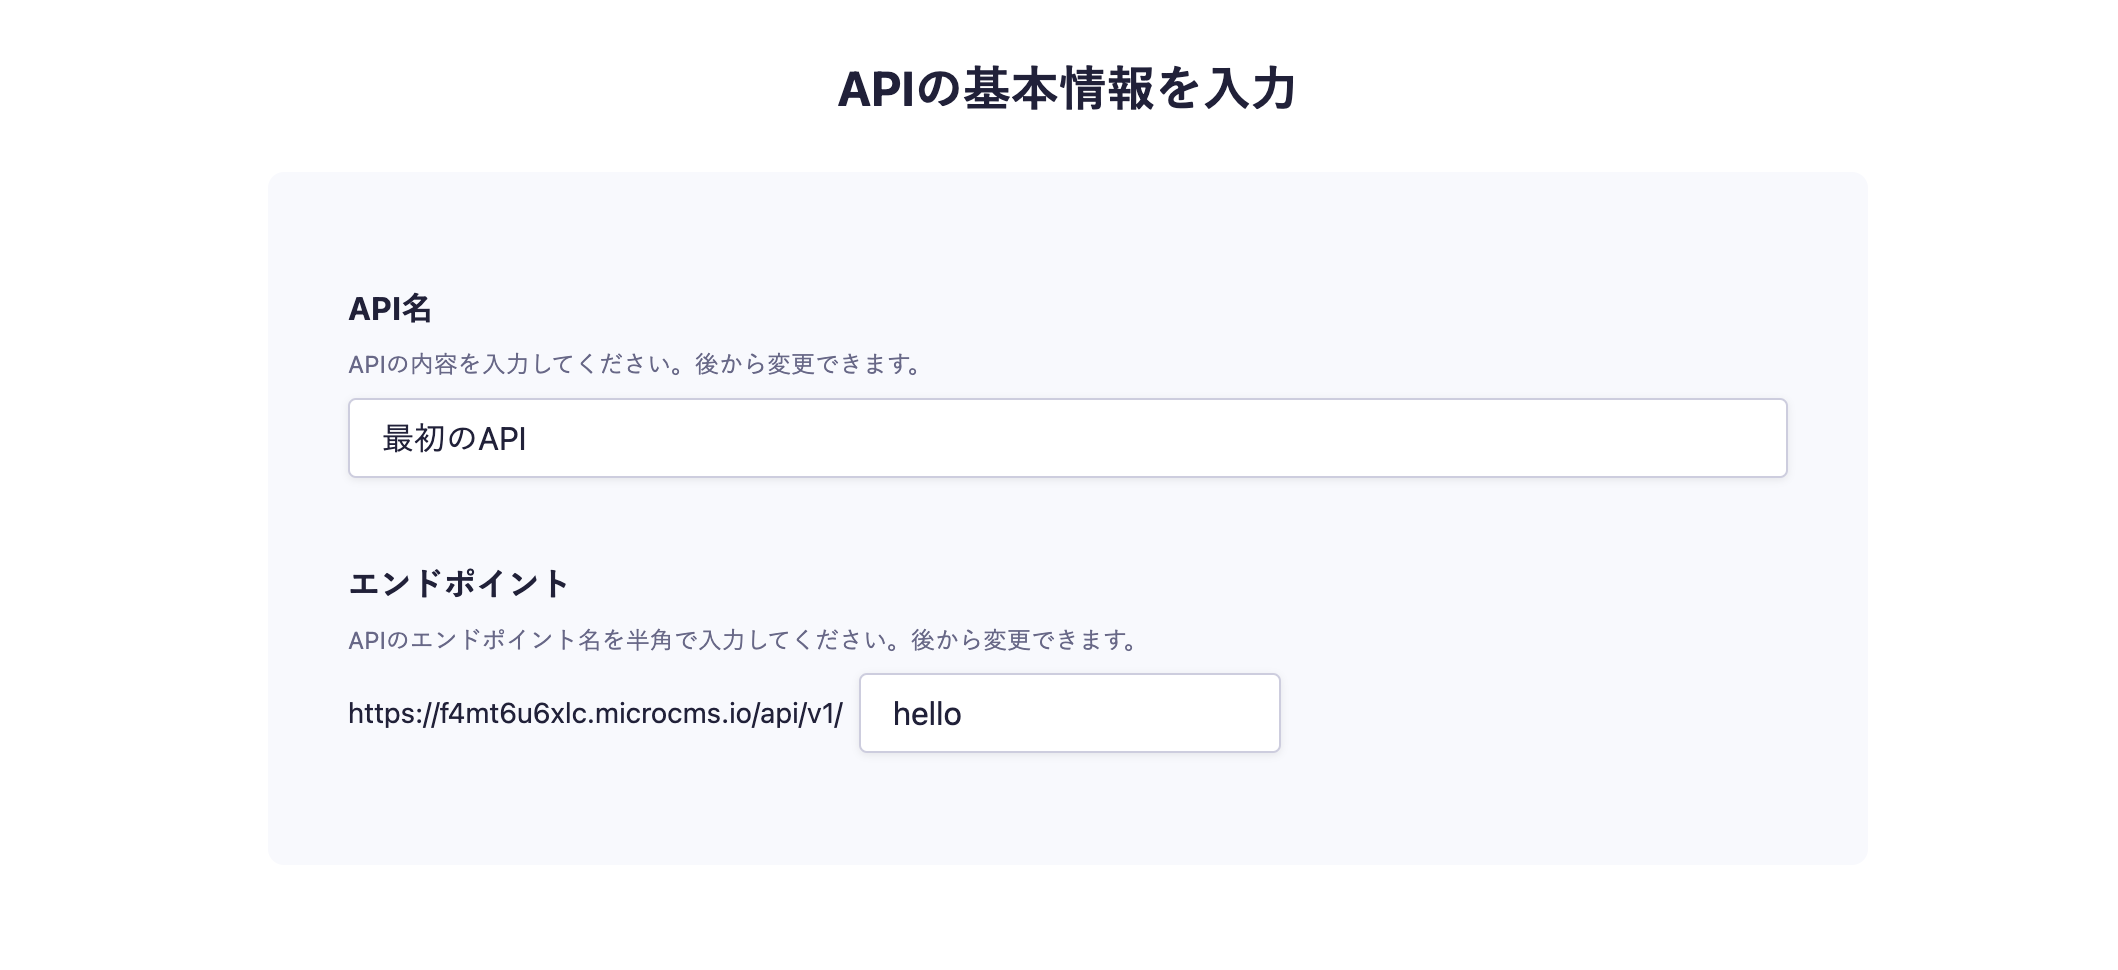
In the API creation screen, enter the desired API name and endpoint.
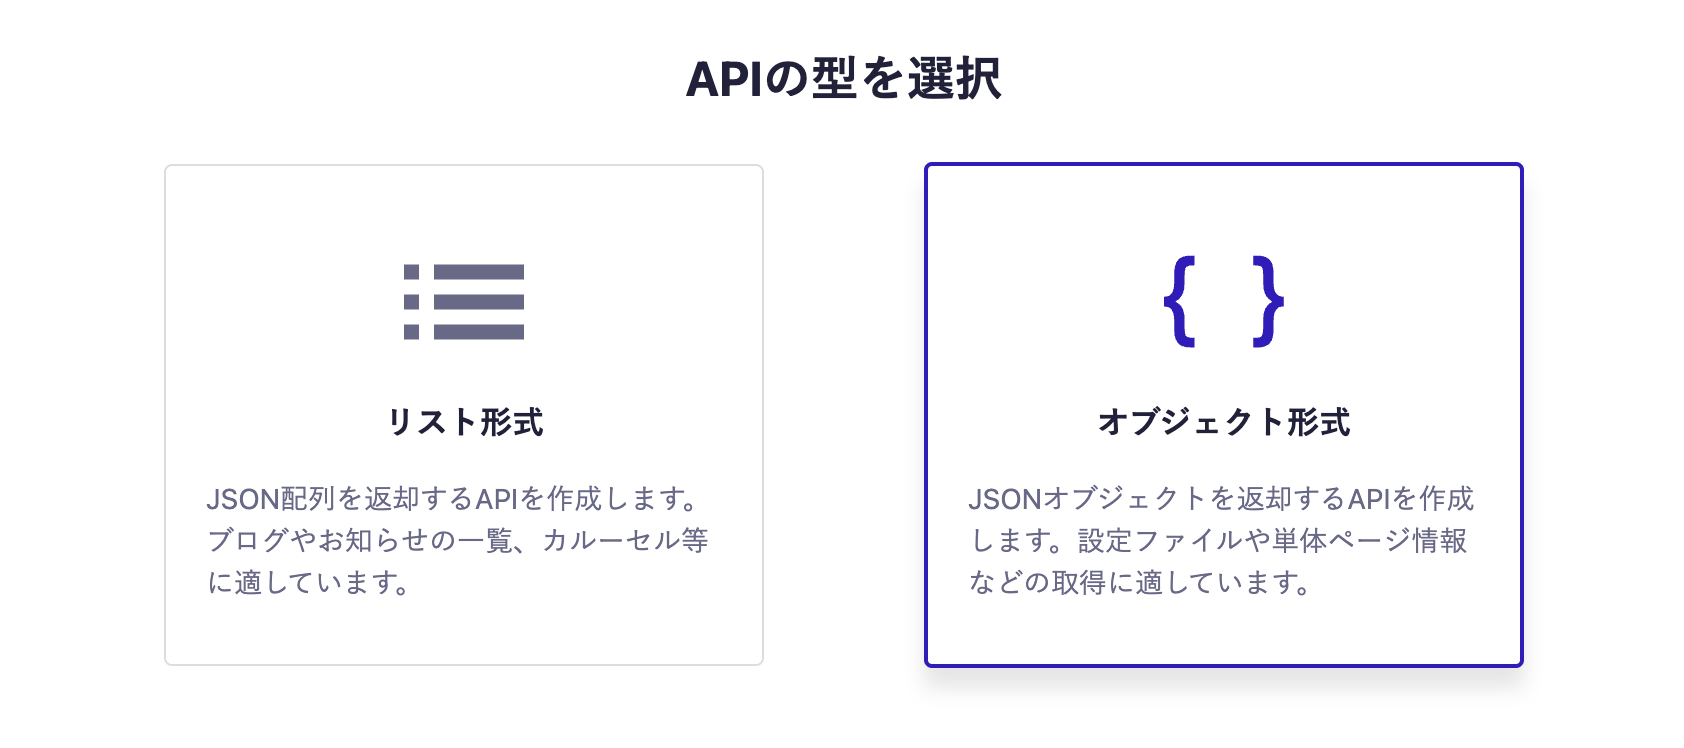
Next, select the object format.
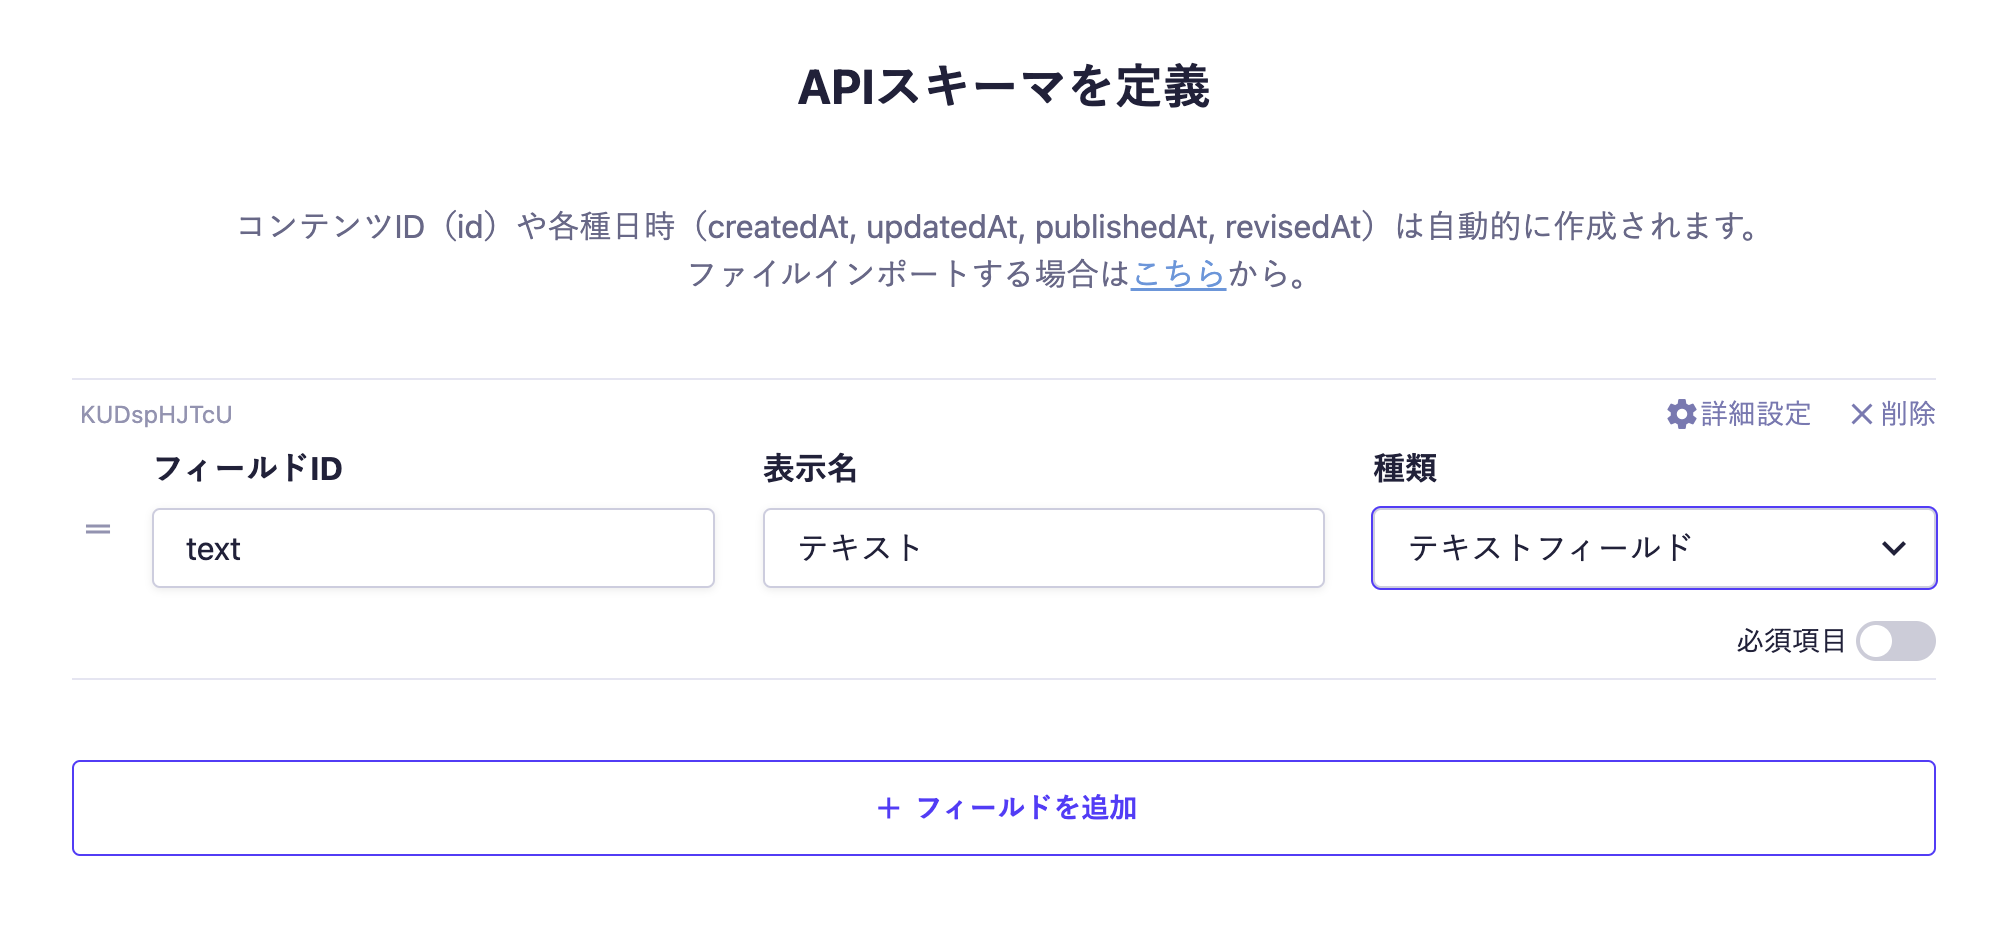
Finally, set the fields. This time, we will set only one text field.
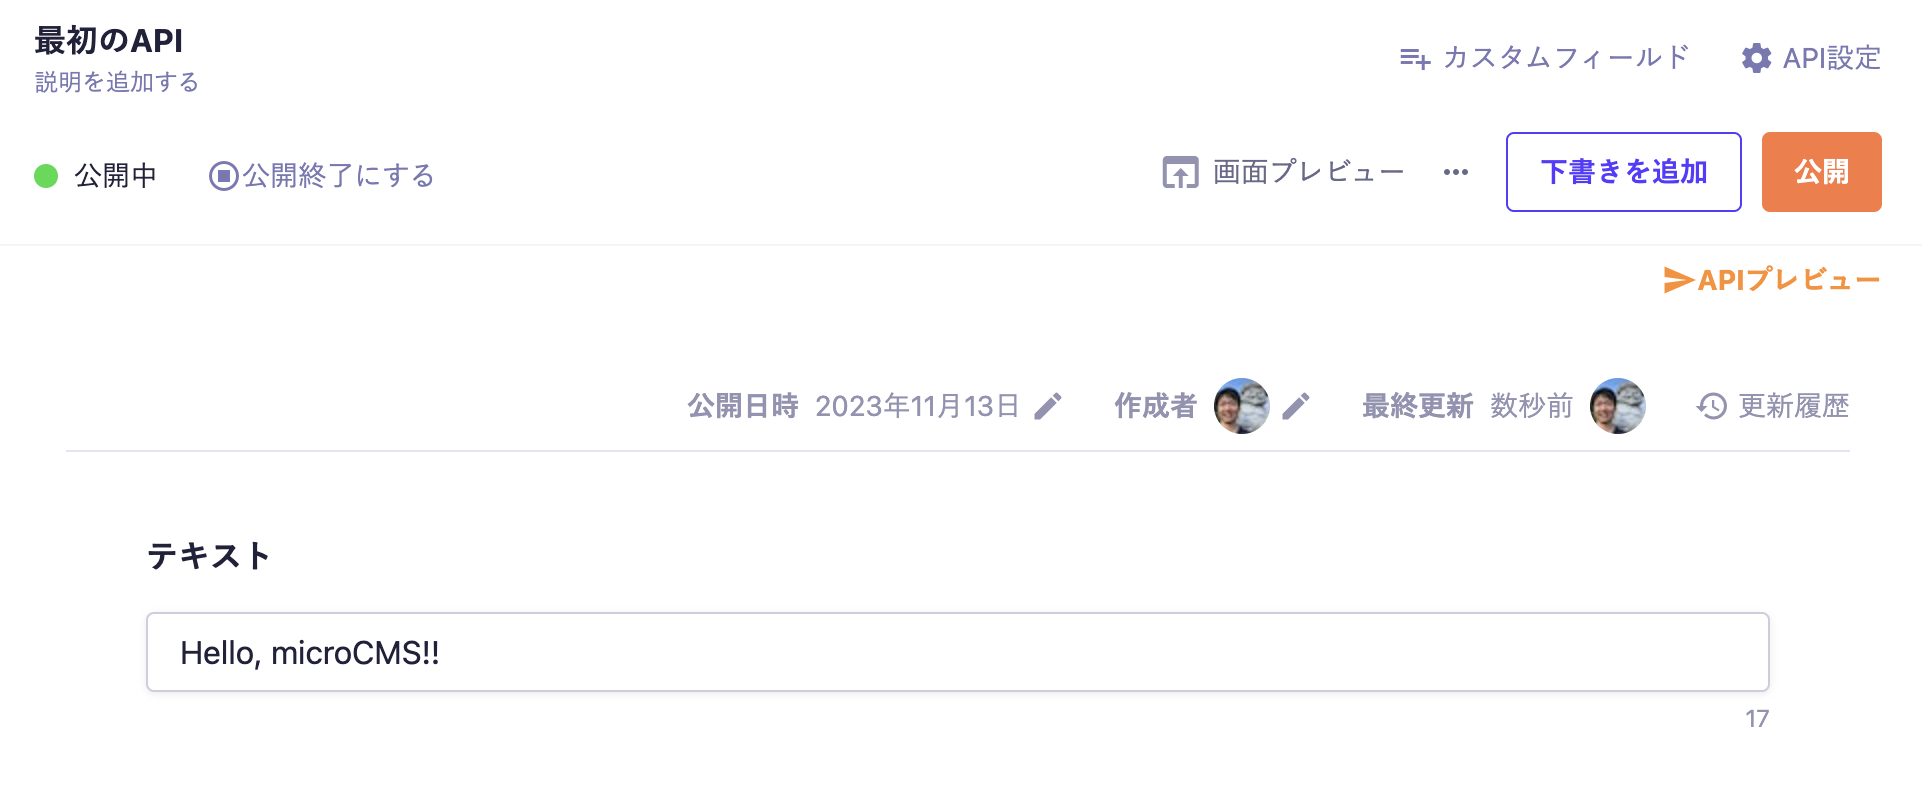
With the above settings, the API will be created, allowing you to submit content. Move to the editing screen, enter the desired values, and publish.
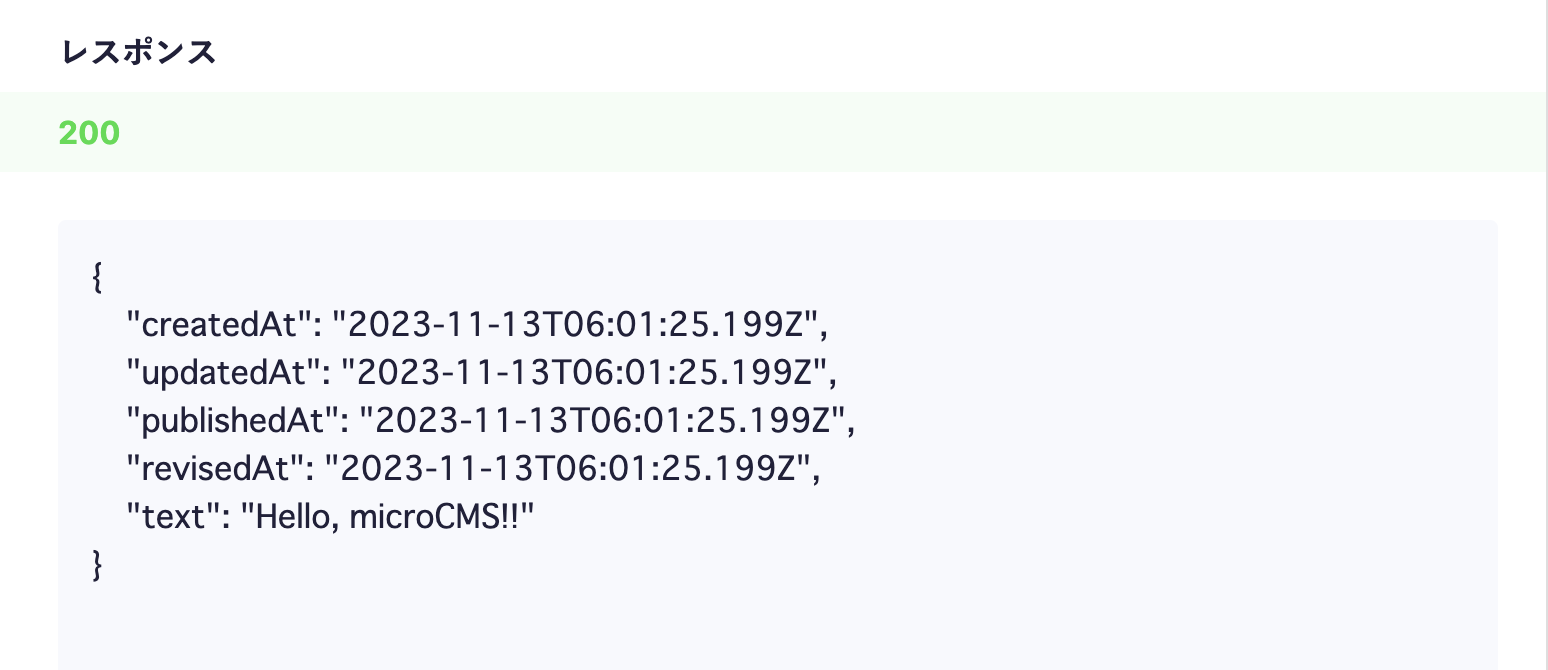
At this point, a response containing content data will be returned from the API. Click on the API preview in the upper right corner to access the created API and confirm that a JSON response is being returned.
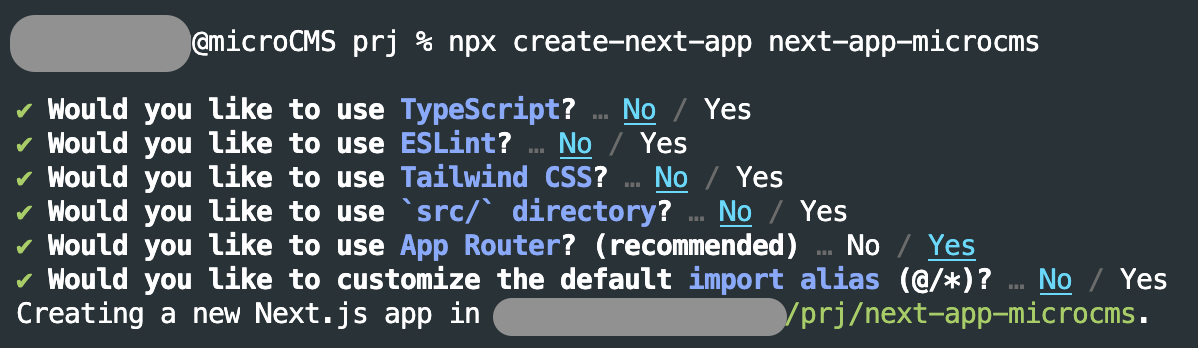
Next, create a Next.js project using the official CLI provided by Next.js. Let's run the following command.
npx create-next-app next-app-microcms
During this process, several options will appear, but select all the default options.
If the operation is successful, the project creation will be complete. Navigate to the corresponding directory and start the development server.
cd next-app-microcms
npm run dev
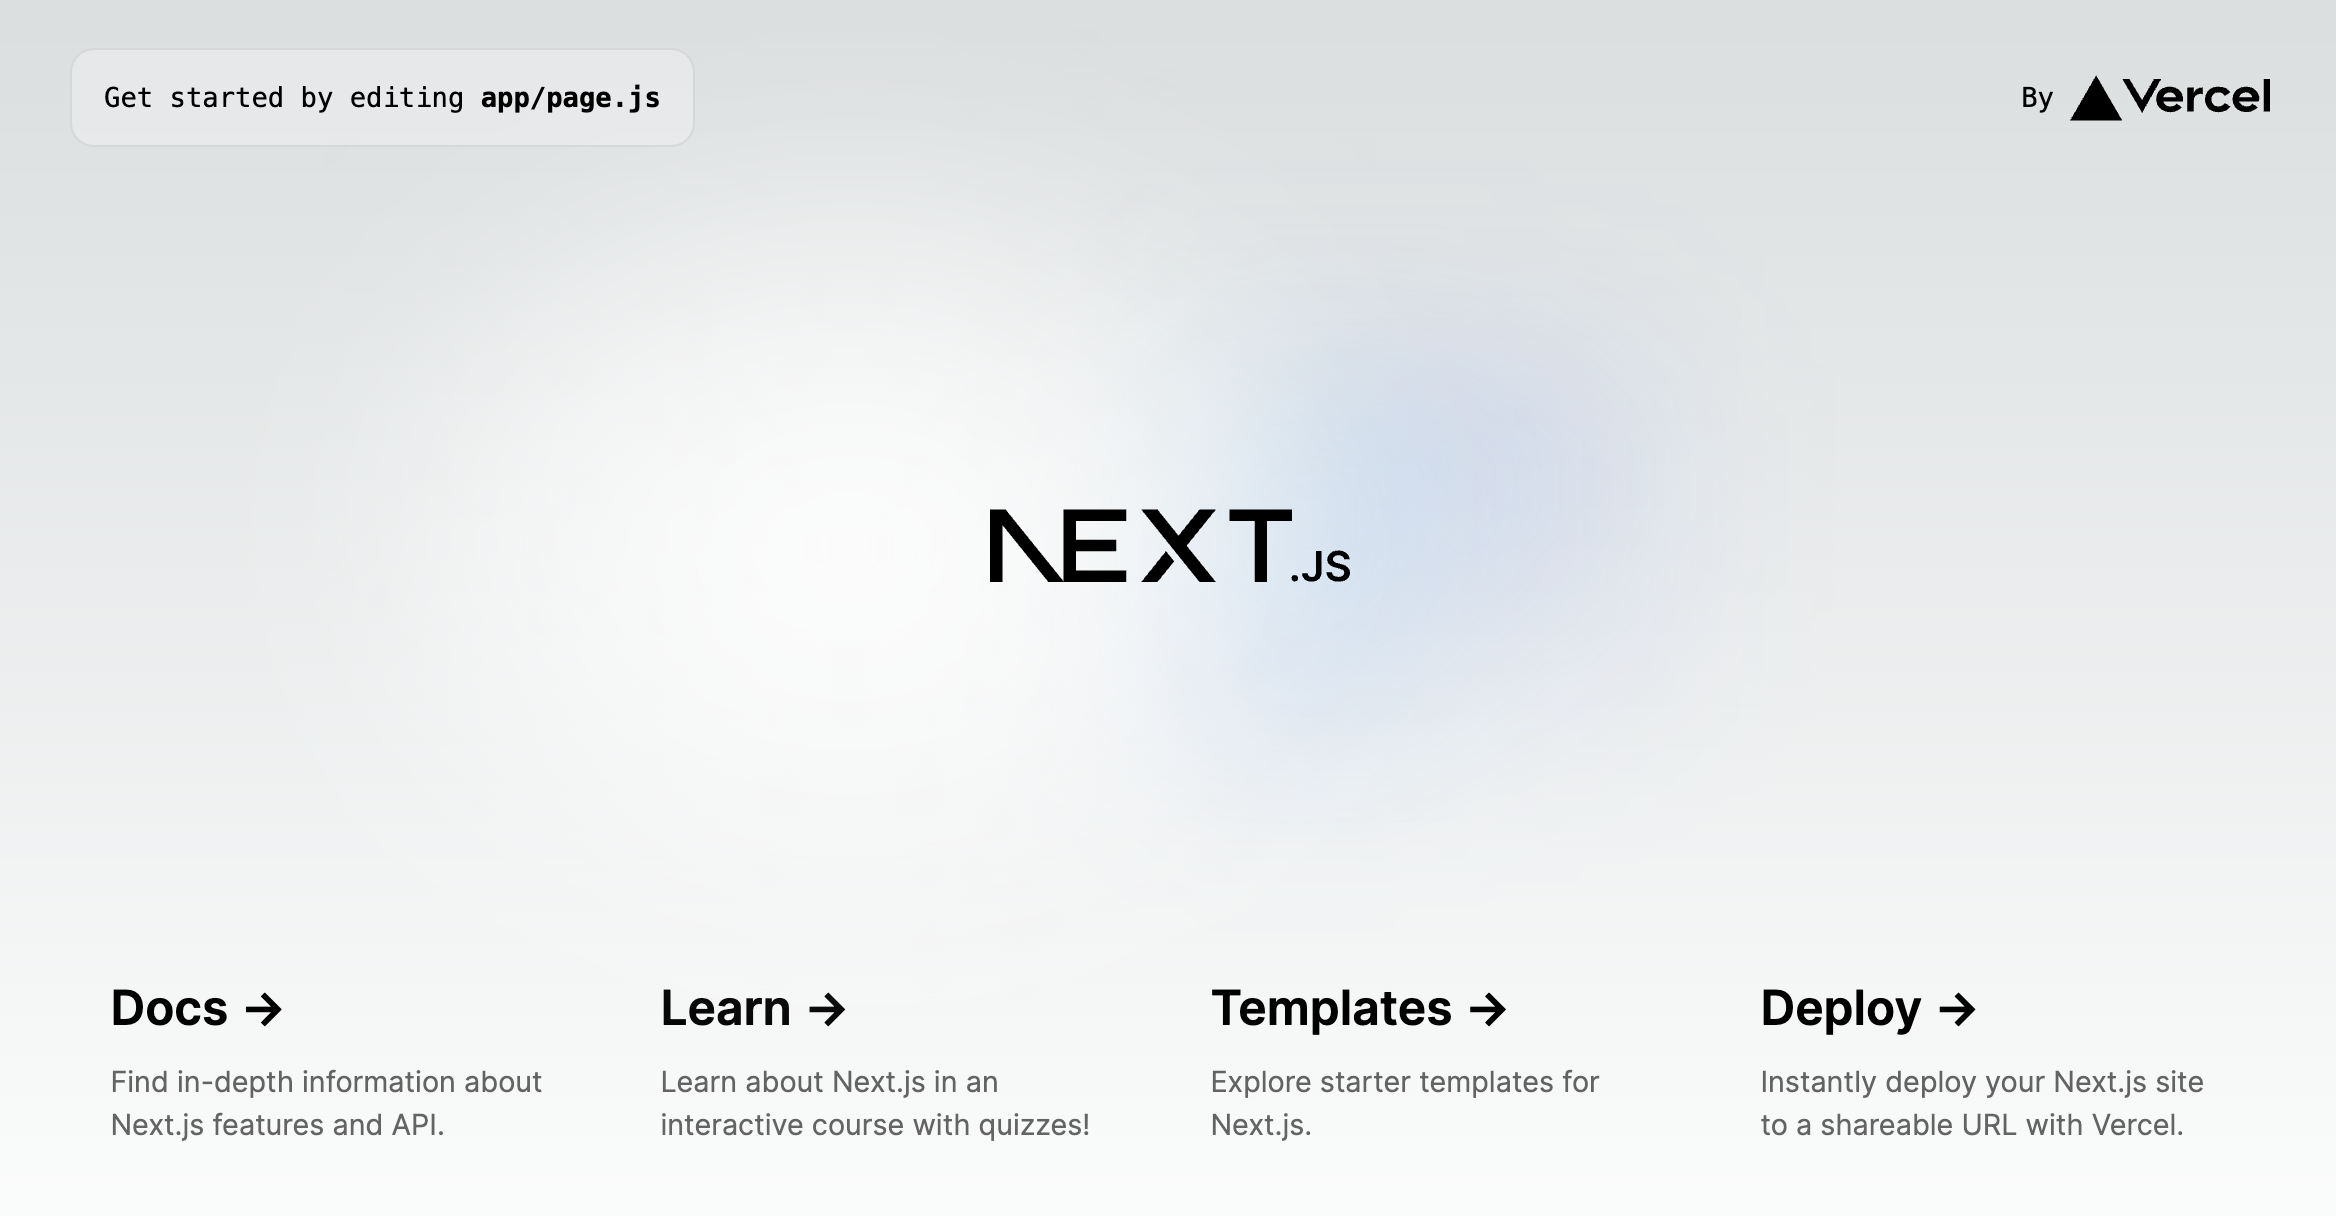
Then, access http://localhost:3000 from your browser. If the server has started successfully, the initial screen will be displayed in the browser as shown below.
Here, we are performing the initial setup for the SDK. service-domain and api-key will have different values for each service, so you need to configure them according to the relevant service. Set service-domain to the XXXX part of the created service "https://XXXX.microcms.io". Copy and paste the string of the automatically generated API key into api-key. Select "1 API key" at the bottom of the sidebar, navigate to the API key list, and copy and paste the created API key.
Here, we are fetching data from microCMS within the Home component. This component is called a server component, which is processed only on the server side. This part of the processing will not be included in the final generated JavaScript.
This time, we are passing the data fetched from microCMS as data to the template side for display. Access http://localhost:3000 in this state.
If it is displayed as shown above, you have successfully connected the data with microCMS. Try changing the content submitted to microCMS and see if the displayed content changes as well.
Information
Since the server is running in development mode this time, changes are reflected immediately. However, under the default behavior of server components, changes will not be reflected unless the fetch cache is cleared and a rebuild is performed. Please refer to the official documentation for more details.