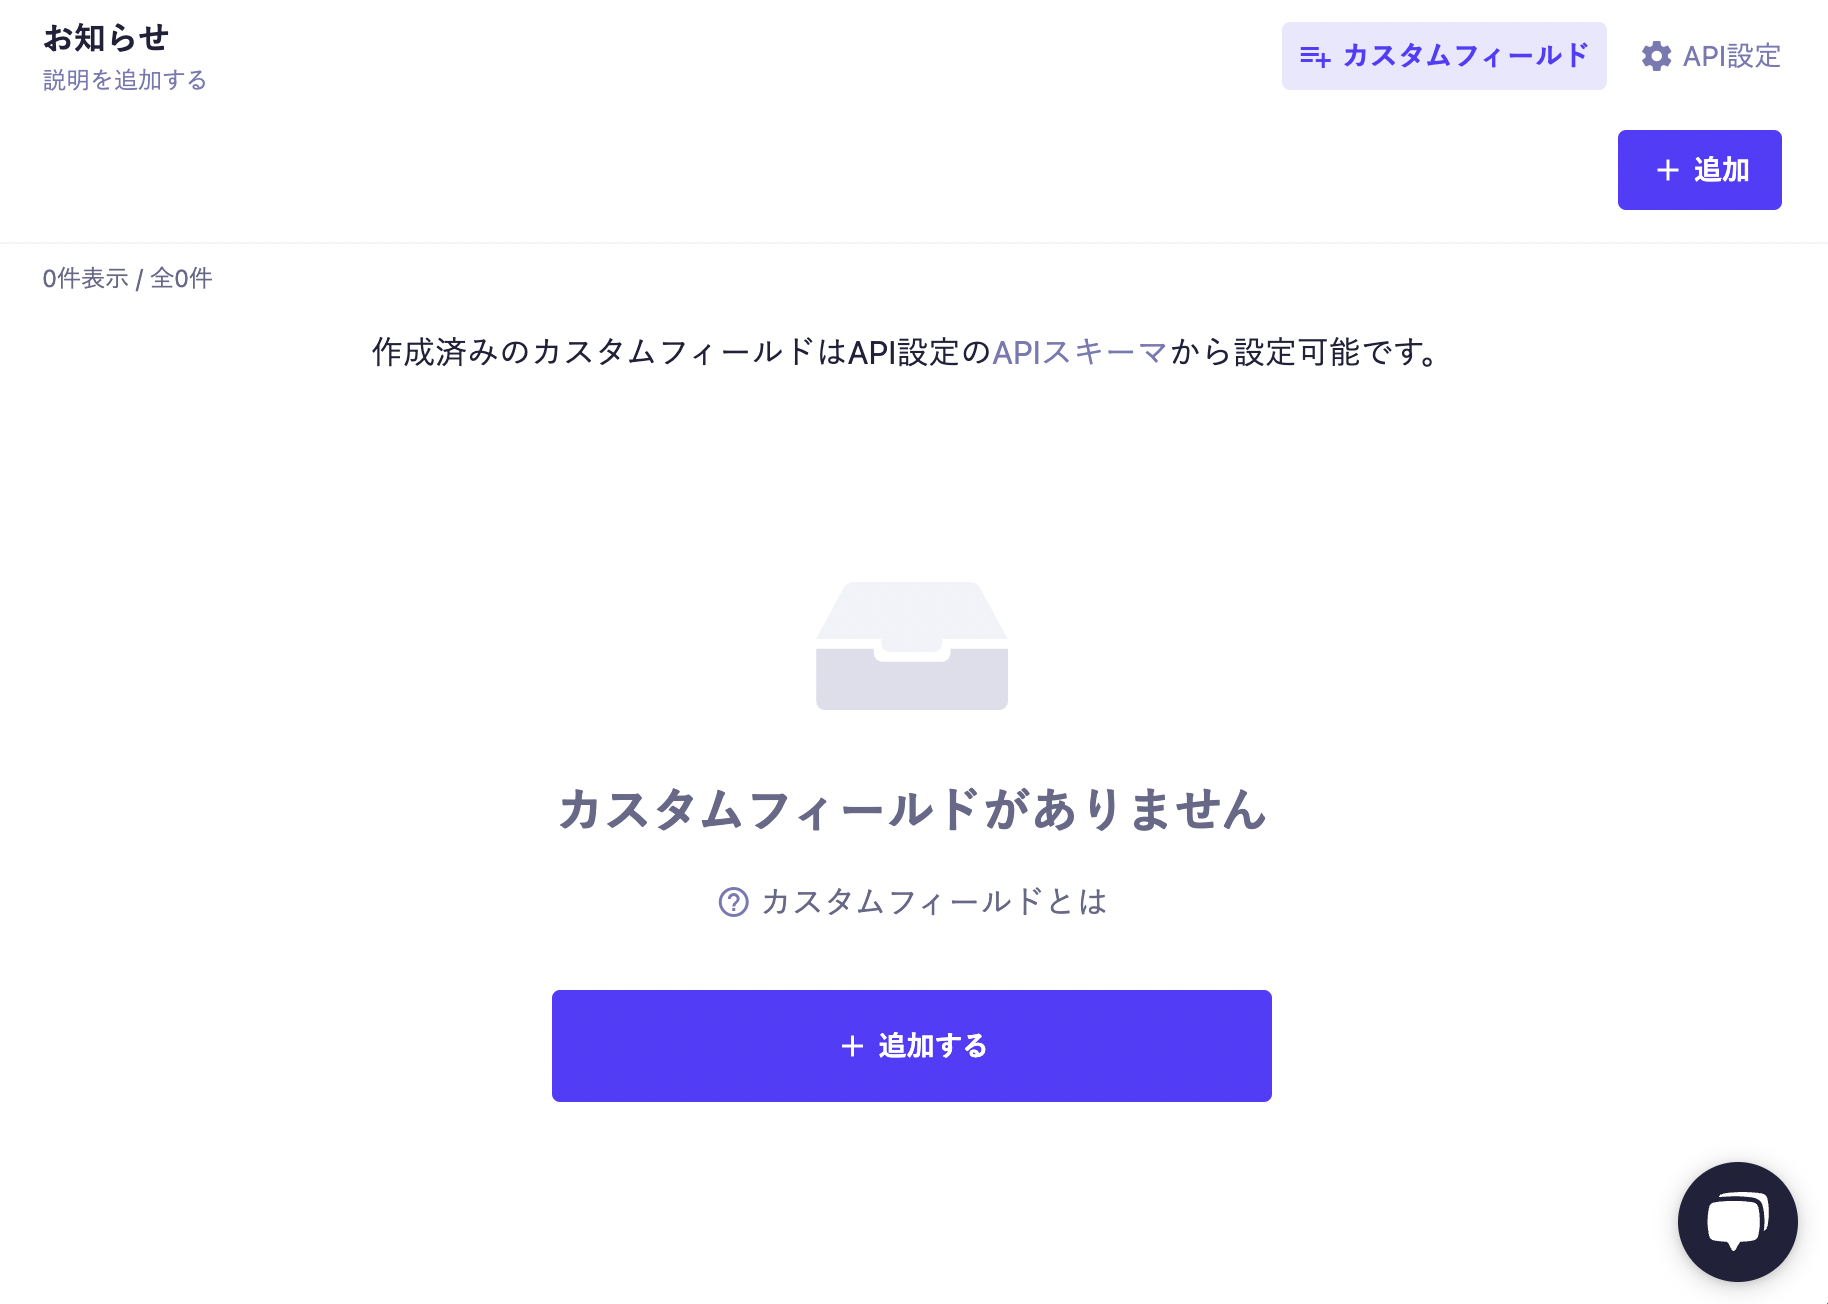
Custom Fields can be created for each API. Clicking the "Custom Fields" link in the upper right corner of the screen when selecting an API will take you to the list of Custom Fields.
After that, you can transition to the Custom Field creation screen by clicking the "Add" button.
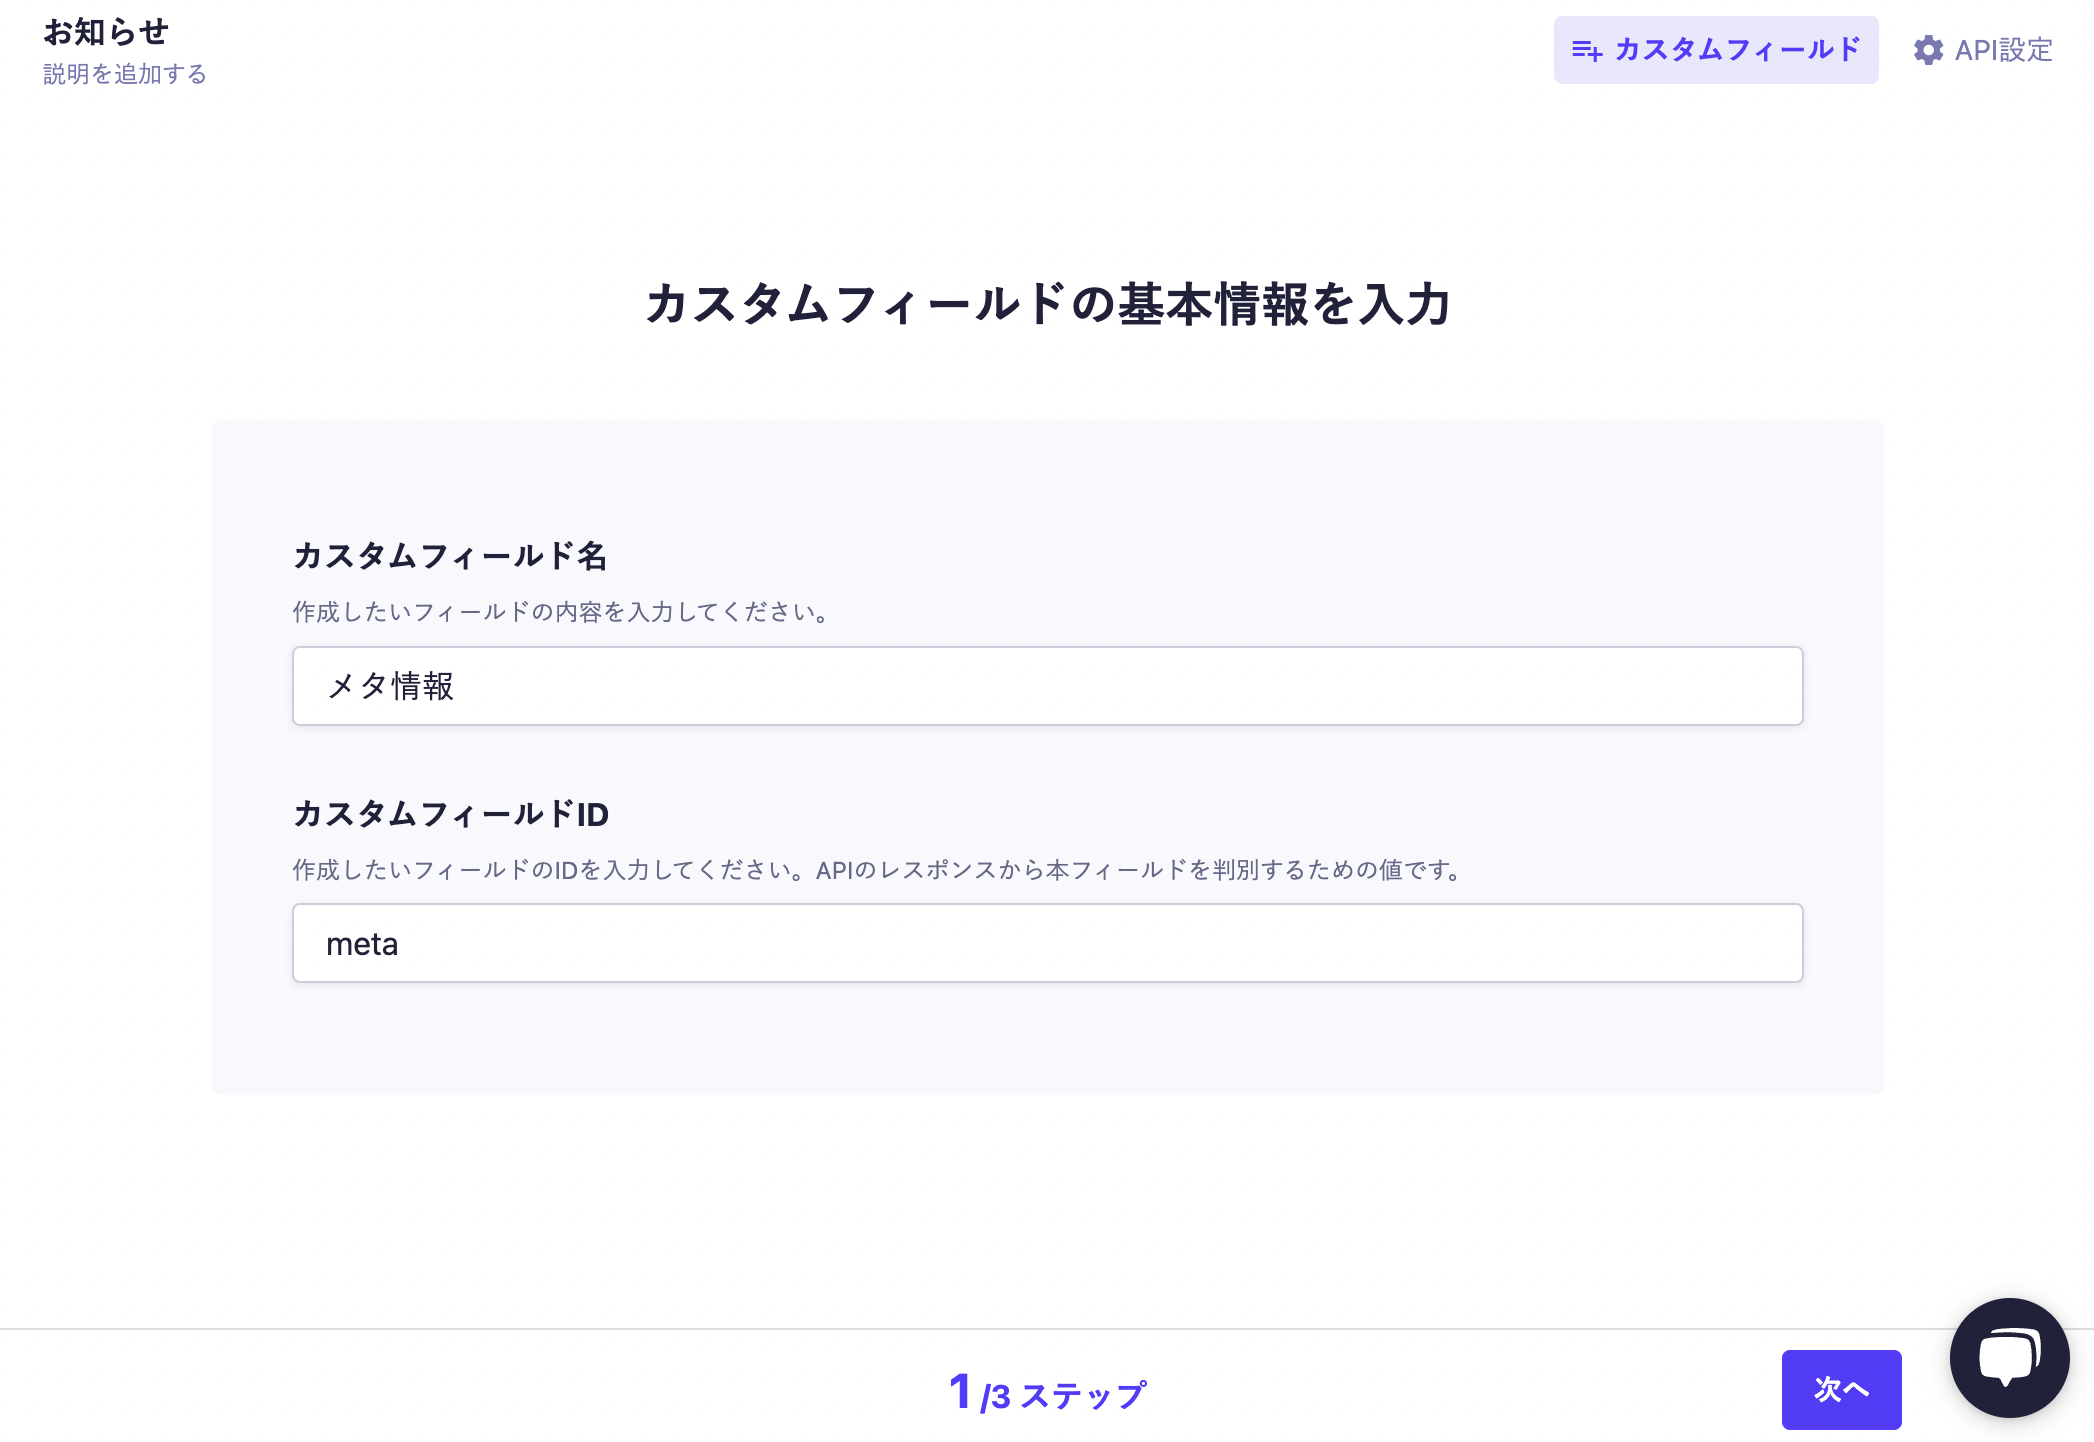
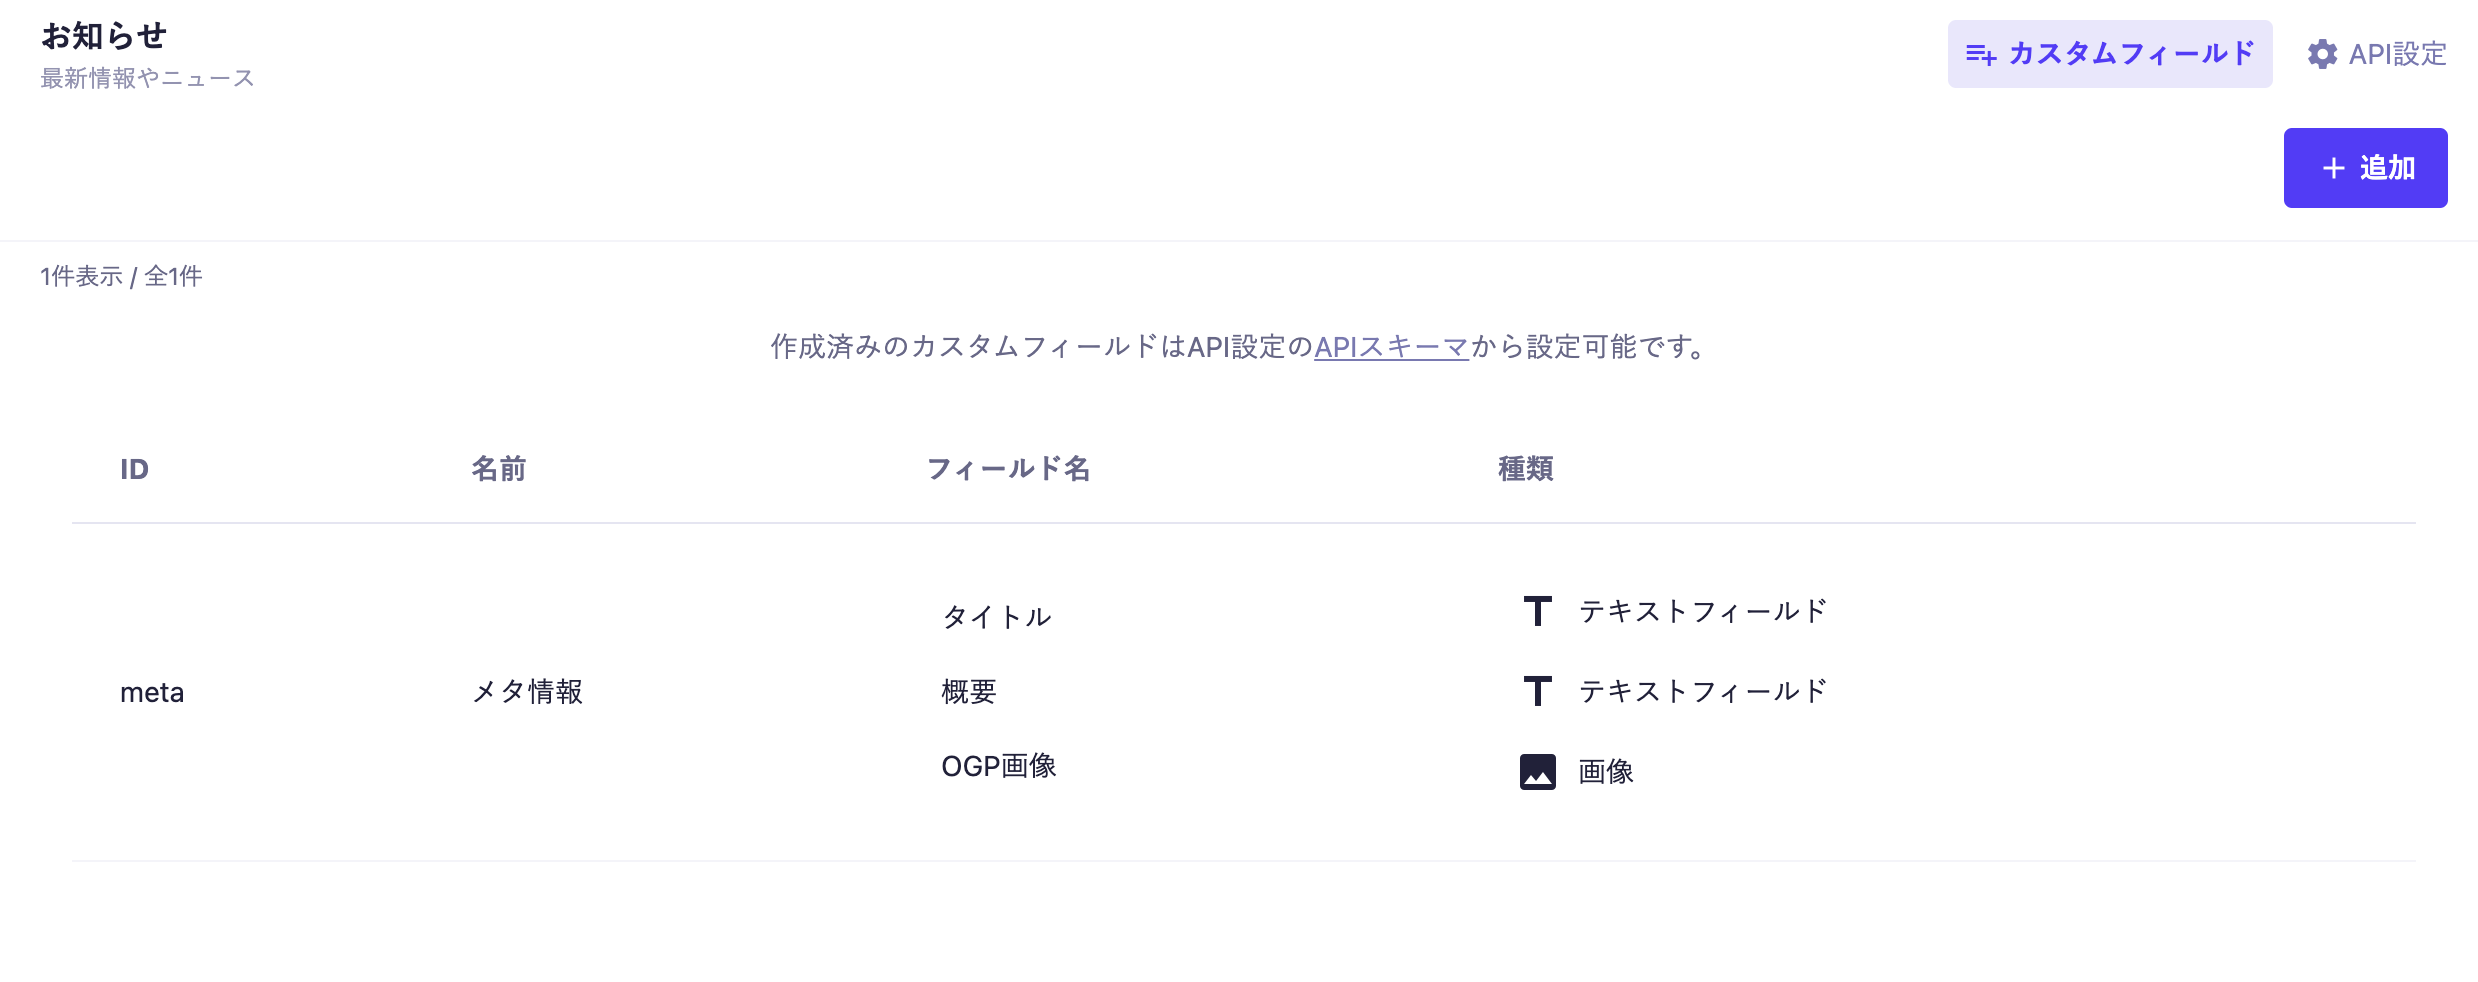
Here, we will introduce an example of creating a Custom Field that summarizes meta information.
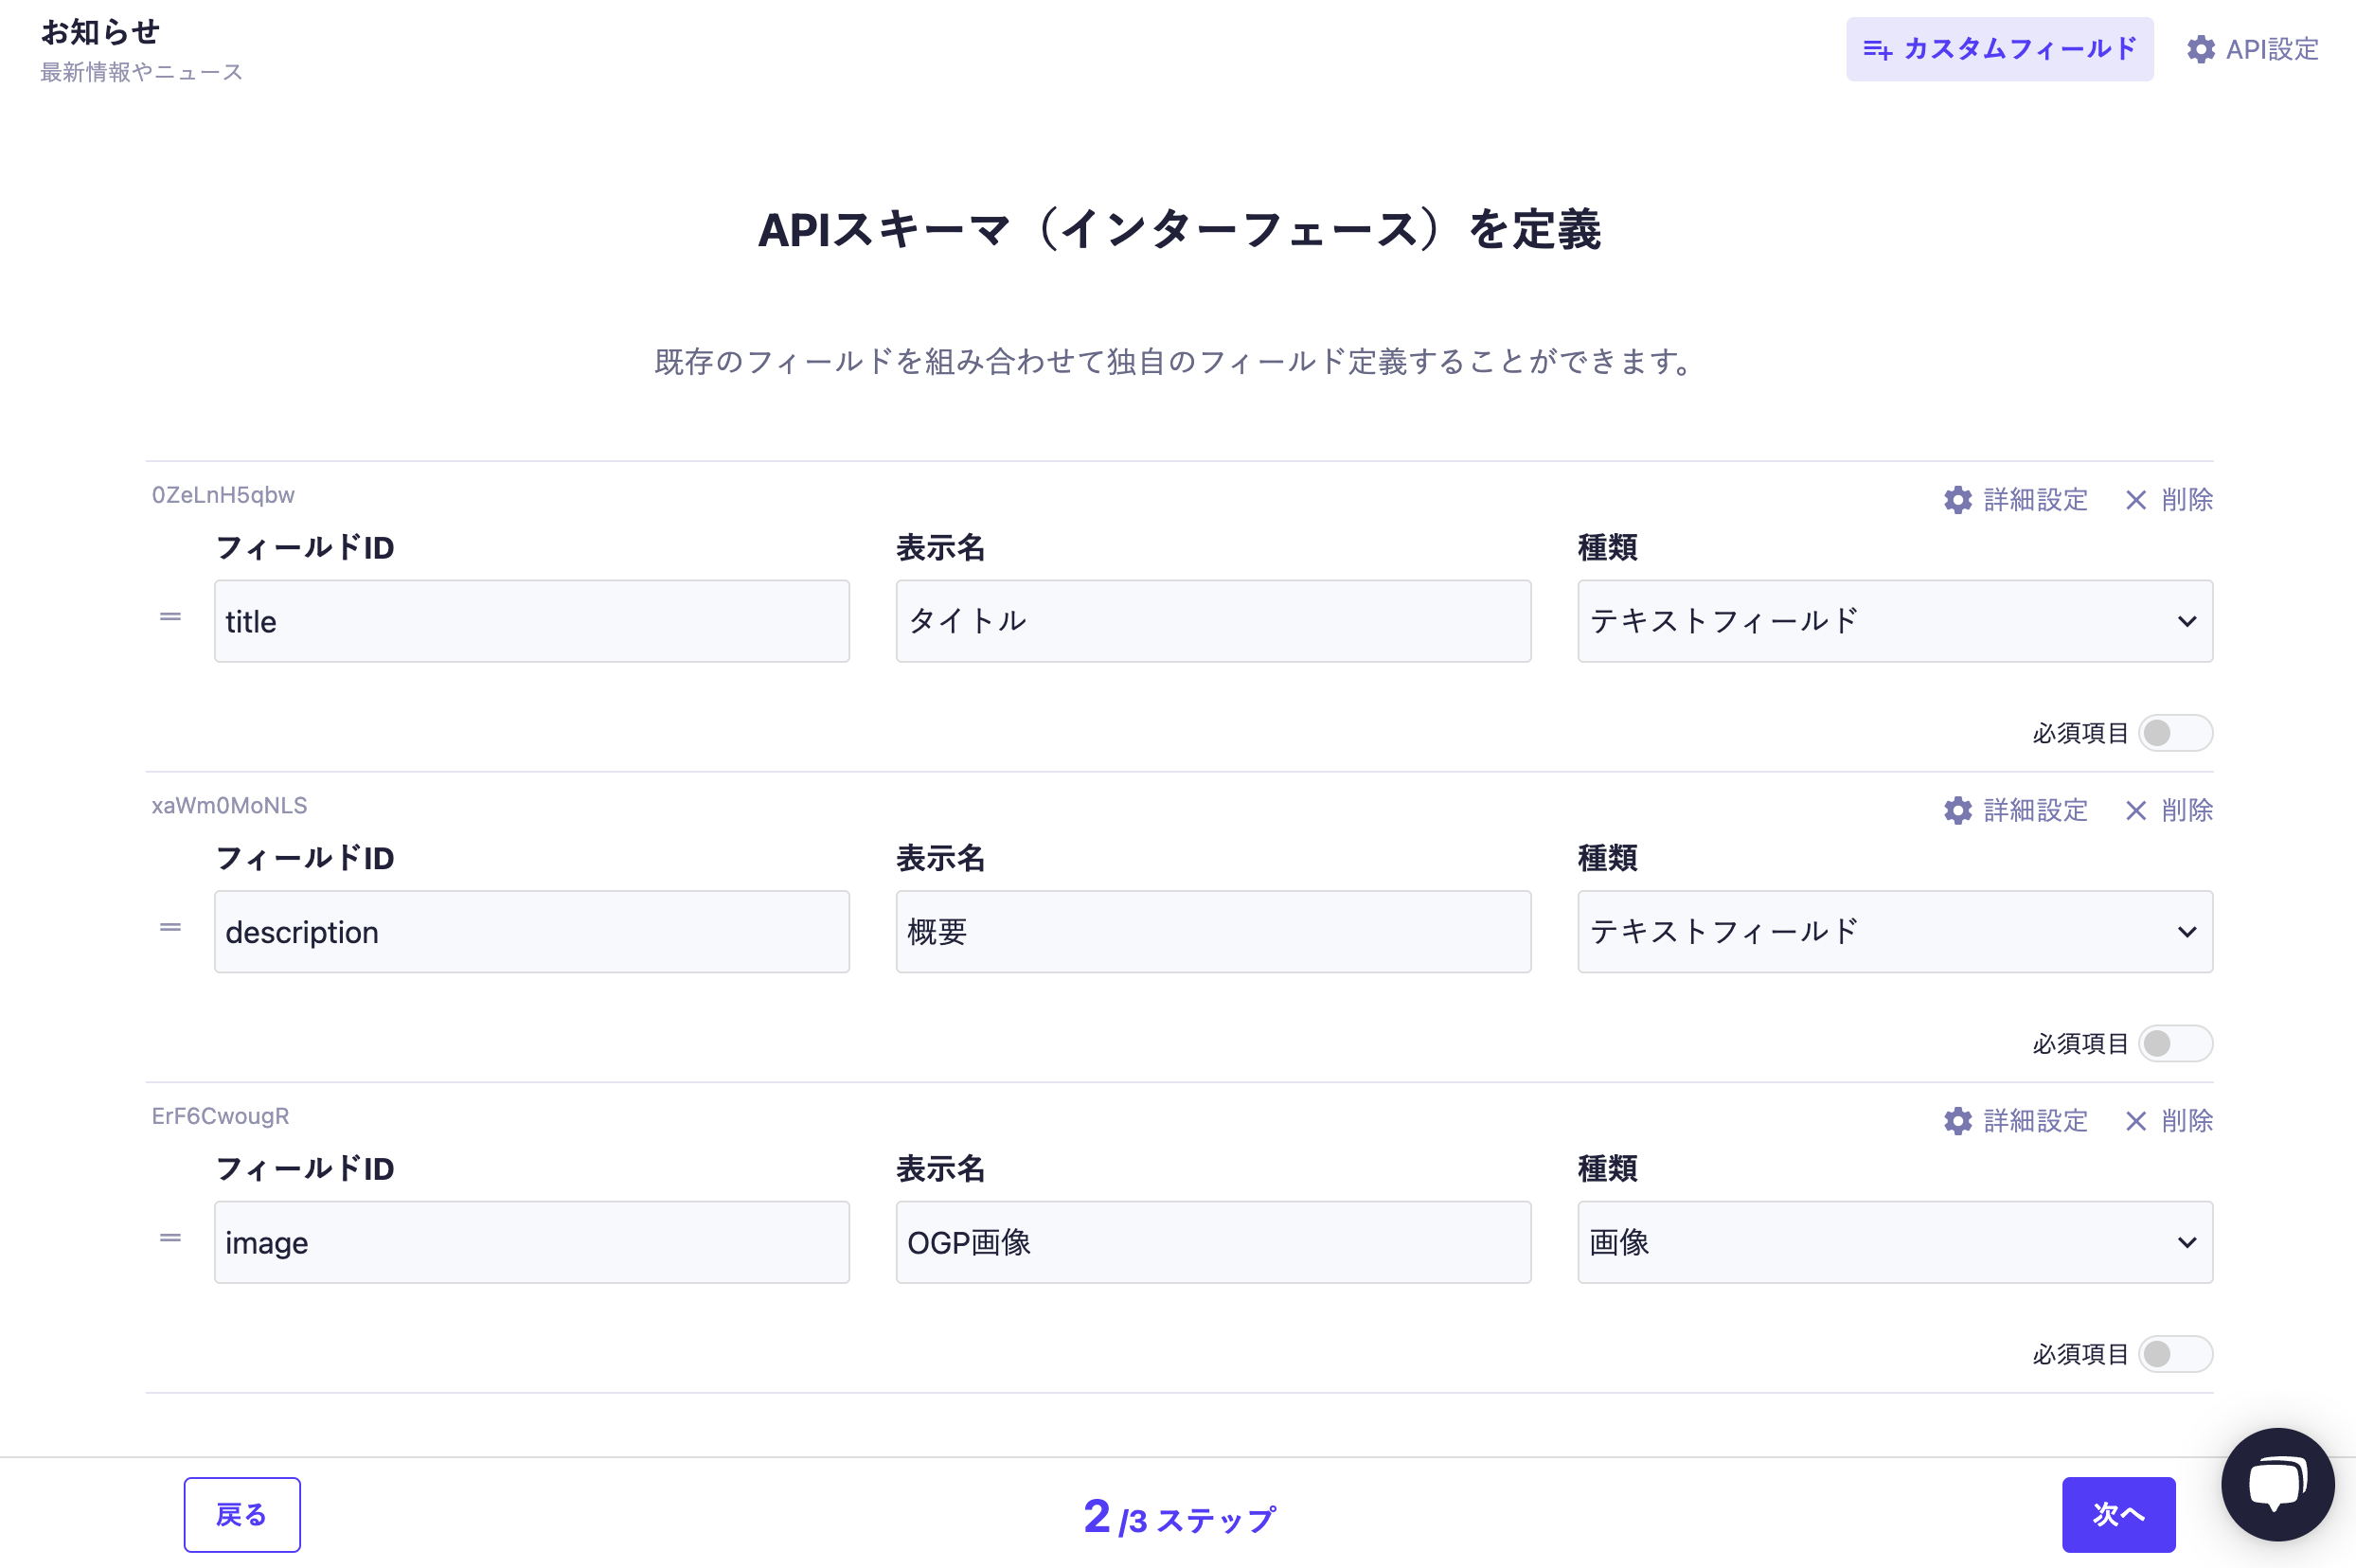
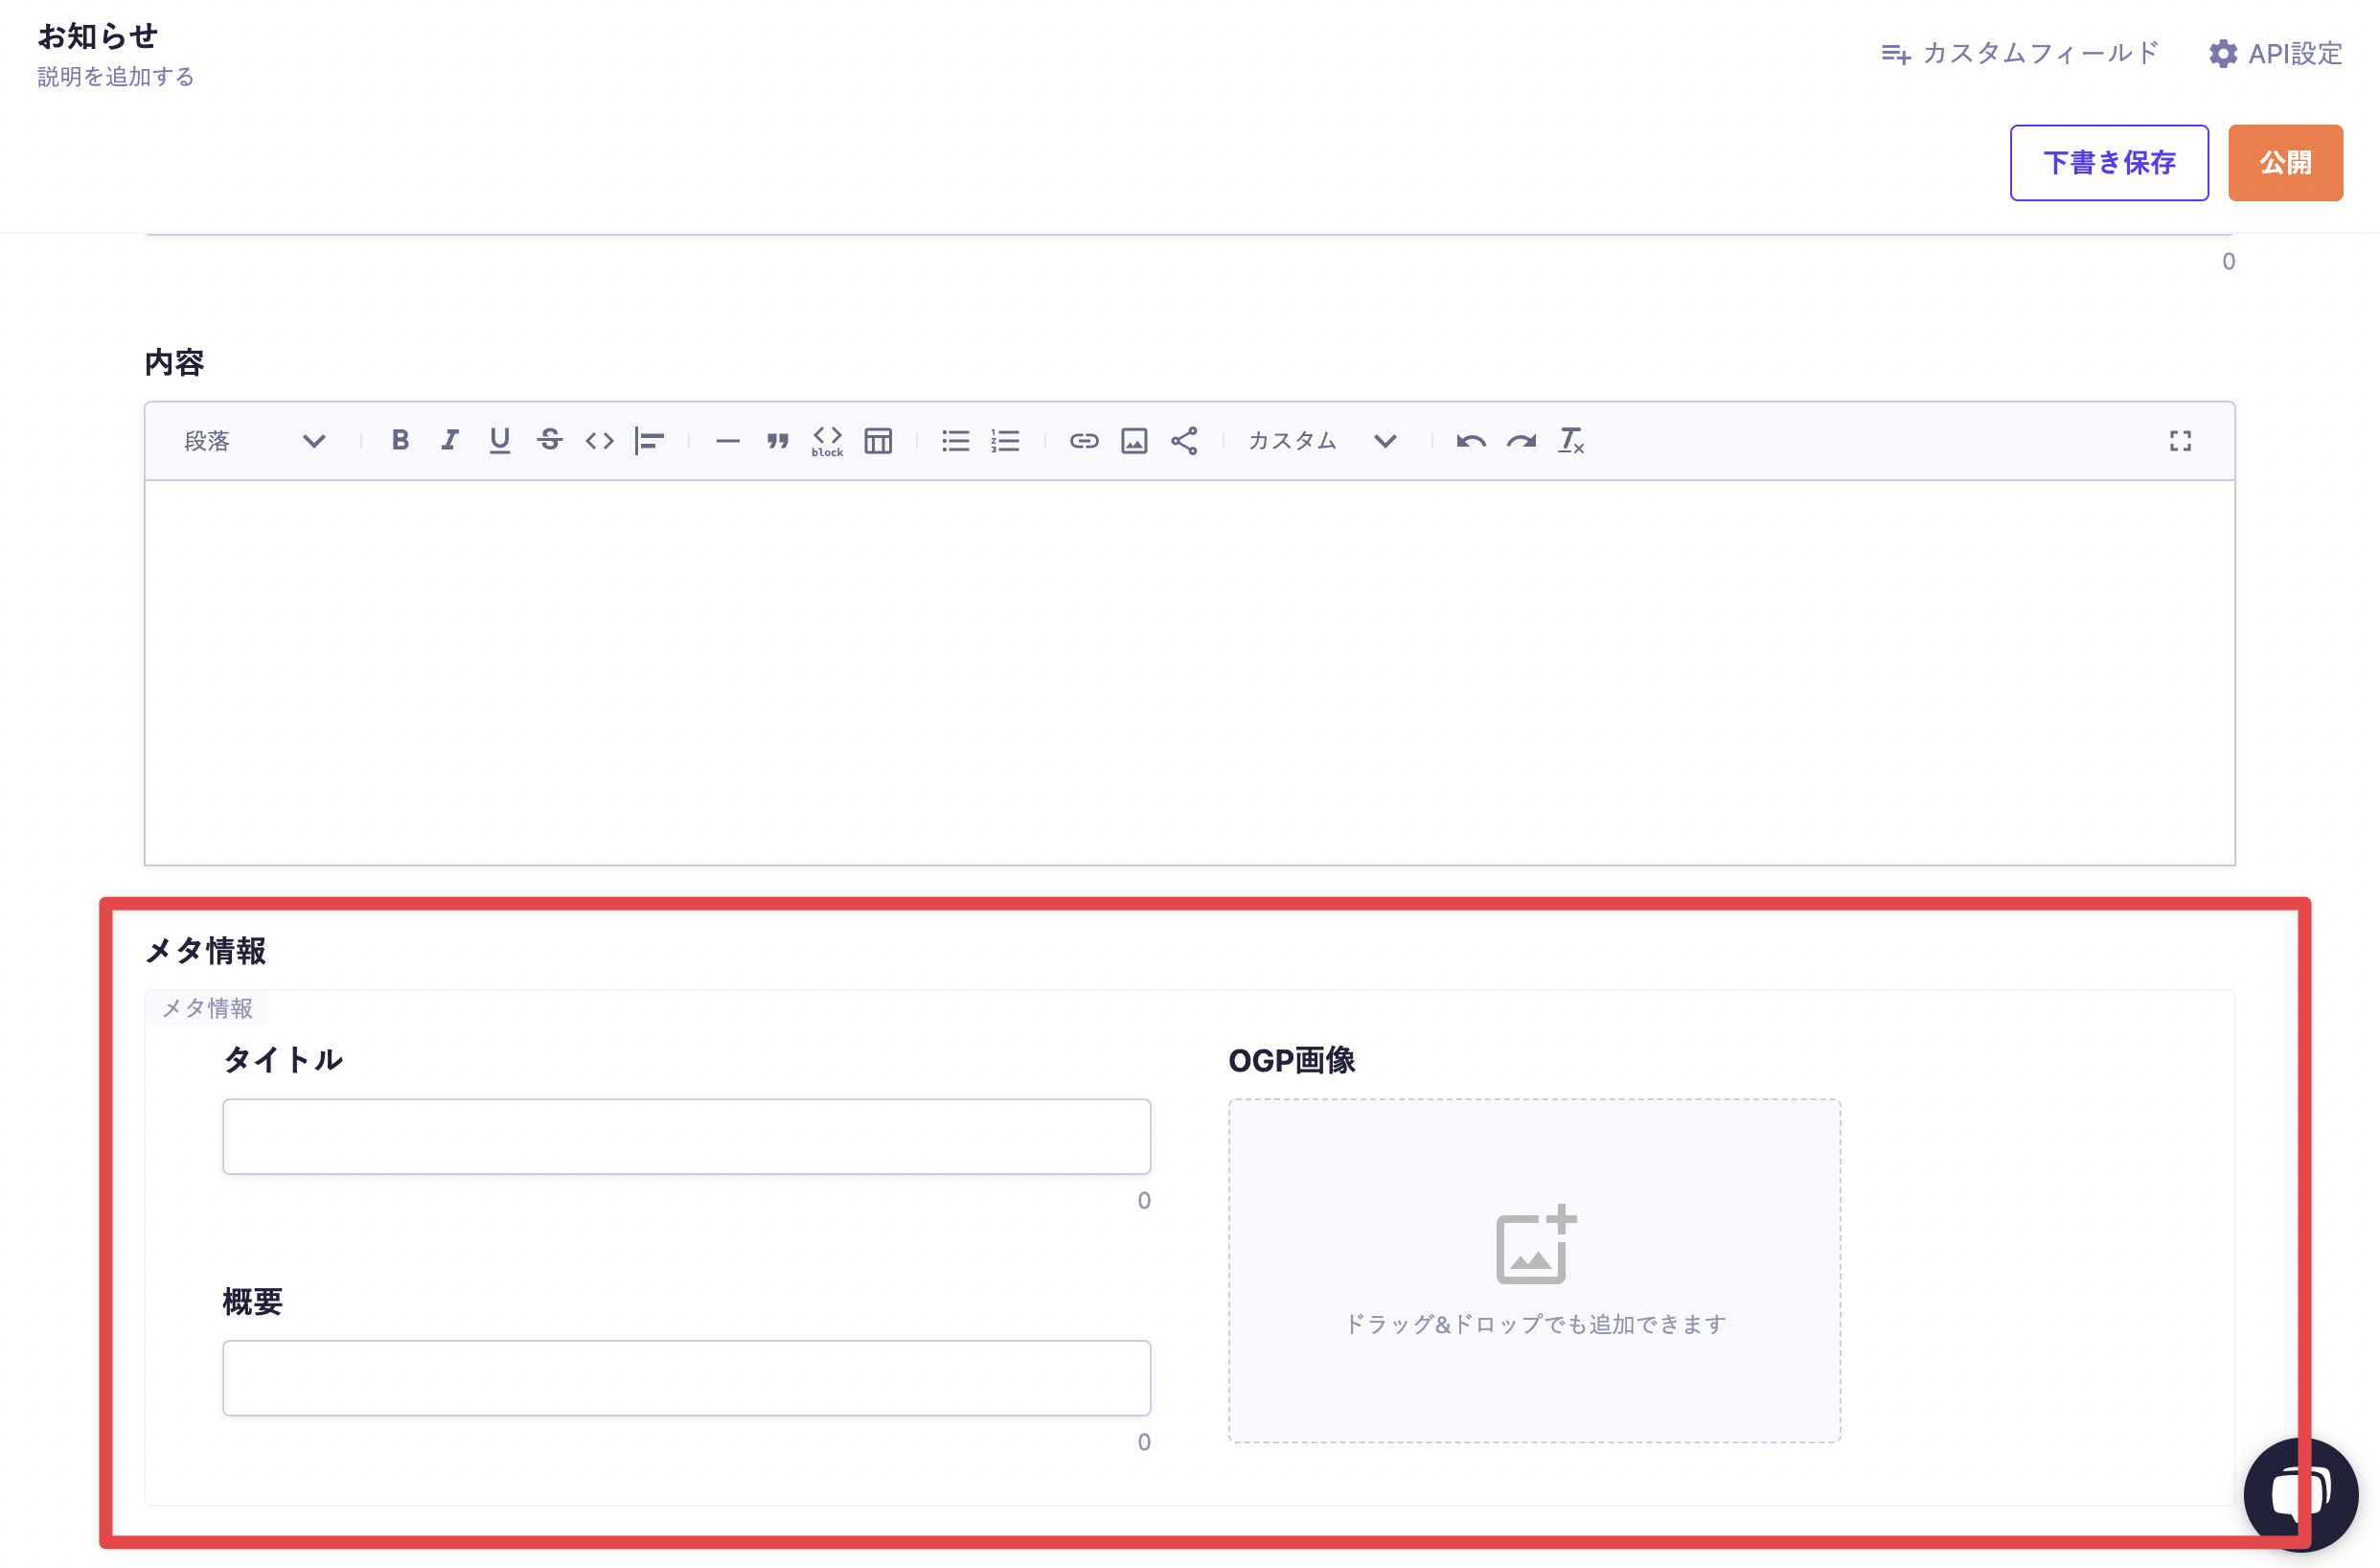
Finally, specify the layout. You can choose between 1 column or 2 columns, and you can change the position of each input form by dragging and dropping. This time, we will place the title and summary in the left column and the OGP image in the right column.
With this, the creation of the Custom Field is complete. After creation, it will be displayed on the list screen of Custom Fields.
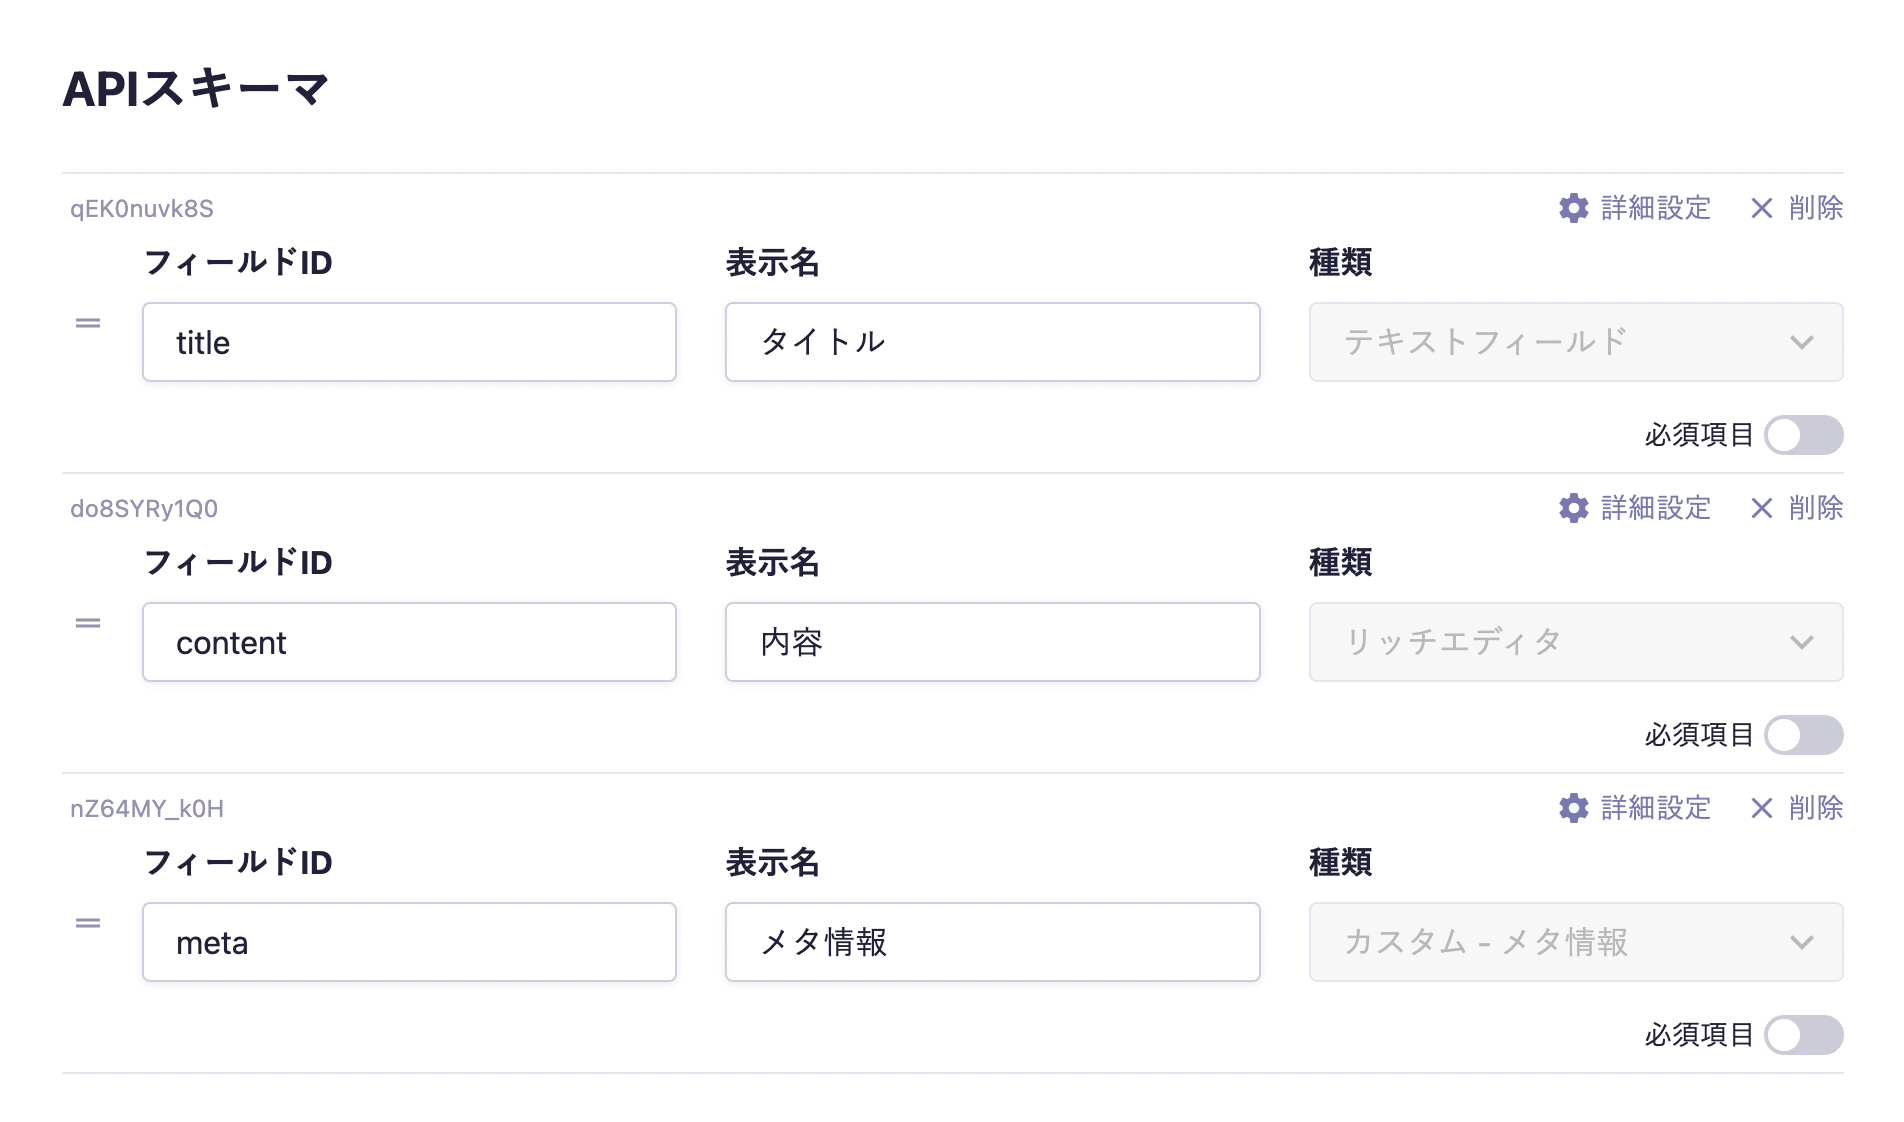
When you transition to the content editing screen, the following input screen will be displayed.
In the editing screen of the content where the Custom Fields are placed, the contents of the defined schema will be displayed as a single group (box). Within the group, each pre-configured field is arranged, and you can submit data using the same operations as with regular fields.
For submissions using API and CSV, please refer to the following documentation.
When set to ON, input will be required during submission.
Description Text
This is the description text displayed on the submission screen.
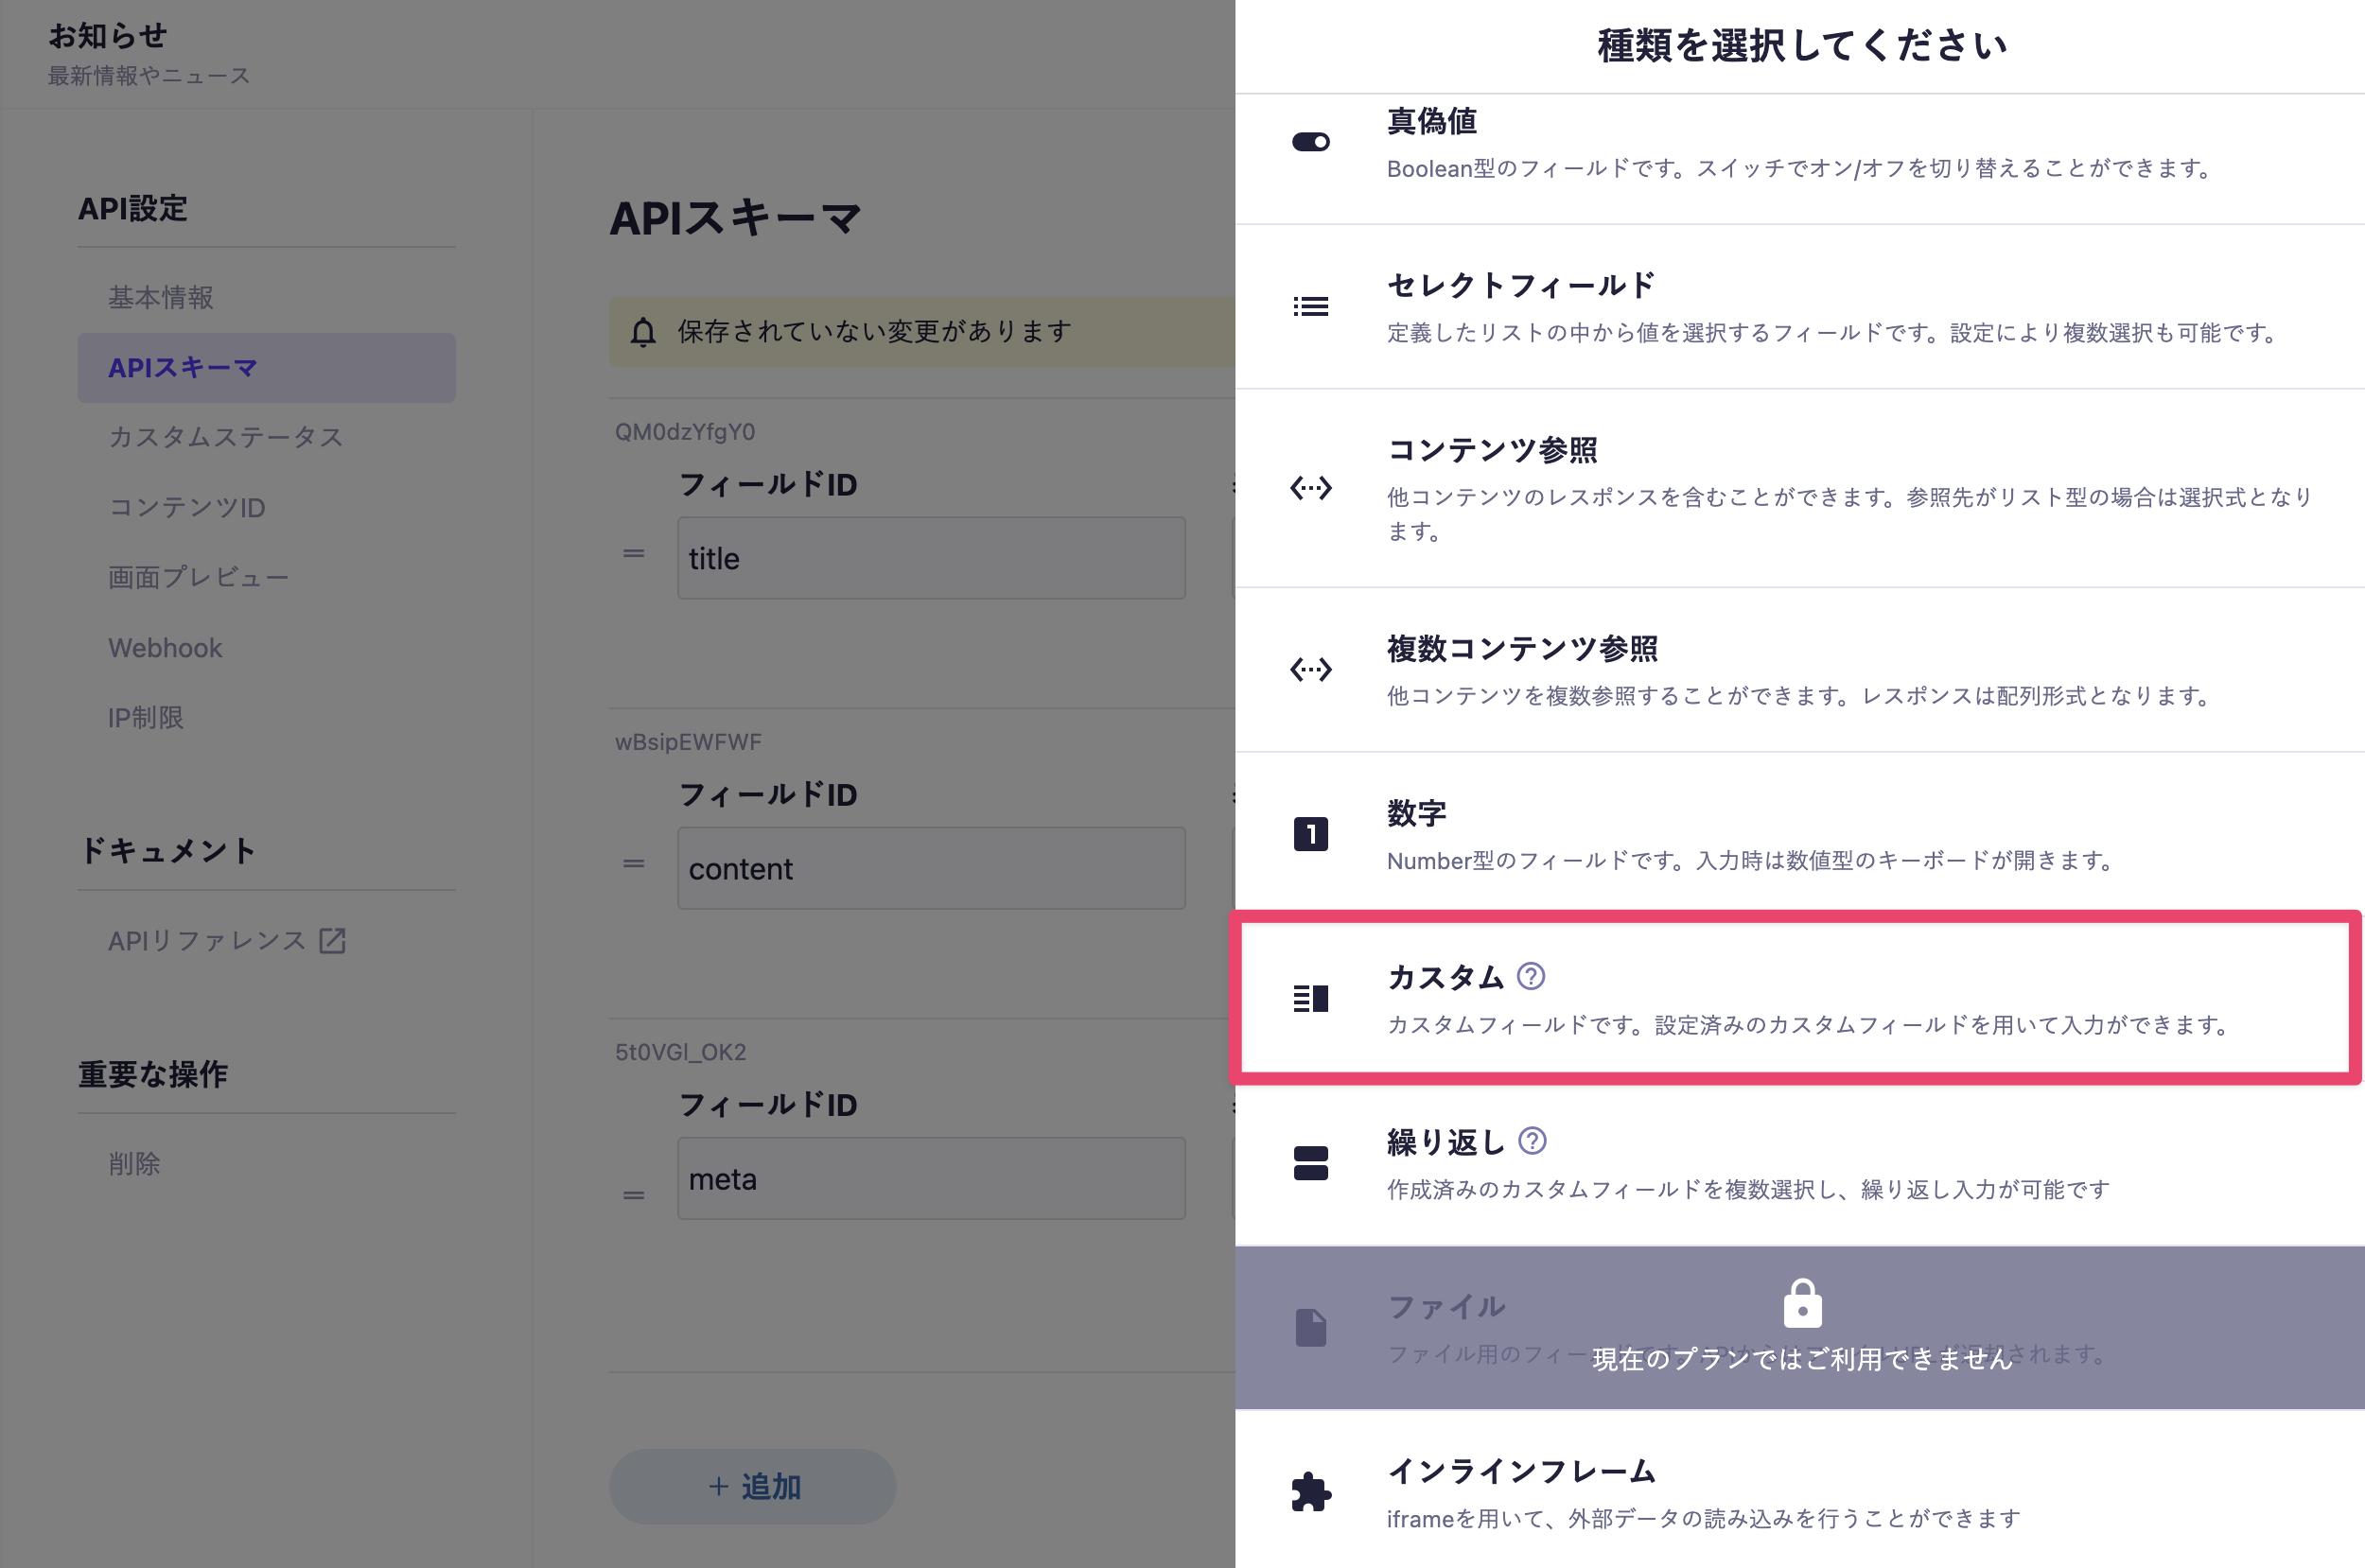
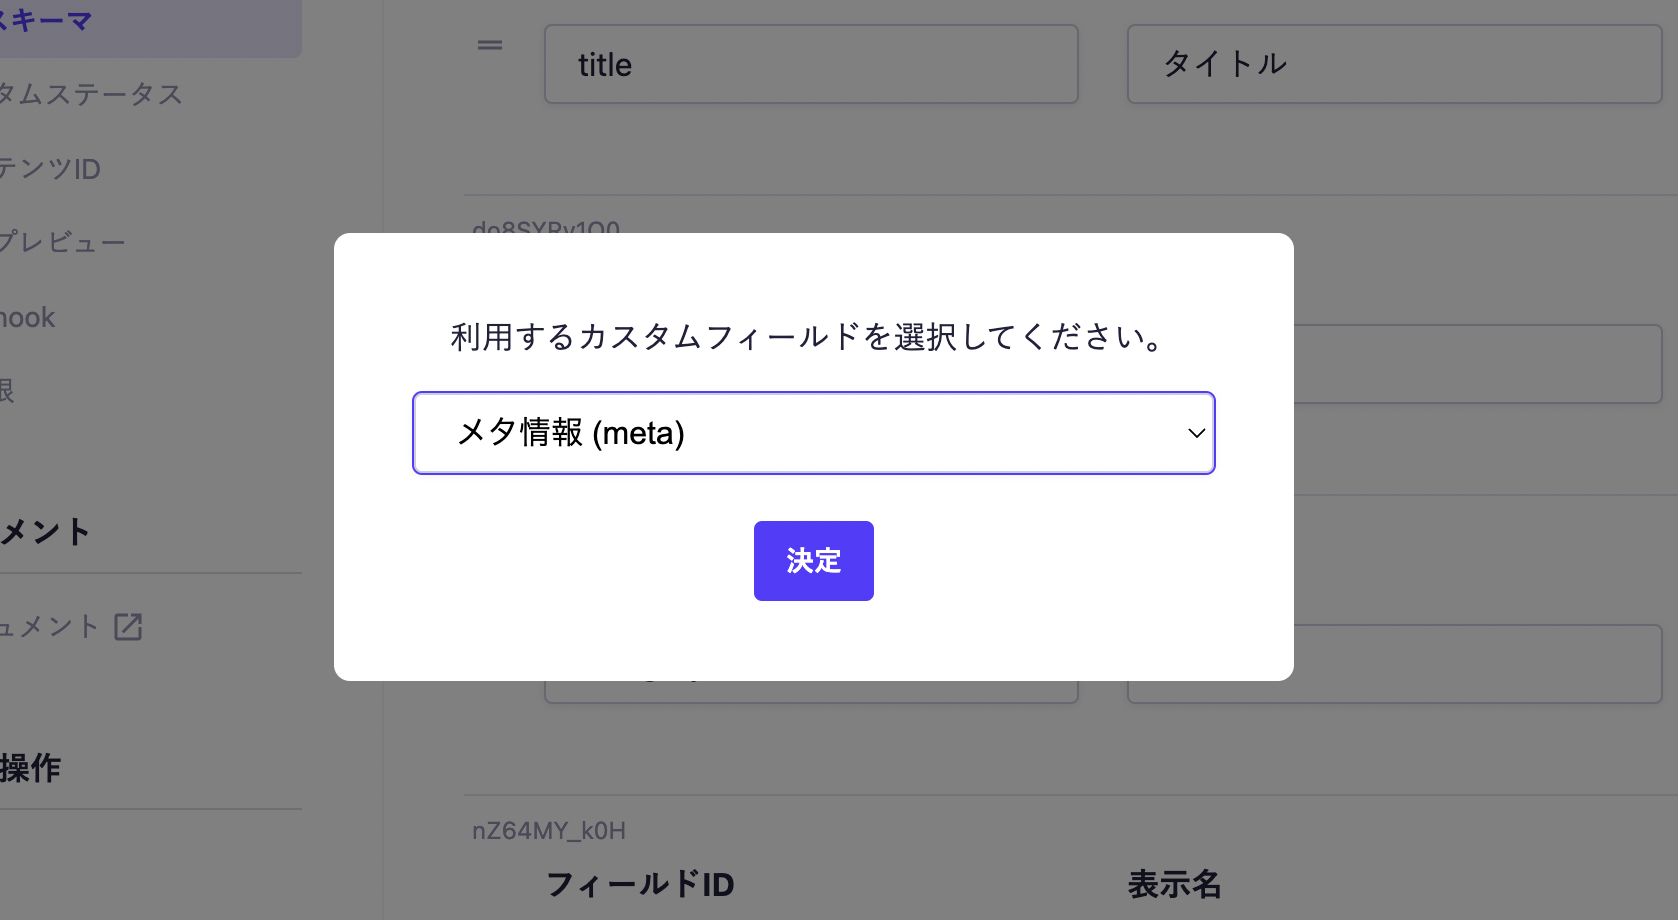
Custom Field
Set the custom fields to be used.
Items Displayed on List Screen
You can select items to be displayed on the content list screen from the content ID or text field items. If the specified item does not exist, the content ID will be displayed instead.
Custom Fields return data in object format, so you specify the properties (the field IDs defined within the Custom Field) to retrieve the information. Below is an implementation example using generateMetadata in Next.js to reflect the values of the meta information in the page's meta tags.
exportasyncfunctiongenerateMetadata({ params }) {
const { slug } = await params;
// Fetch data using the microCMS JavaScript SDK (https://github.com/microcmsio/microcms-js-sdk)const data = await client.getListDetail({
endpoint: "blog",
contentId: slug,
});
return {
// meta is the field ID. Please replace it with the actual field IDtitle: data.meta.title,
description: data.meta.description,
openGraph: {
title: data.meta.title,
description: data.meta.description,
images: [data.meta.image.url],
},
};
}
exportdefaultasyncfunctionPage({ params }) {}