This document outlines the quickest steps to use microCMS with JavaScript in the browser. If you are using microCMS from JavaScript for the first time, please try these steps first.
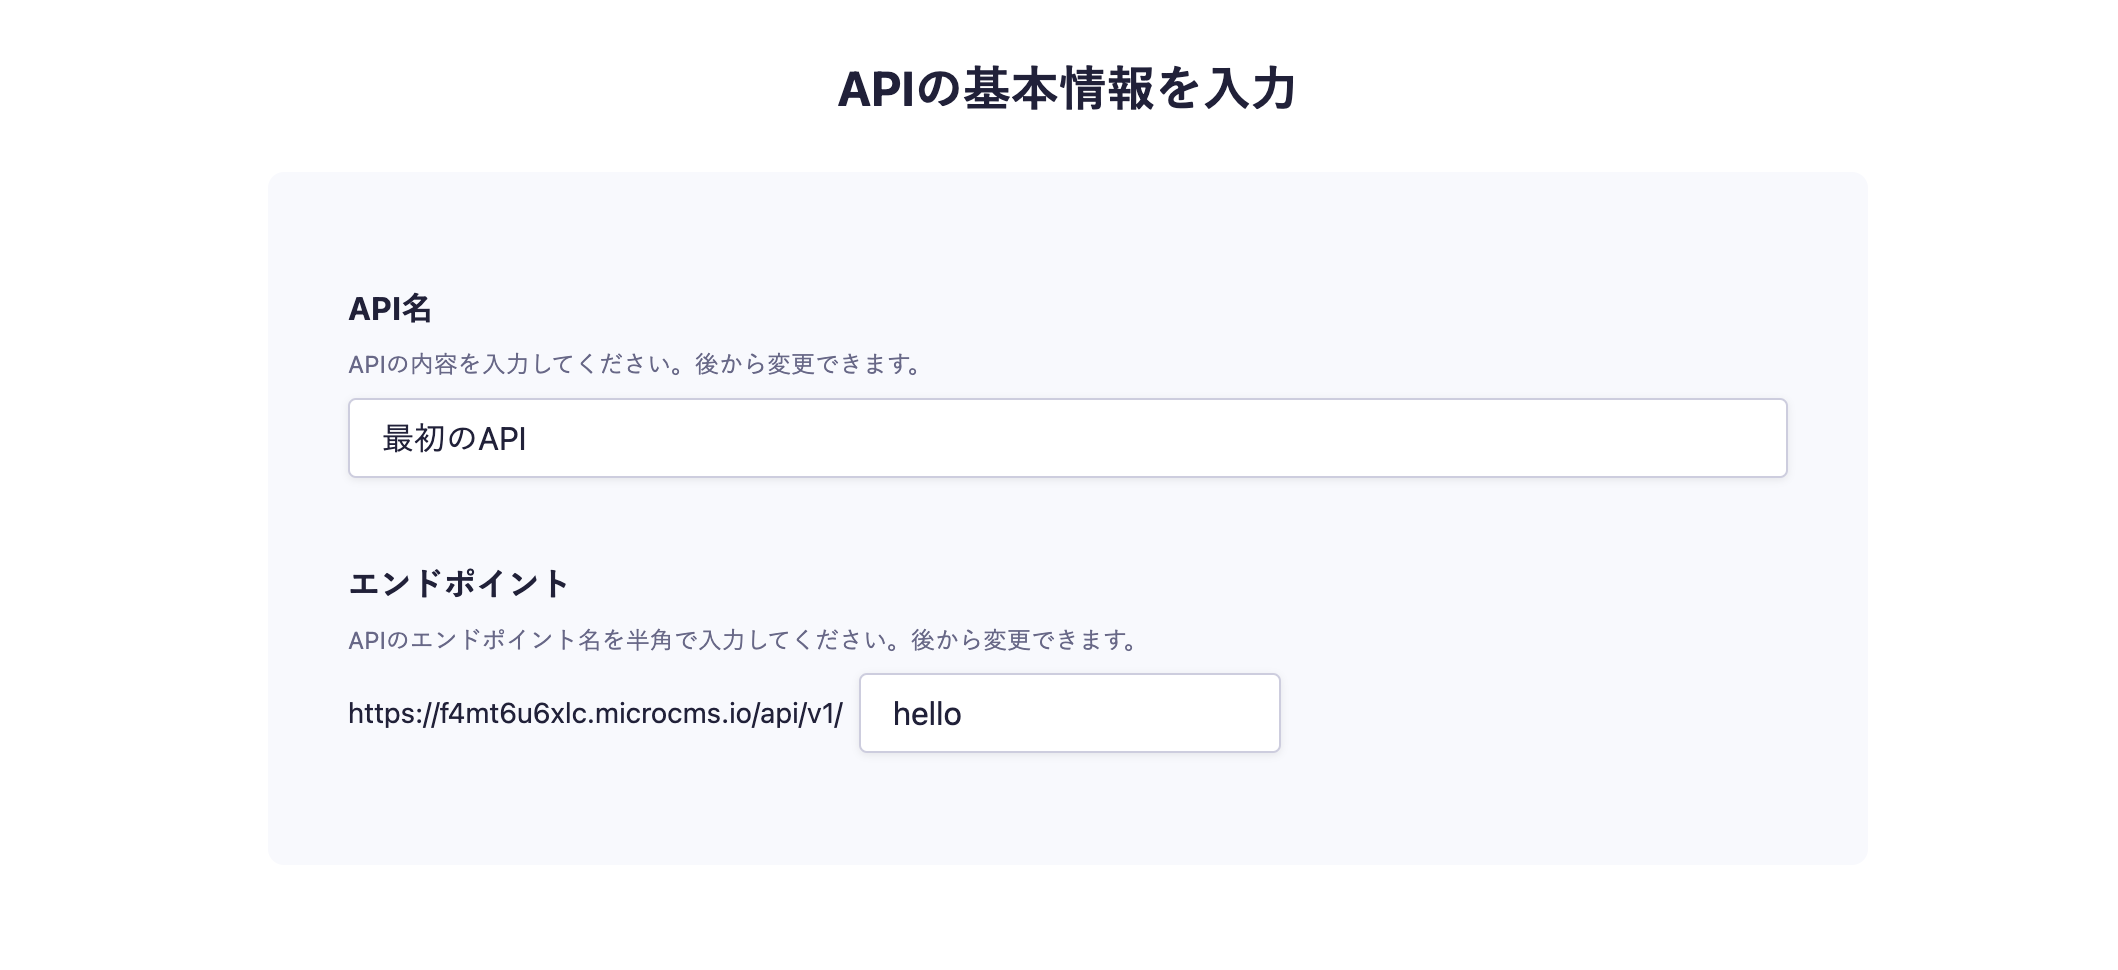
In the API creation screen, enter the desired API name and endpoint.
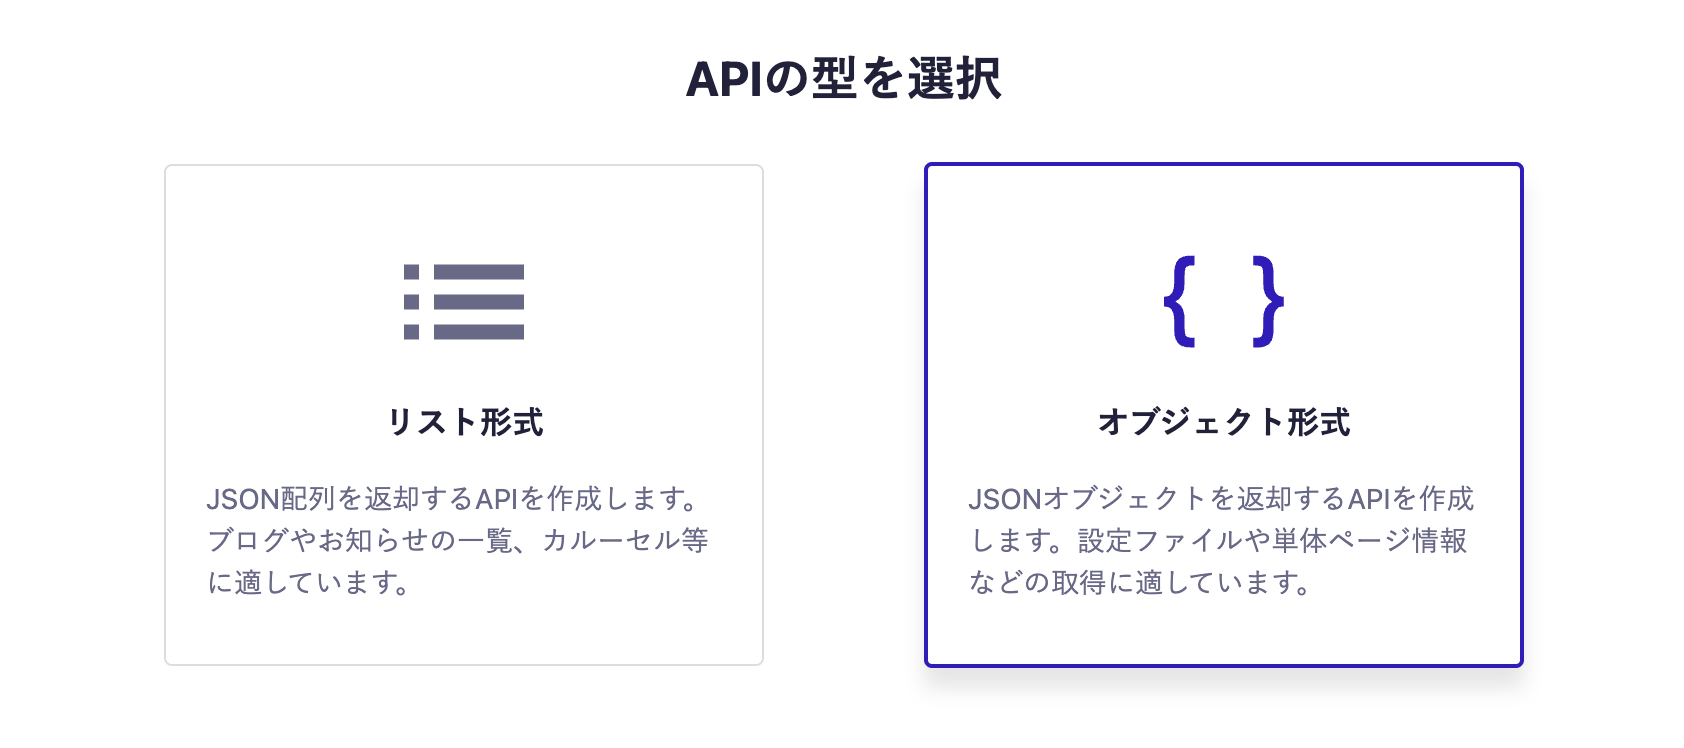
Next, select the object format.
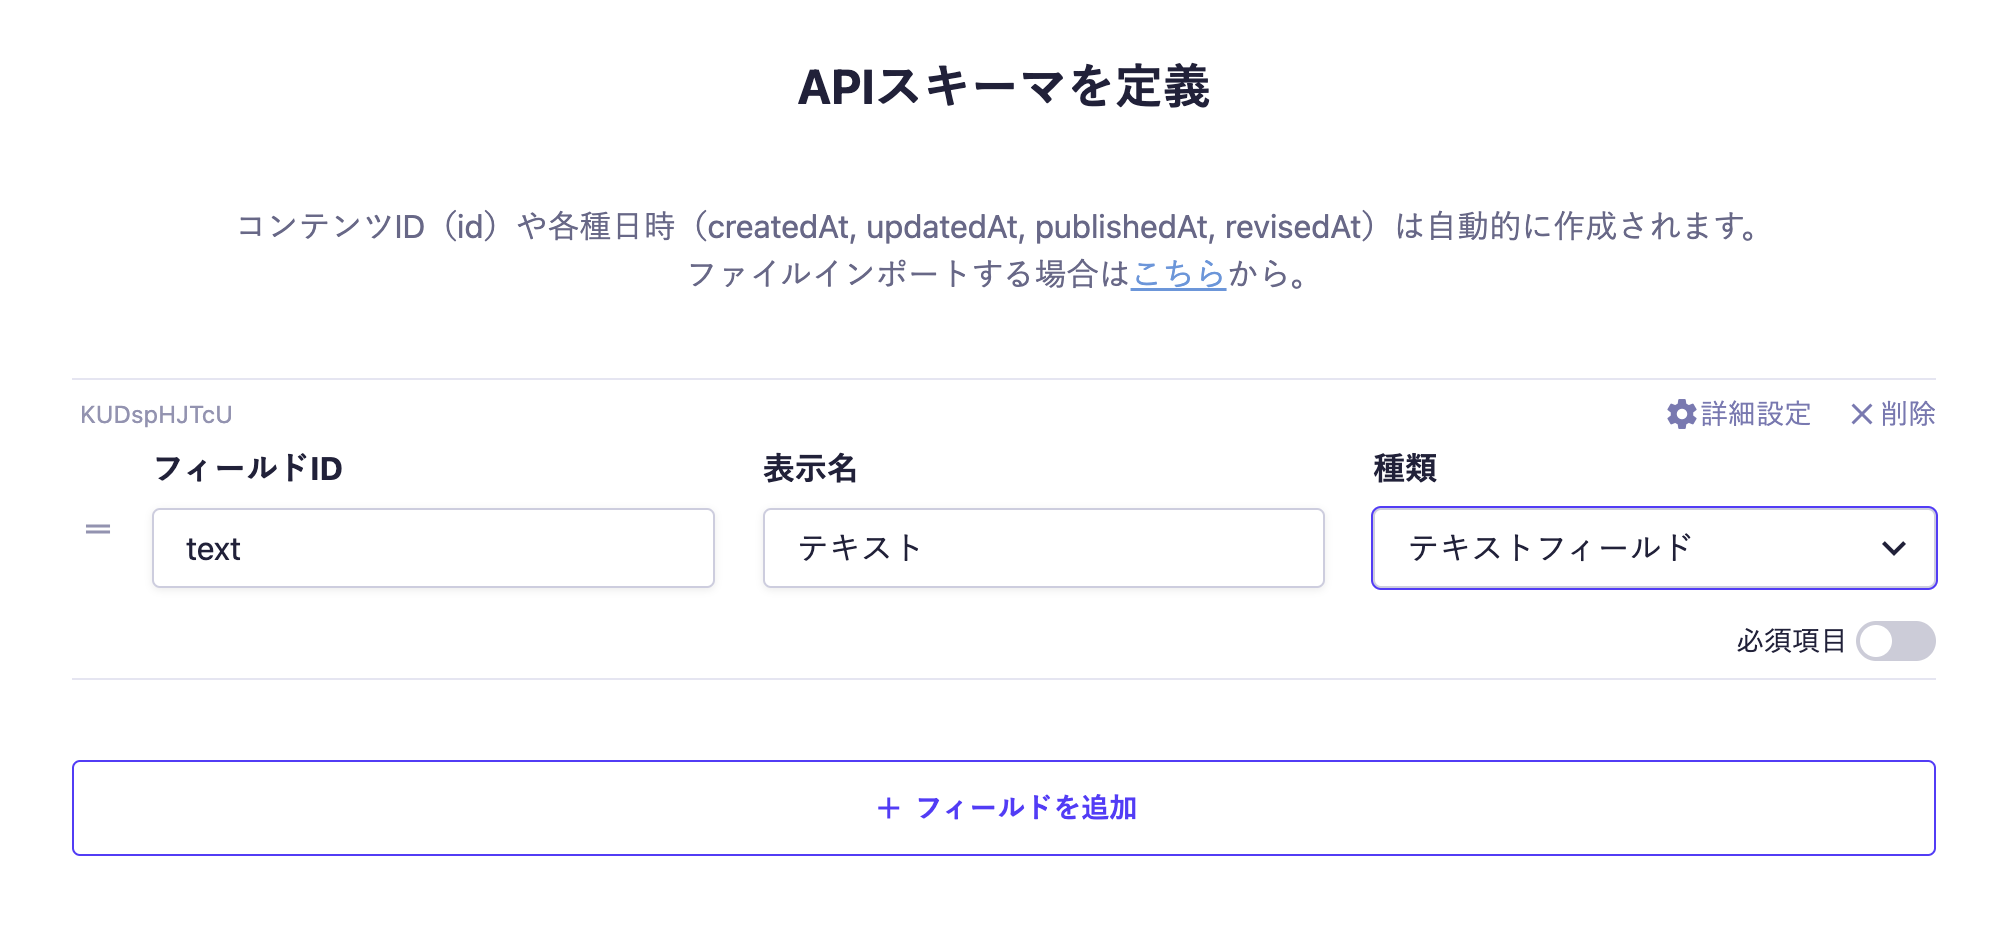
Finally, set the fields. This time, we will set only one text field.
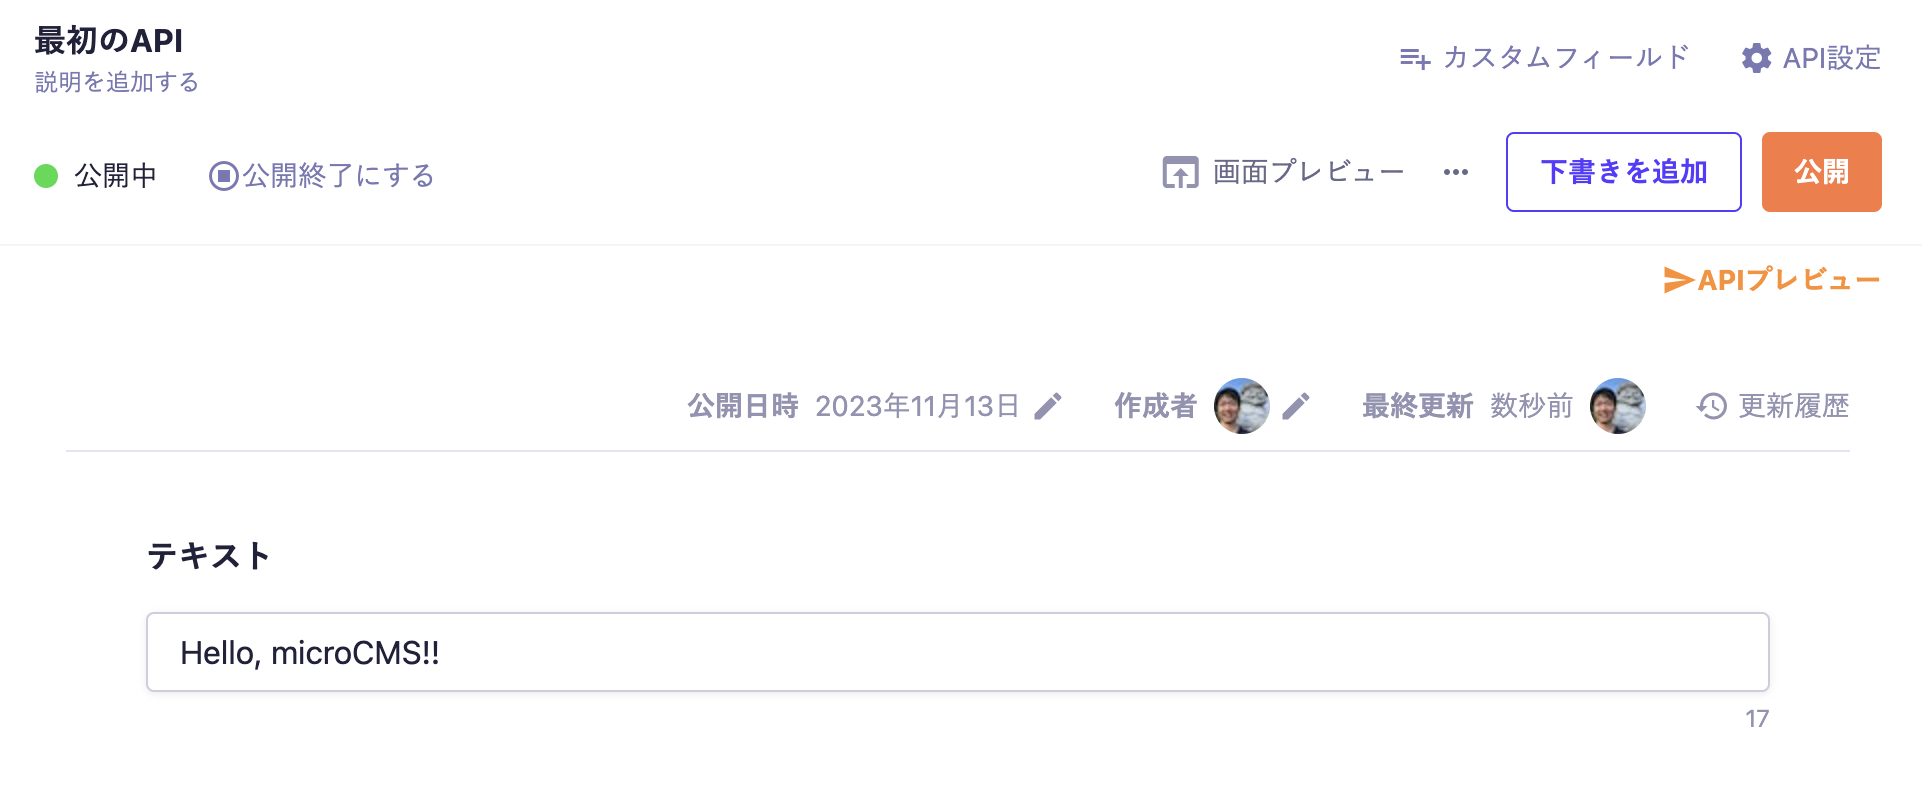
With the above settings, the API will be created, allowing you to submit content. Move to the editing screen, enter the desired values, and publish.
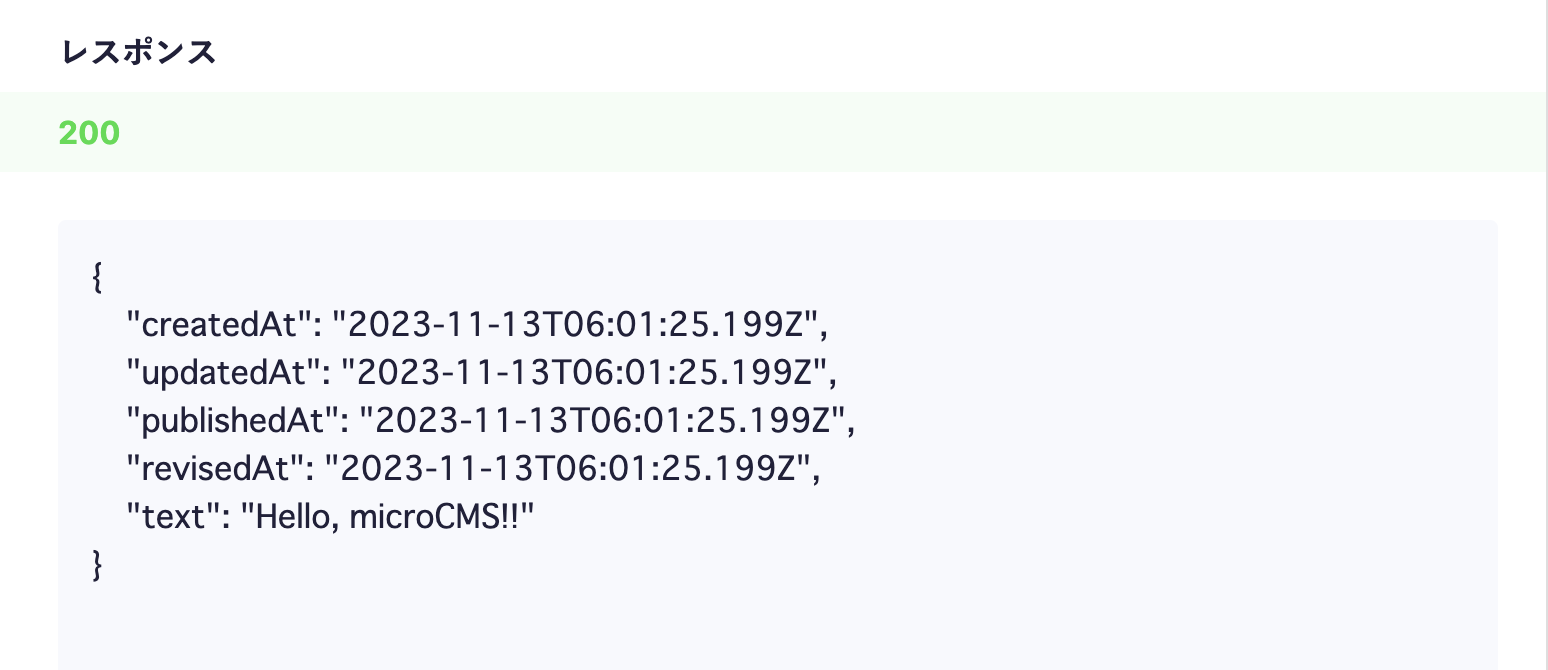
At this point, a response containing content data will be returned from the API. Click on the API preview in the upper right corner to access the created API and confirm that a JSON response is being returned.
Next, create an index.html file as shown below to retrieve data. Set service-domain and api-key to the ones you configured.
<!DOCTYPE html><html><head><title>microCMS SDK</title></head><body><h1id="text"></h1></body><scriptsrc="https://unpkg.com/microcms-js-sdk@latest/dist/umd/microcms-js-sdk.js"></script><script>const { createClient } = microcms;
const client = createClient({
serviceDomain: 'service-domain', // service-domain is the XXXX part of https://XXXX.microcms.ioapiKey: 'api-key',
})
client.get({ endpoint: 'hello'}).then((res) => {
document.querySelector('#text').textContent = res.text
})
</script></html>
Information
If you use this method, the API key will be in a user-readable format. Depending on how it is used, this may pose a security risk, so please be cautious. For more details, please check "Do I need to hide my API key?".
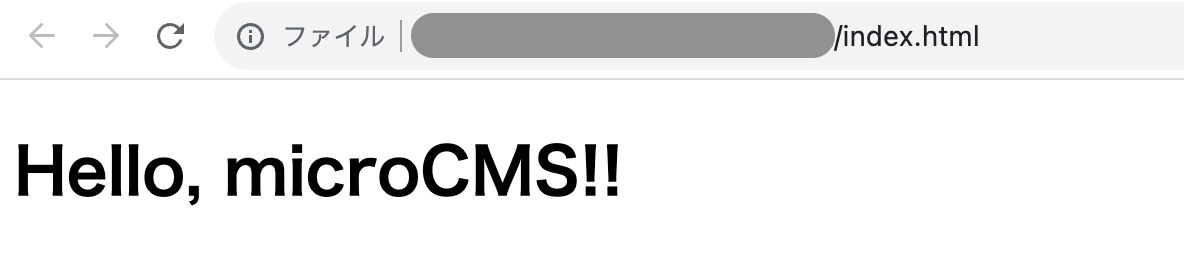
Let's open index.html in this state. The content submitted to microCMS will be retrieved and displayed on the screen.
Here, we are dynamically displaying data managed by the CMS by inserting the data retrieved from the microCMS API into the contents of the h1 tag.