First, create a composer.json file and install the microcms-php-sdk.
$ composer init --no-interaction --name "test/test" --description "test"
$ composer require microcmsio/microcms-php-sdk
Next, create the src/Main.php file.
$ mkdir src
$ touch src/Main.php
Here, we will write the code to fetch data from the microCMS API.
<?php

require_once('vendor/autoload.php');

$client = new \Microcms\Client(
  "service-domain",
  "api-key"
);

echo $client->get("hello")->text;
The service-domain and api-key are different for each service, so you need to configure them according to the respective service.
Set the service-domain to the XXXX part of the service you created at "https://XXXX.microcms.io". For the api-key, copy and paste the string of the automatically generated API key. Select "1 API key" at the bottom of the sidebar to navigate to the API key list, and copy and paste the existing API key.
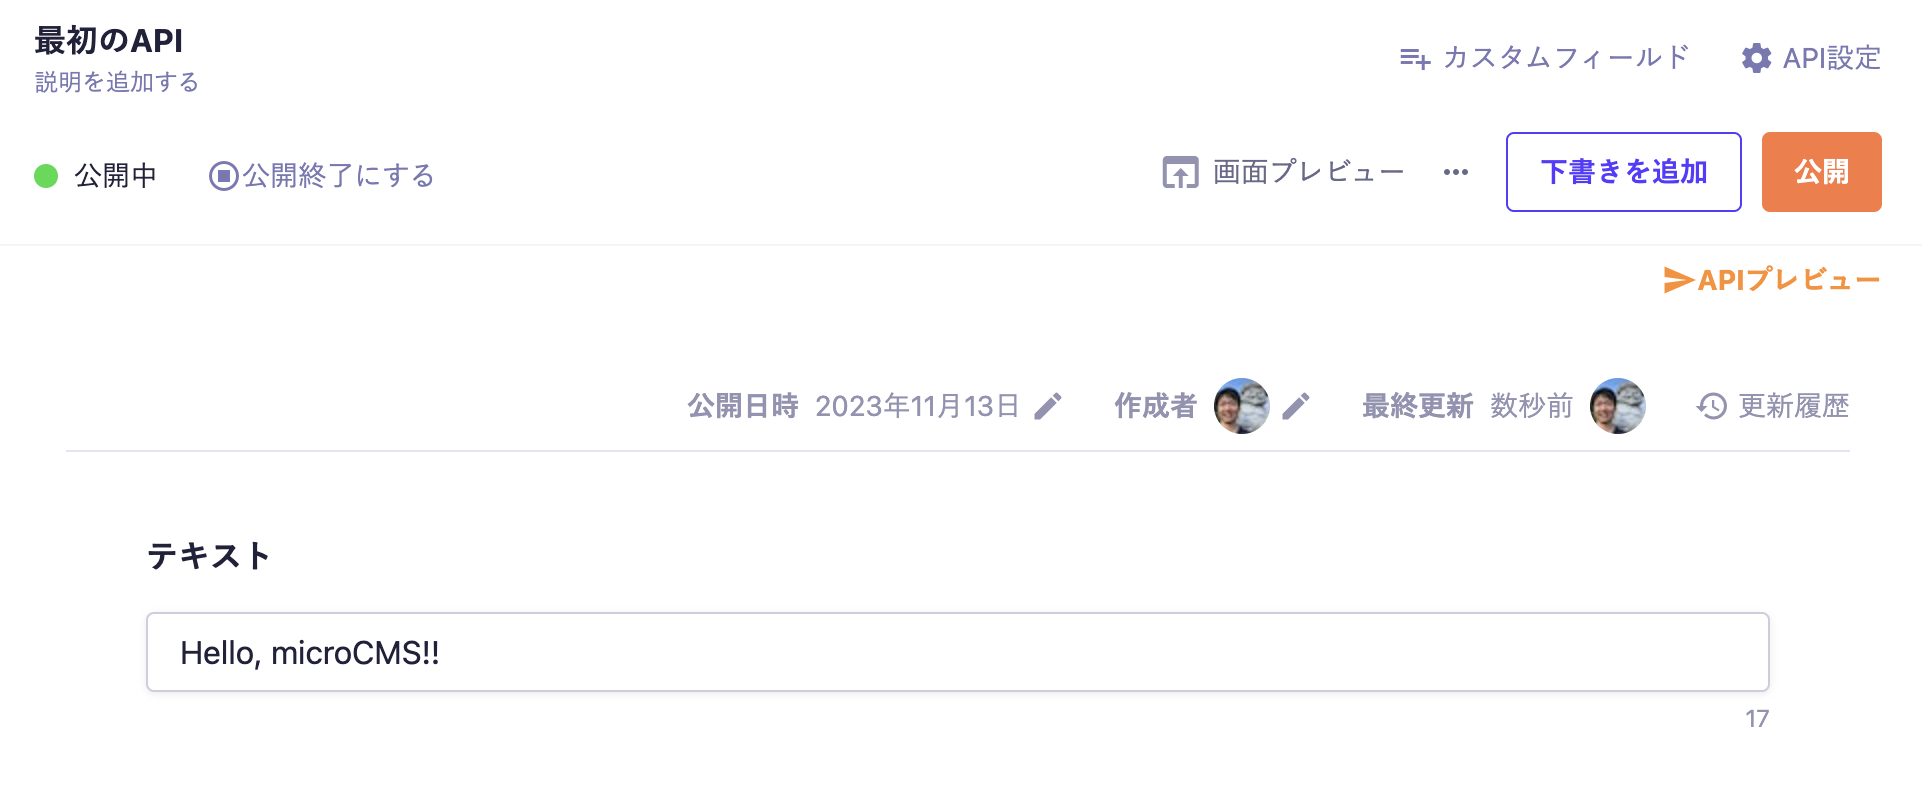
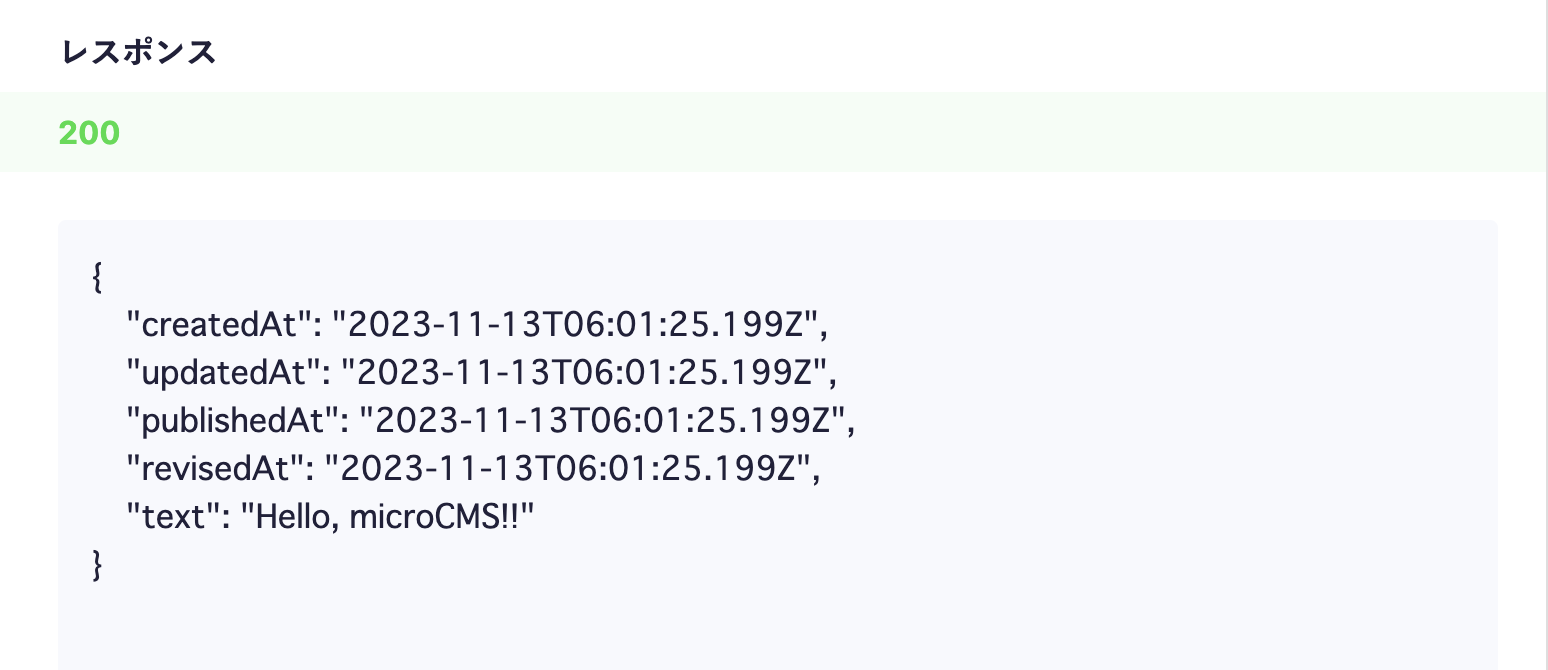
After that, let's run Main.php. You will be able to fetch the content submitted to microCMS.
$ php ./src/Main.php
Hello, microCMS!