- Tutorial
Next.js
- Manual
Account & Login
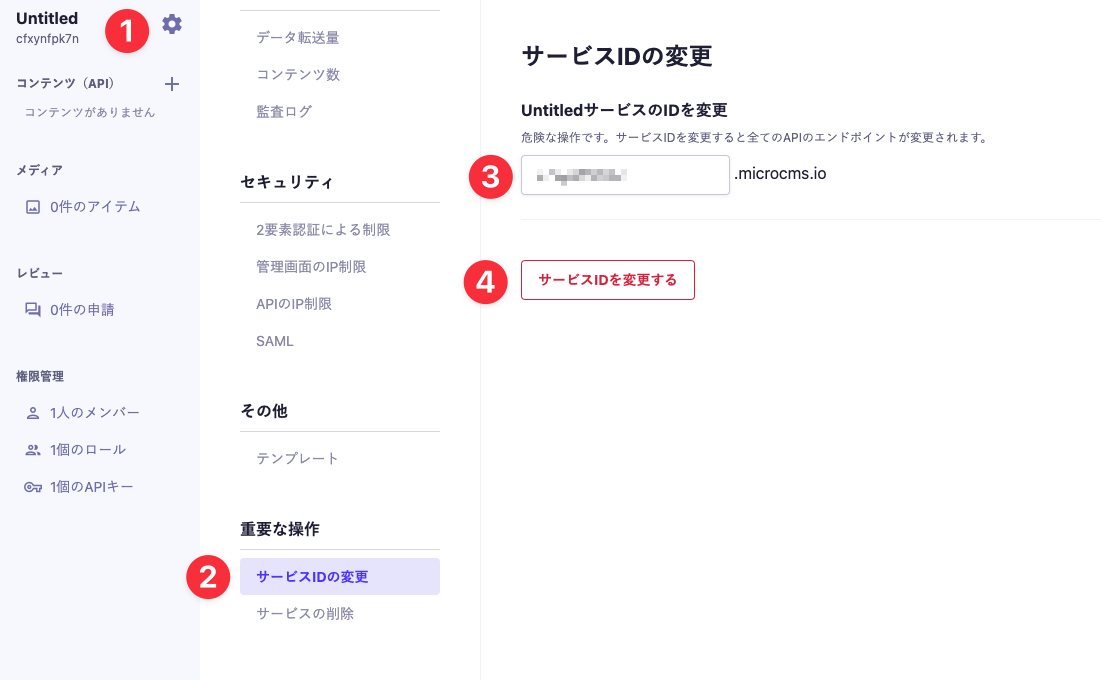
Services
Fields
Contents
- CSV Export of Content
- Content Creation
- Content Editing
- Content Management
- View
- Content Status
- Custom Status
- Setting the Content ID
- Automatically Assigned Values for Content
- CSV Import of Content
- API Preview
- Examples of Using Query Parameters with API Preview
- Integration Methods by Rendering Type
- Screen Preview
- Setting Up Webhooks for Content
Media
Permission Management
Connection
Specifications & Limitations
- Content API
Basic Operations
API Keys
- Management API (Beta)
Content Operations
Member Operations
API Operations
Service Operations
Responses & Error Handling
- Image API