microCMS

Creating and Managing APIs

You can create multiple APIs within the service.
This document explains how to create and manage APIs.

informationInformation

The maximum number of APIs you can create varies by plan.

Steps to Create an API

This section explains the steps to create a new API.

First, in the left menu of the management screen, click the three-dot menu next to the "Content (API)" item and then click [Create New API].


This will display the API creation screen.
※If no API exists, the API creation screen will automatically appear after accessing the service.


When creating an API, you can choose from the following two methods:

  1. Decide on your own
  2. Select from a template (Blog / Announcement / Banner)

Next, we will explain each method.

Deciding on Your Own

Click on [Decide on Your Own] in the API creation screen.
Then, proceed with the following steps.

1. Enter Basic Information for the API

Enter the basic information for the API.


Here, you will enter two items: "API Name" and "Endpoint".

API Name

The API name is used to identify each API in the management screen.

Endpoint

The endpoint is the value that corresponds to the last part of the API endpoint path.
The input conditions for the endpoint are as follows:

  • 3 to 32 characters
  • Half-width alphanumeric characters
  • Lowercase only
  • Only hyphens and underscores are allowed as symbols
  • Cannot duplicate existing API endpoints

2. Select the API Type

Select the API type.


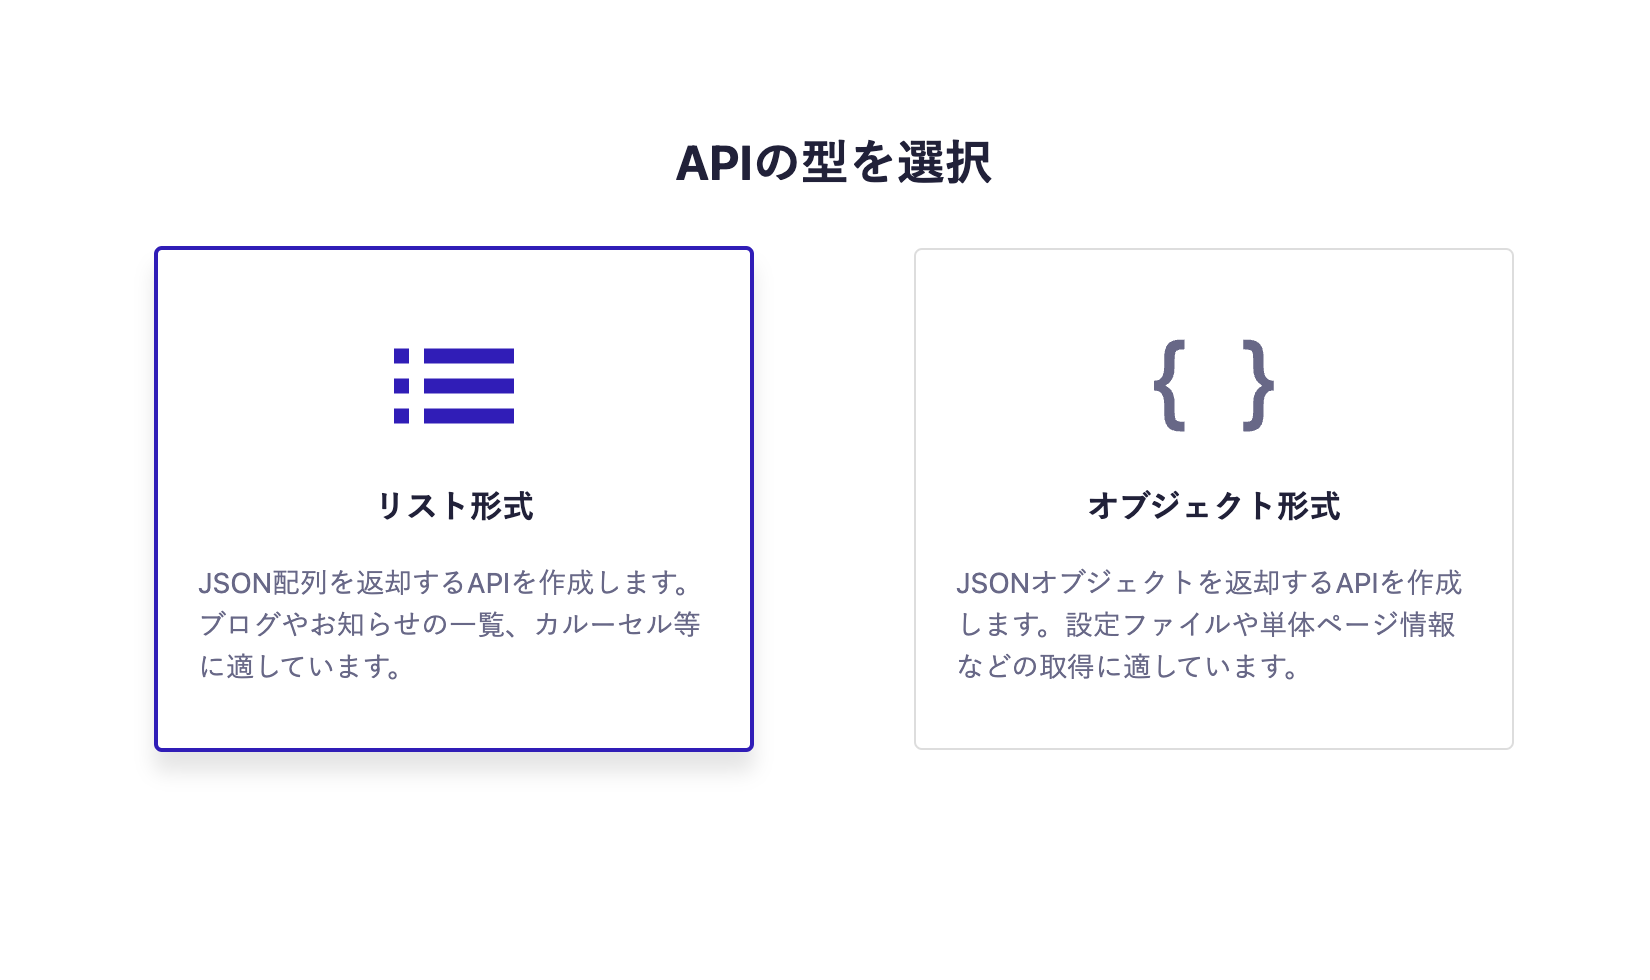
Here, you can choose between "List Format" or "Object Format" for the API response format.

List Format

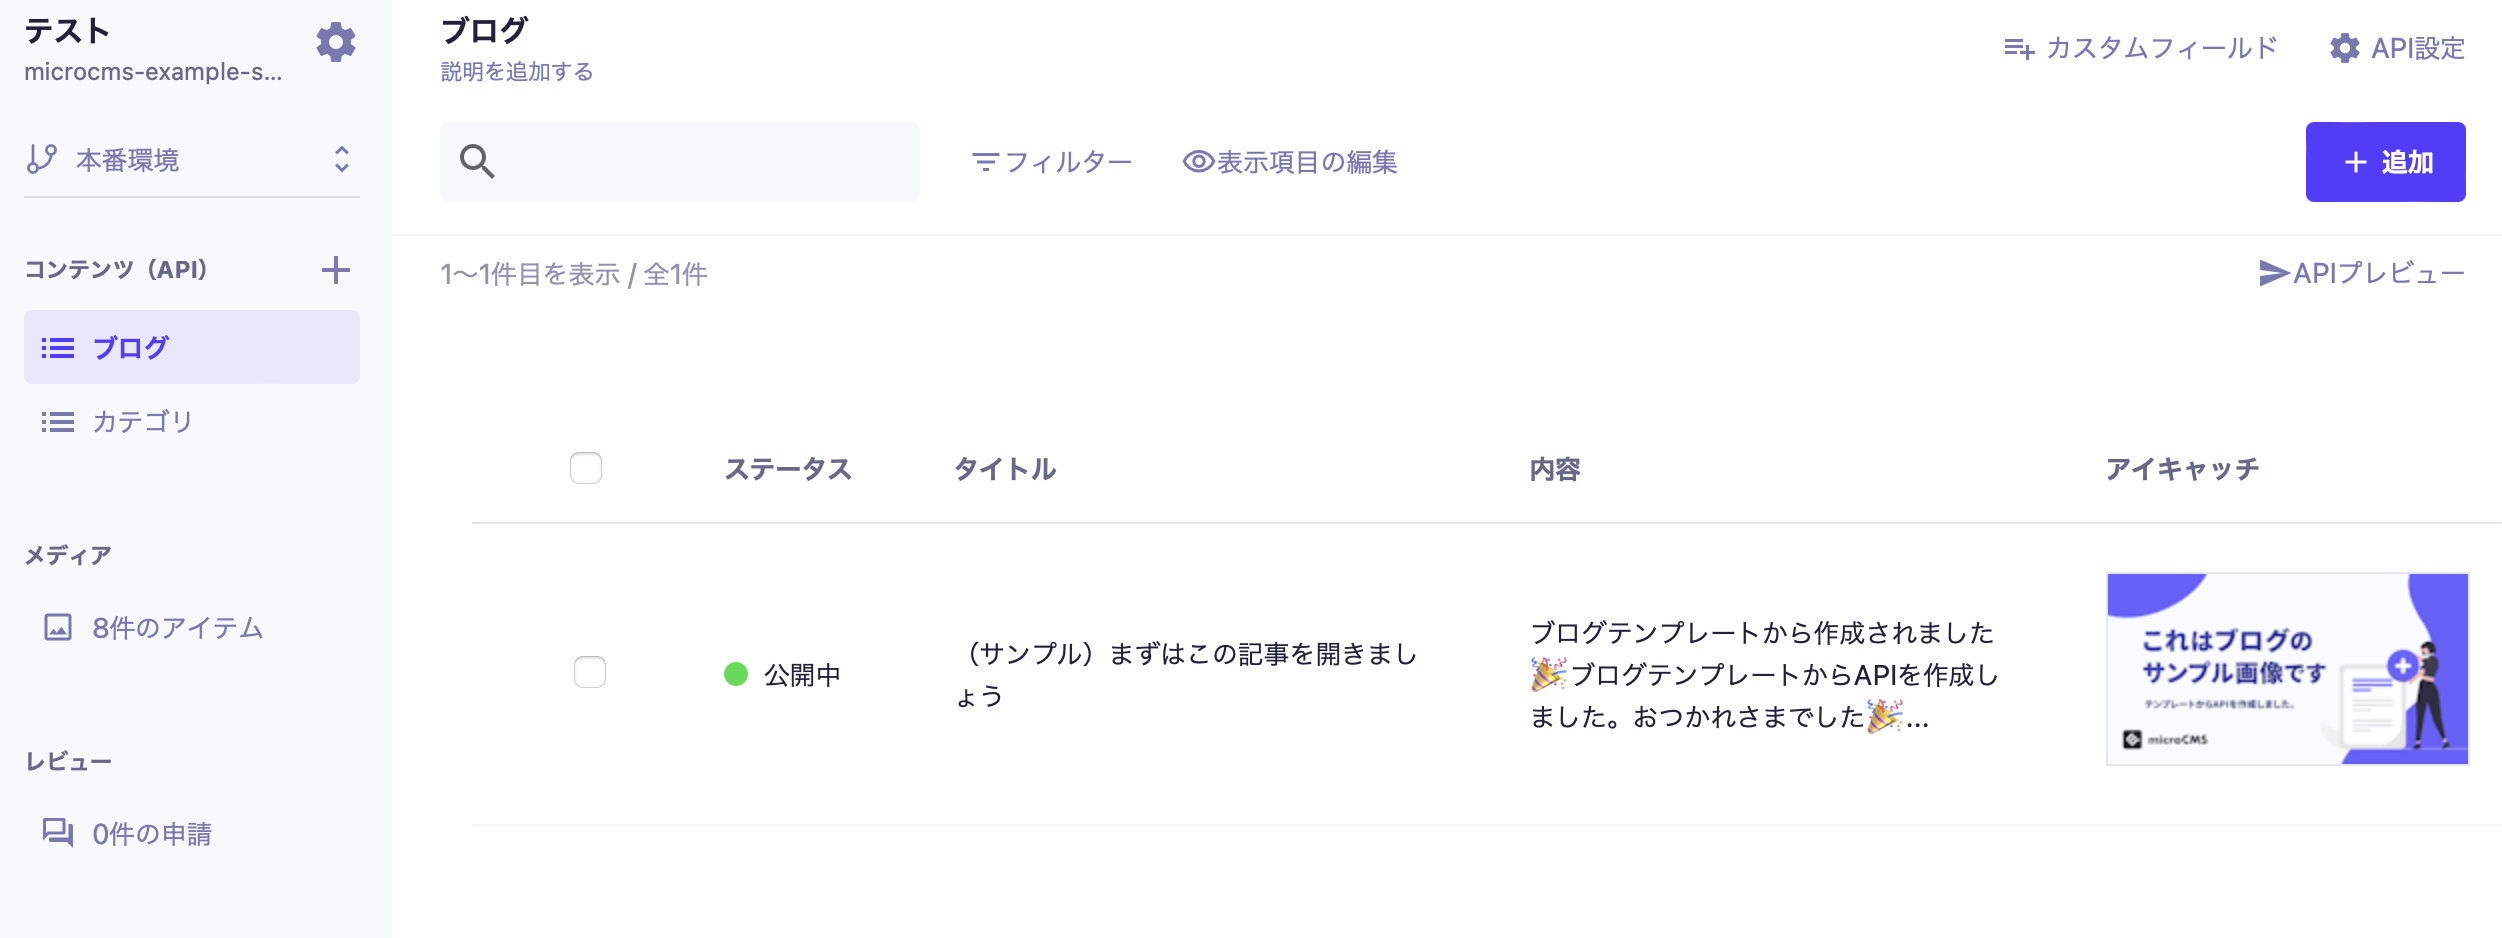
This handles multiple pieces of content.
It is suitable for managing multiple contents such as announcements and blogs.
The API can retrieve array data as shown below.

[ { message: 'Good morning' }, { message: 'Hello' }, { message: 'Good evening' } ]


Object Format

This handles a single piece of content.
It is suitable for managing single contents such as configuration information or individual page information.
The API can retrieve object data as shown below.

{ title: 'Profile', profile: 'I am studying Headless CMS' }

3. Define the API Schema

Define the API schema.


In defining the API schema, you will enter the following three items.

Field ID

A unique ID for each field. This will be the property name in the API response.

Display Name

This will be displayed when entering content.

Type

This specifies the input form format when entering content.
You can choose from various types such as text fields, rich editors, and image fields.

informationInformation

For details on configuring the API schema, please refer to the "API Settings" page.

4. Click on [Create]

Finally, clicking on [Create] will complete the API creation.


Creating from a Template

When creating from a template, you can choose from the following three templates. Different APIs will be created for each template.

  • Blog: A template for blogs. It creates APIs for articles and categories.
  • Announcement: A template for updates and news. It creates APIs for announcements and tags.
  • Banner: A template for banners, such as for campaigns. It creates APIs for banner elements.


Clicking on the desired template will start the creation process.


After a while, the API will be created automatically.
Additionally, several sample contents have been uploaded for each API.

Grouping Created APIs


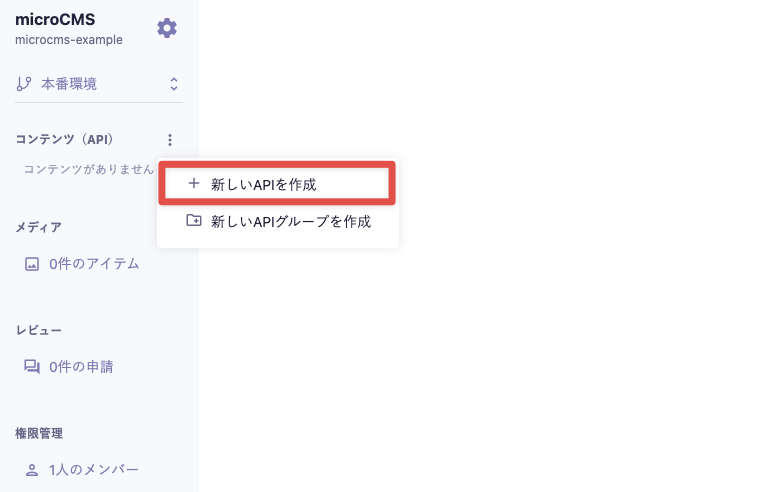
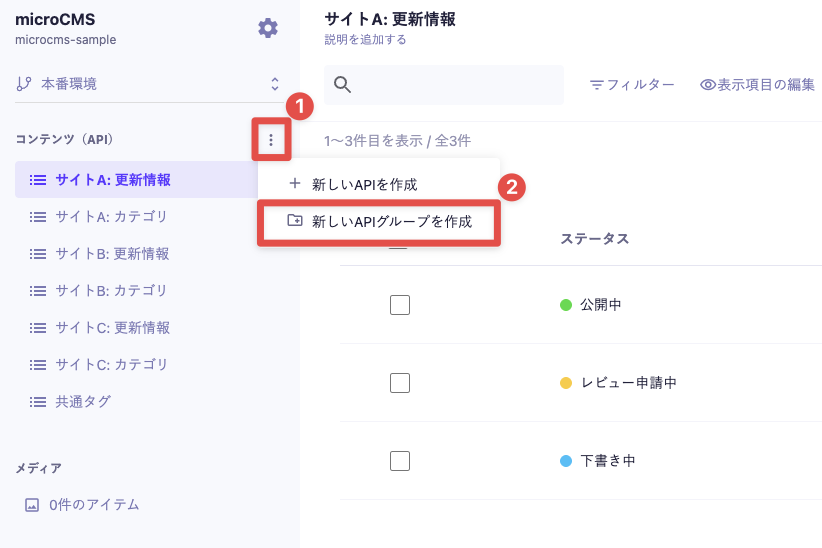
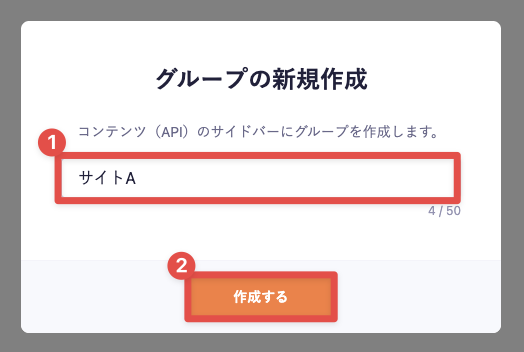
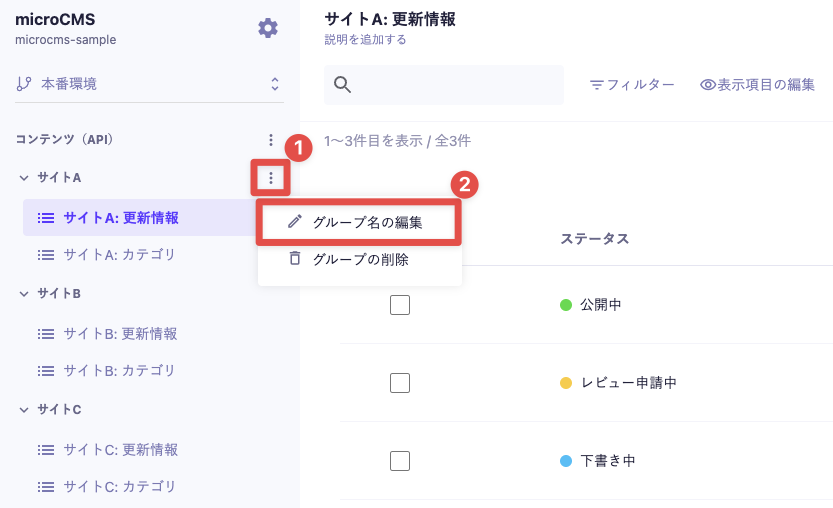
You can group the created APIs into API groups. This is useful when managing multiple sites with a single service.

informationInformation

The API group is a feature available with the Team, Business, and Enterprise plans.
For details on the features available with each plan, please refer to the pricing page.

Create an API Group


In the left menu of the management screen, click the three-dot menu next to the "Content (API)" item and then click [Create New API Group].

informationInformation
  • You can create up to 100 API groups.
  • API groups support only one level.

Enter the group name for the group you want to create and click [Create].

cautionCaution

An API group with the same name cannot be created.

By dragging and dropping the API, you can group APIs into an API group.


Renaming an API Group


Hover over the API group and click the three-dot menu, then click [Edit Group Name].


Edit the group name and click [Change] to apply the changes to the group name.

Deleting an API Group


Hover over the API group and click the three-dot menu, then click [Delete Group].


In the confirmation dialog, click [OK] to delete the API group.

cautionCaution

You cannot delete an API group if it contains APIs.

Please move all APIs to another API group before deleting it.