The repeat field is a field that allows you to select multiple Custom Fields and input data in your preferred order repeatedly. The entered data is returned as an array, enabling a high degree of design flexibility on the frontend.
To use the repeat field, you need to create Custom Fields in advance.
For information on creating Custom Fields, please see this page.
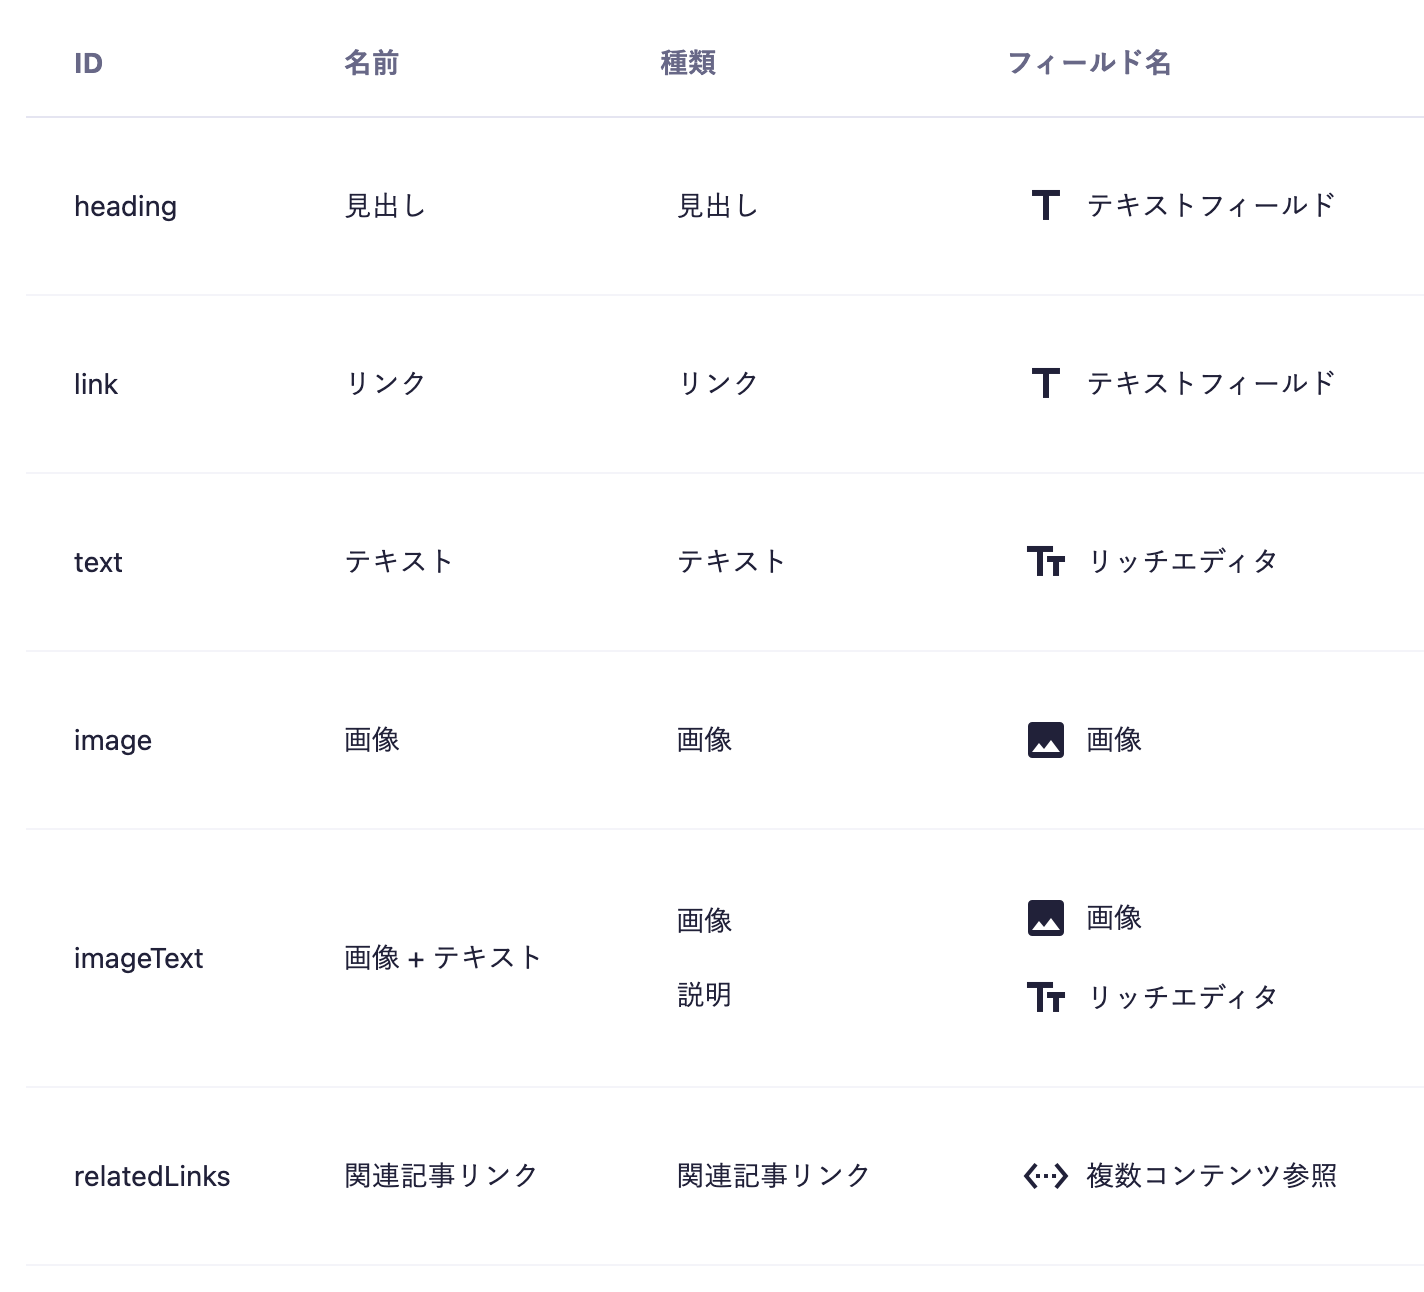
Assuming that the following Custom Fields have been created, I will explain how to set them up.
heading: Text Field
link: Text Field
text: Rich Editor
image: Image
imageText: Image + Rich Editor
relatedLinks: Multiple Content Reference
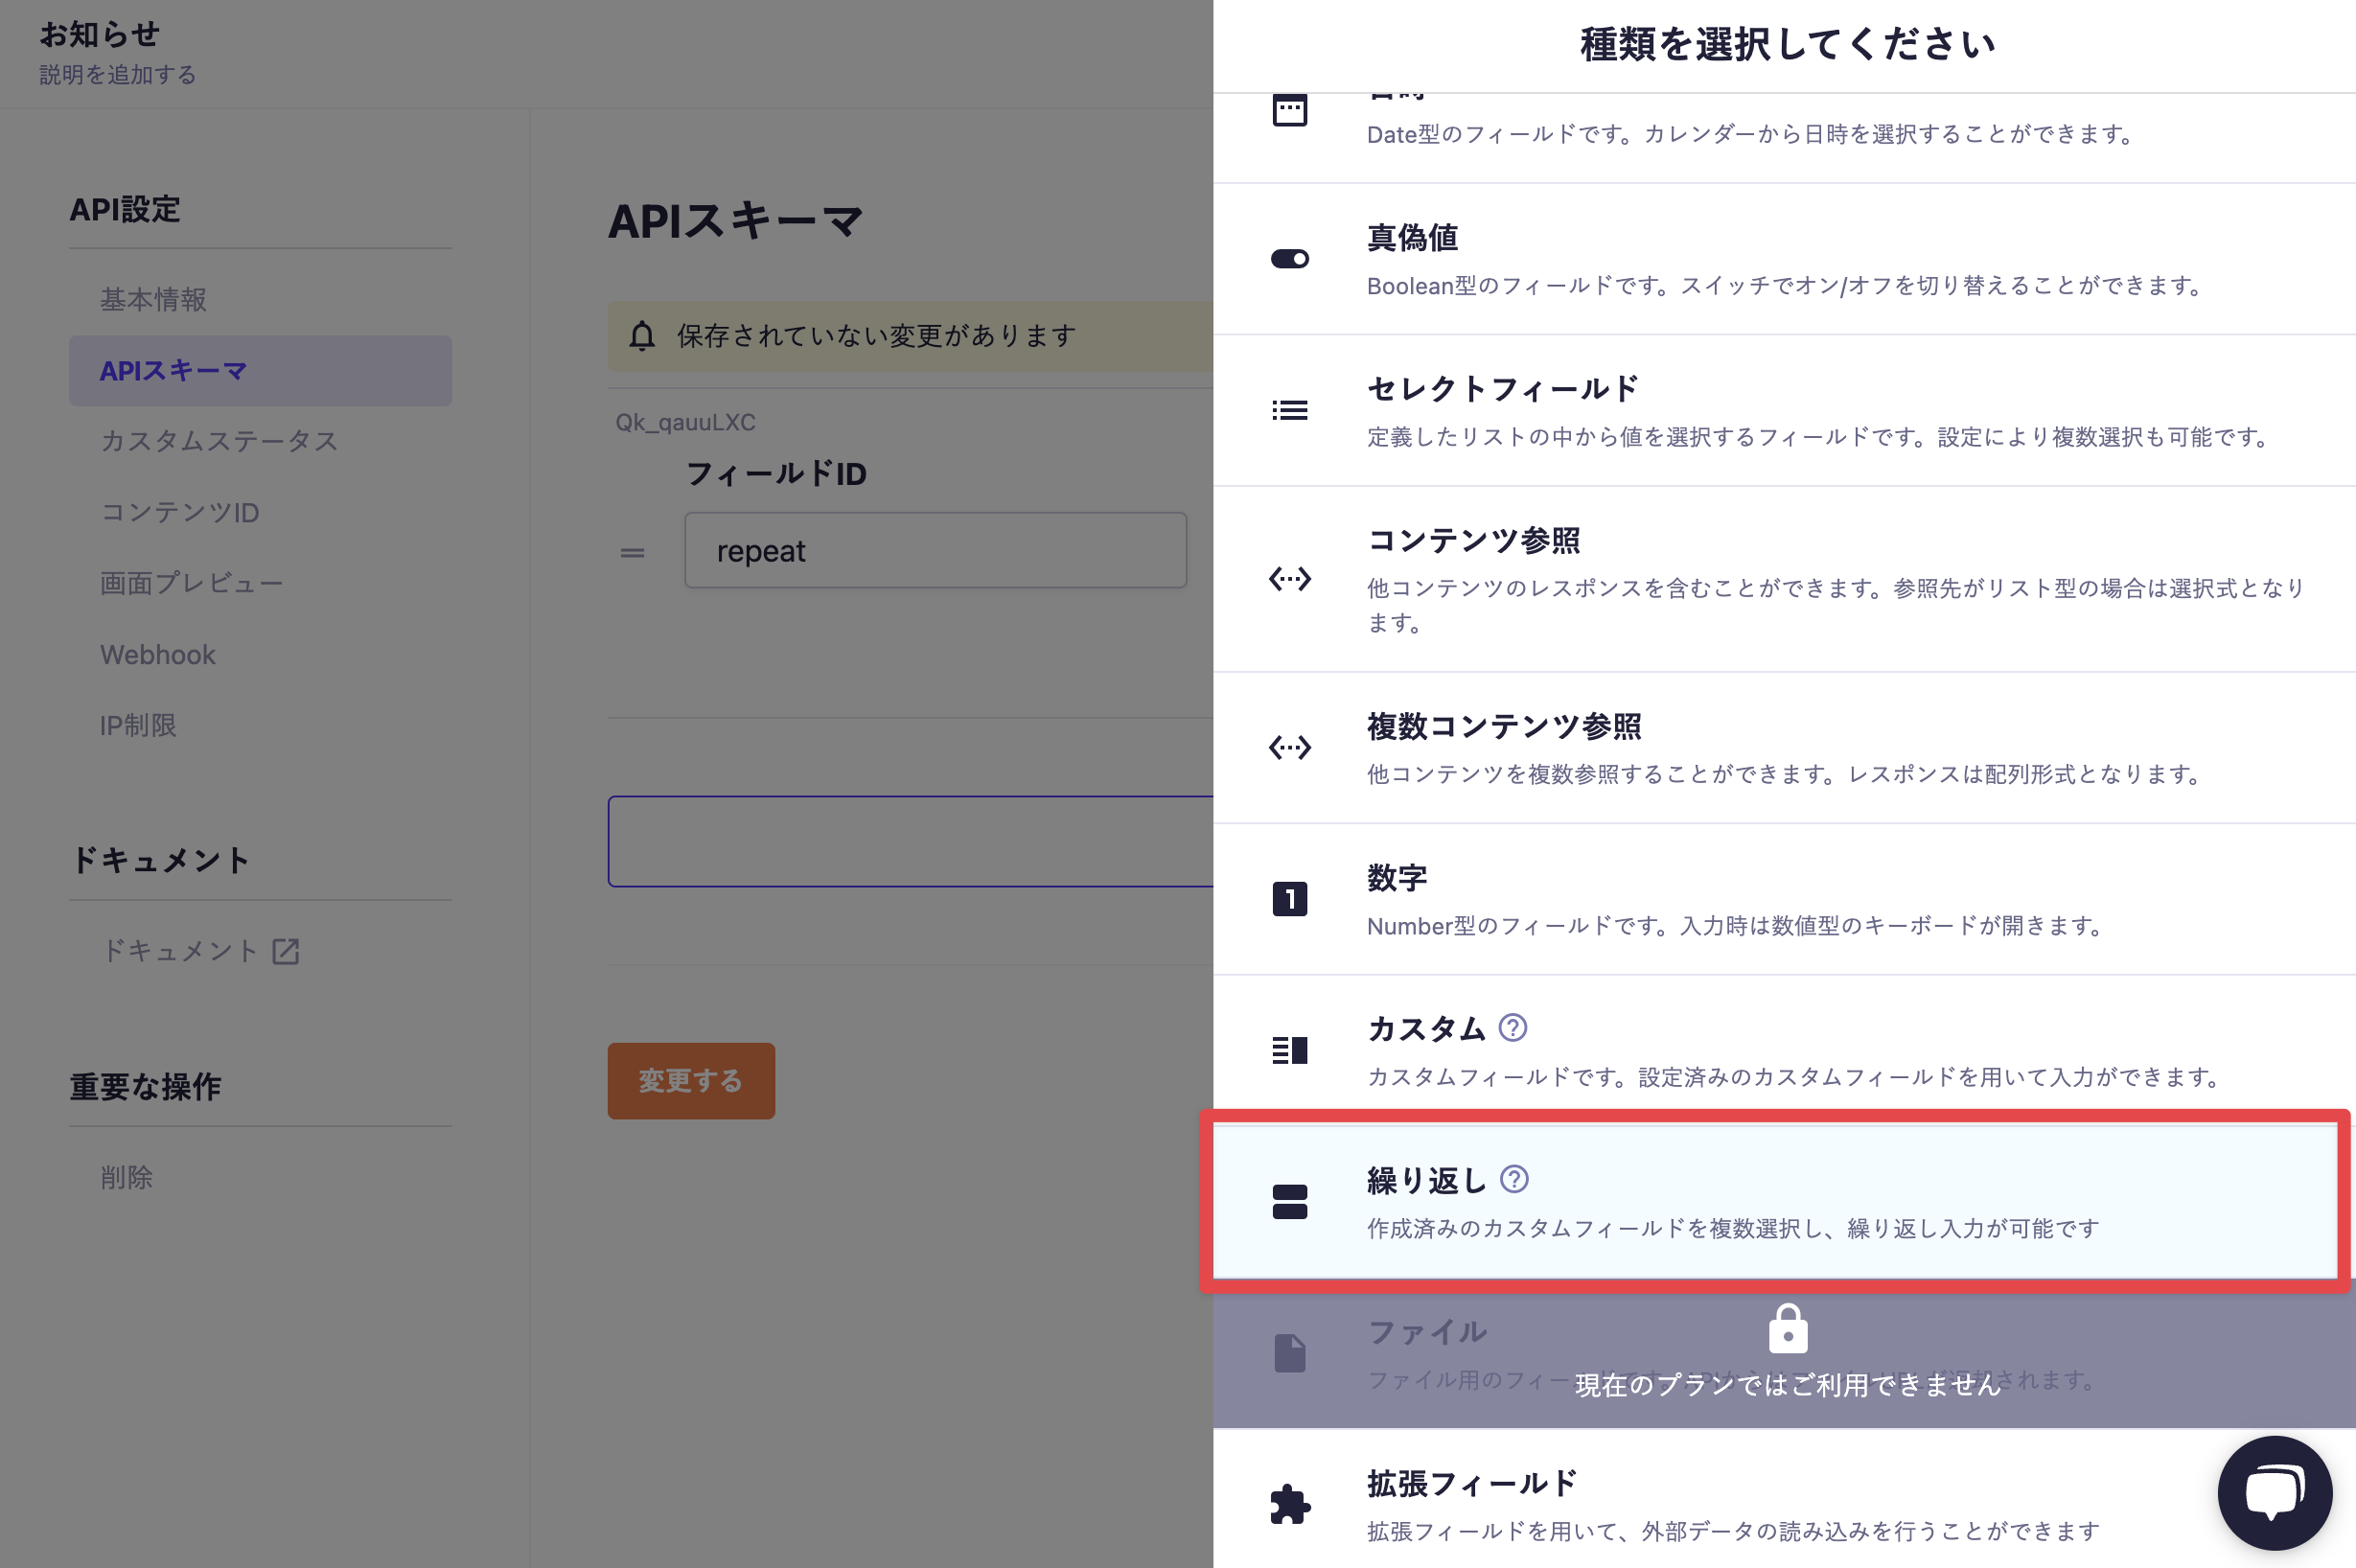
Next, to set up a repeating field using these Custom Fields, go to "API Settings" → "API Schema" and select "Repeating" as the "Type" of the field.
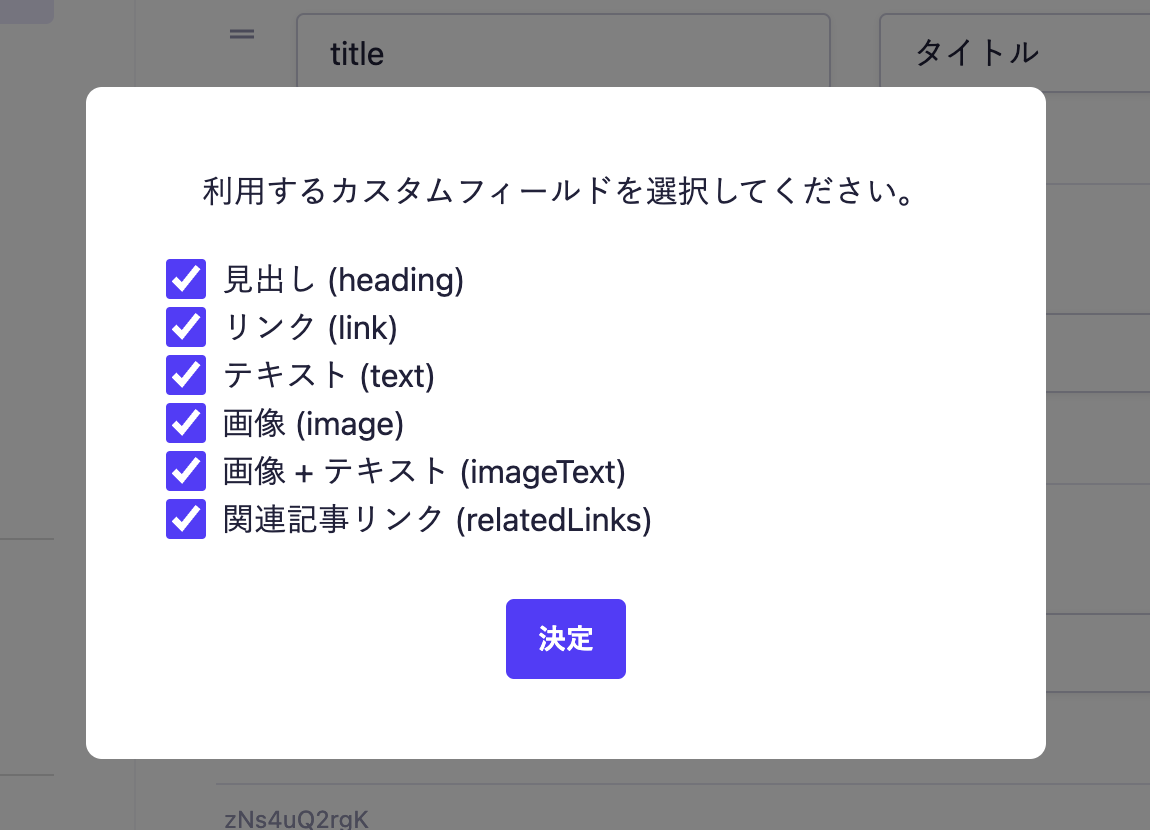
A modal window will open, allowing you to select which Custom Fields you want to use from the ones you have set up in advance. Check the ones you want to use and click "Decide."
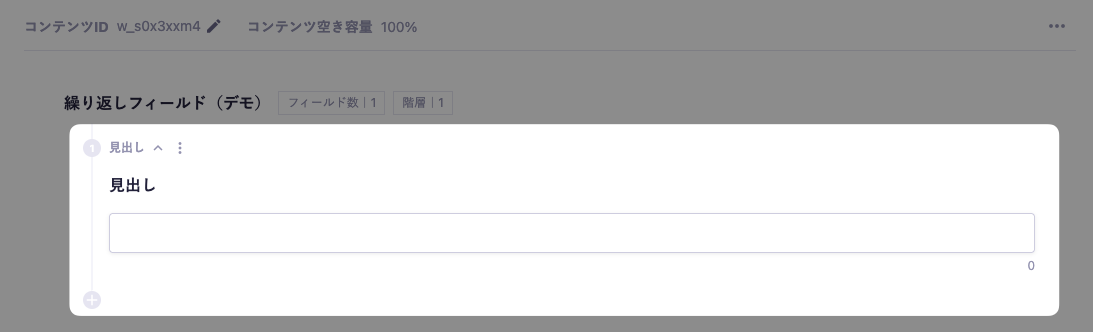
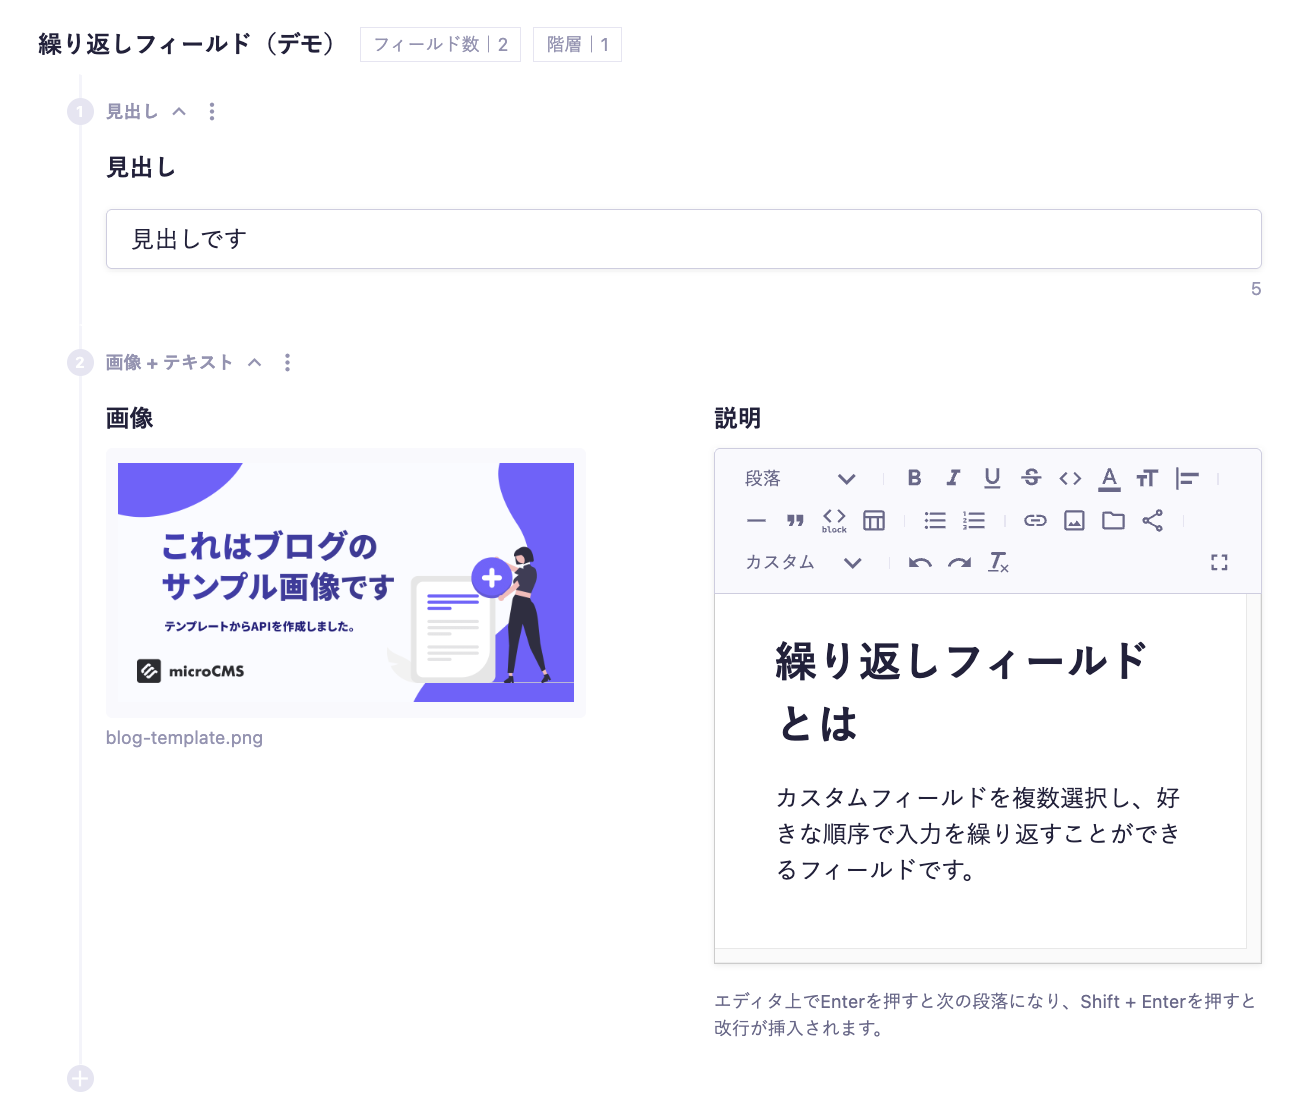
When a repeating field is set up, the following fields (Repeating Field (Demo)) will be available.
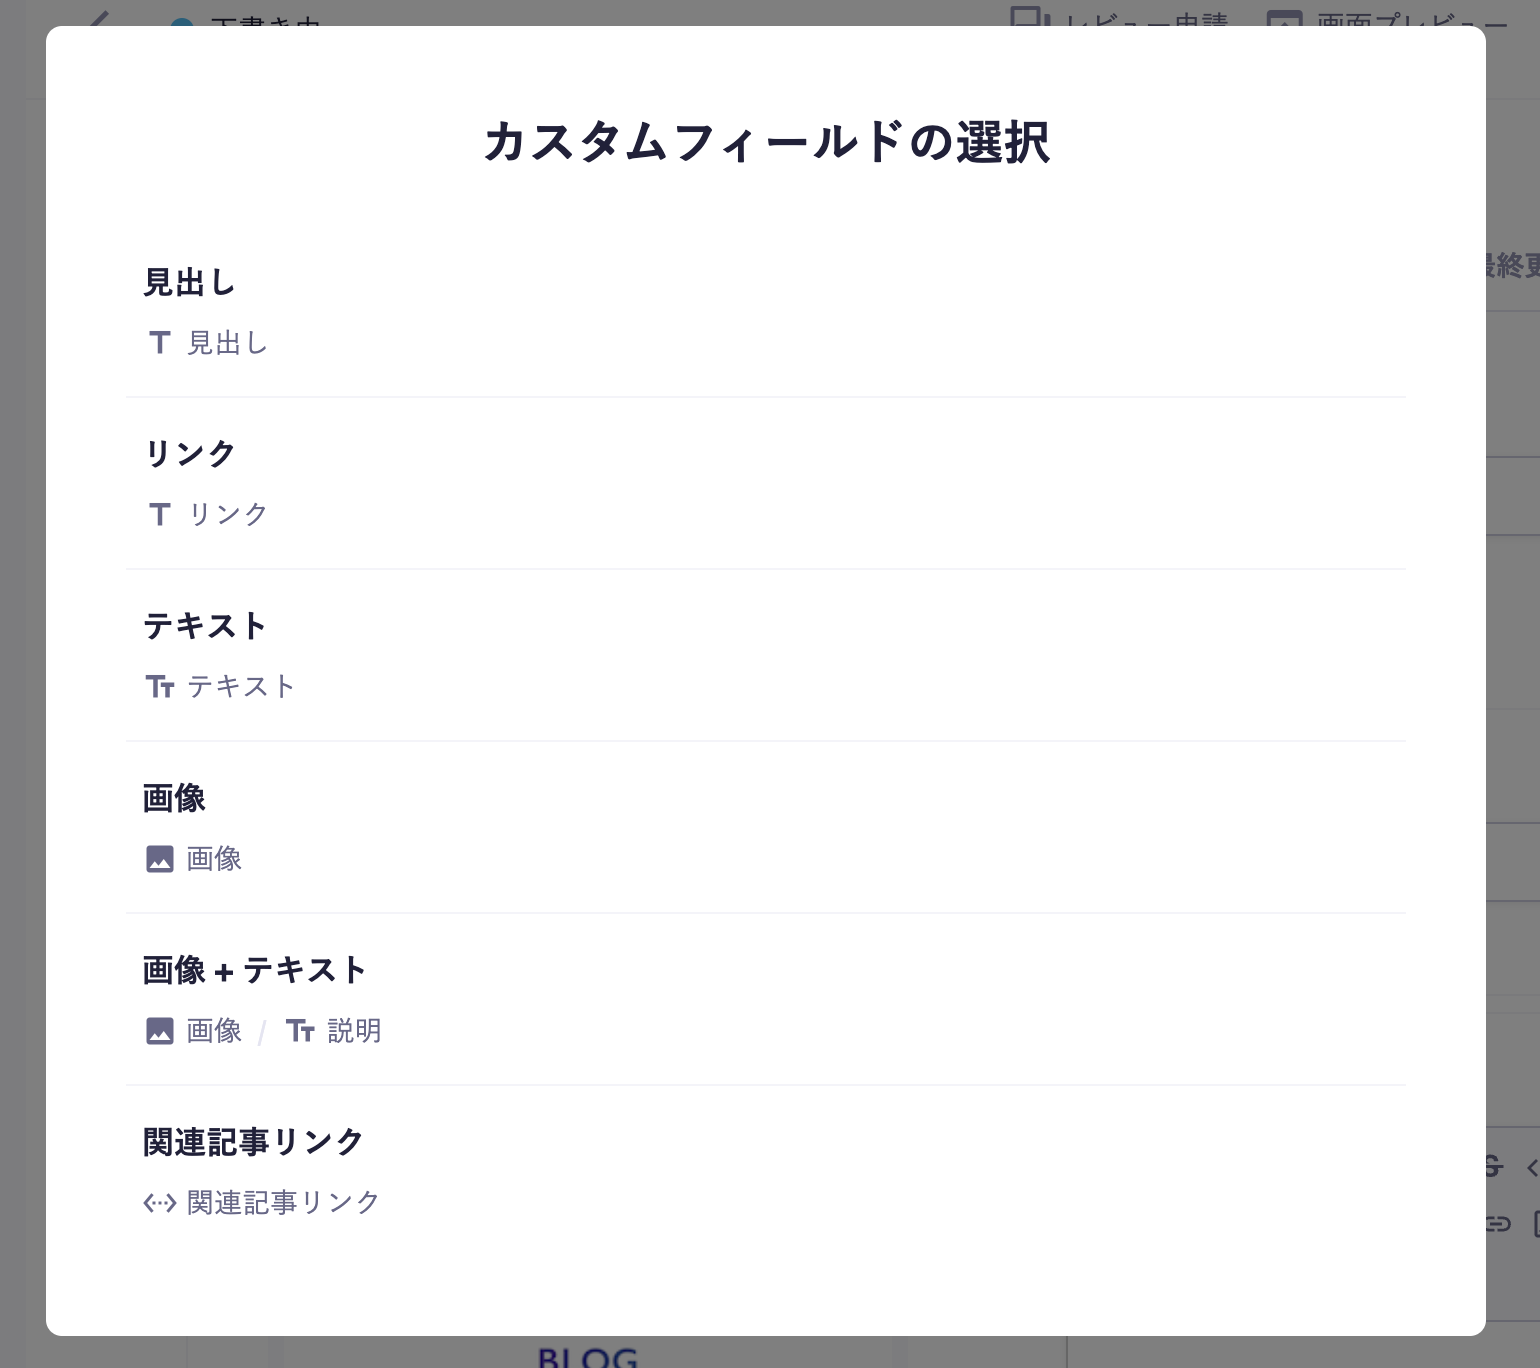
Clicking the "+ Add Field" button will display a popup to select which Custom Field to use.
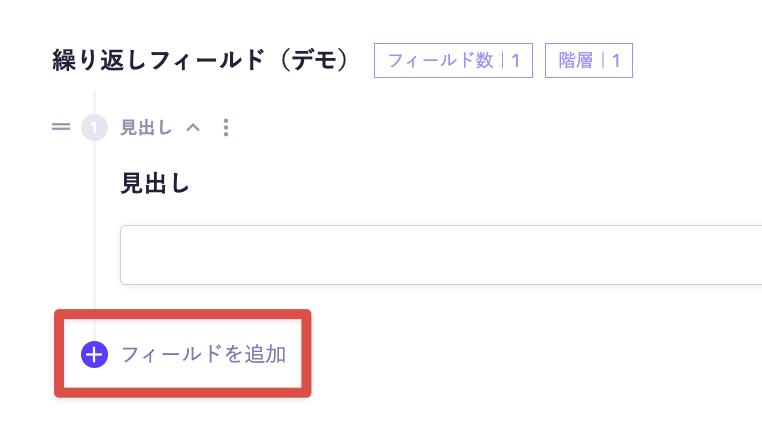
If you select "Heading" here, the Custom Field set as a heading (Text Field) will be displayed.
Additionally, pressing the "Add Field" button allows you to add fields below.
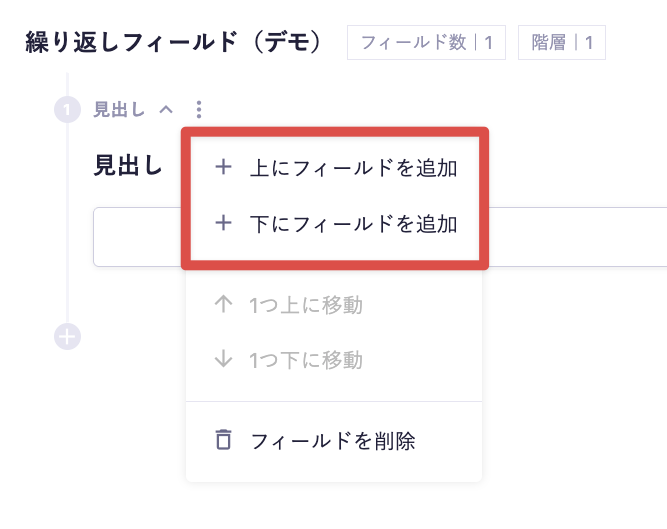
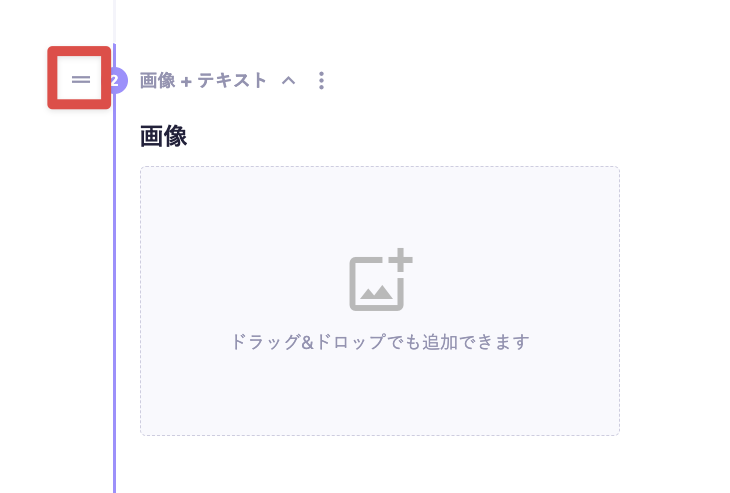
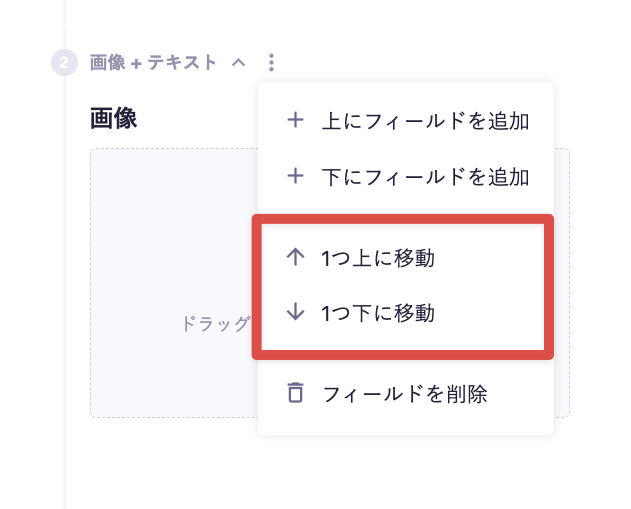
From the menu that appears when you click the ellipsis, you can add fields above or below.
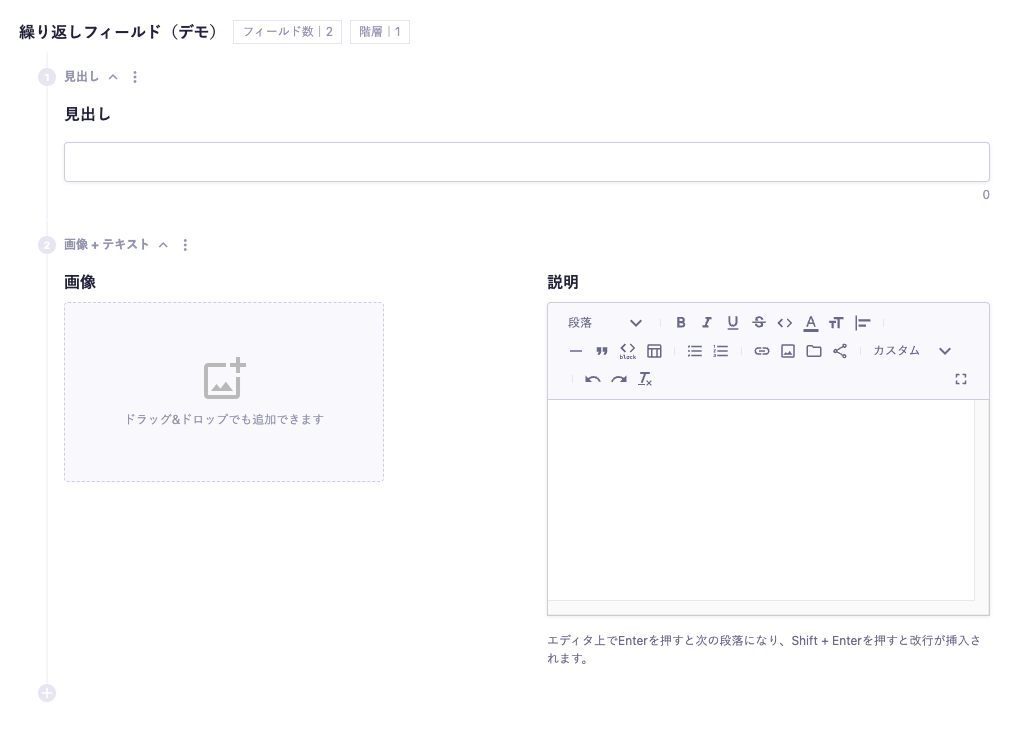
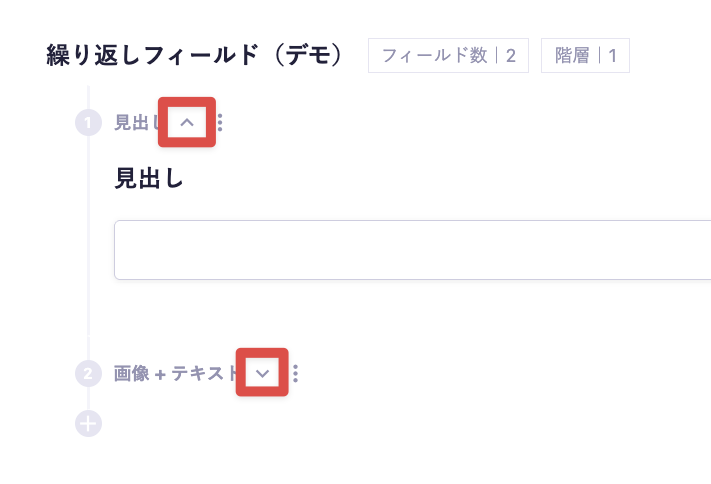
Now, I will add the "Image + Text" field. Then, you can arrange the fields as "1. Heading" and "2. Image + Text" as shown below.
Tips
The "Image + Text" field has the input forms arranged side by side, but the layout settings for such fields are managed on the Custom Field side. Please refer to the document below for the configuration method.
There is no limit on the number of Custom Fields that can be set in a repeatable field.
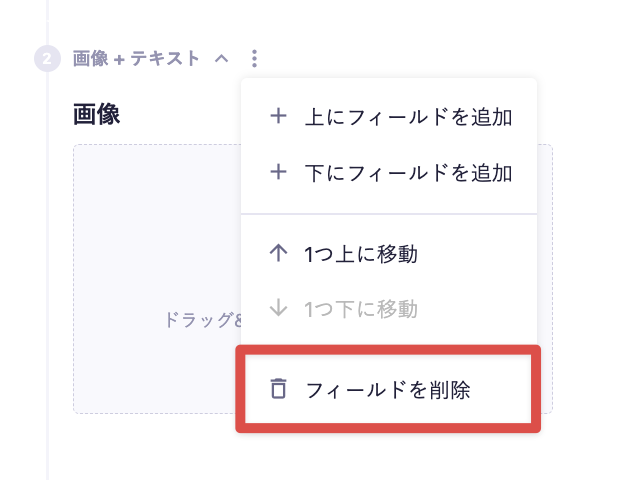
If you delete a Custom Field used in a repeatable field, the data that has already been registered using that field will continue to be displayed in the management screen, but will be excluded from the API response.
Now, let's input some values and retrieve data from the API. For confirmation, we will input as follows.
When you actually preview it in the API preview, you will receive a response like the following.
{
    "id": "kkk7km7-ng",
    "createdAt": "2023-08-28T06:25:36.825Z",
    "updatedAt": "2023-08-28T06:25:36.825Z",
    "repeat": [
        {
            "fieldId": "heading",
            "heading": "This is a heading"
        },
        {
            "fieldId": "imageText",
            "image": {
                "url": "https://images.microcms-assets.io/assets/xxxxxx/xxxxxx/blog-template.png",
                "height": 630,
                "width": 1200
            },
            "text": "<h1 id=\"h4a6e27f824\">What a Repeating Field Is</h1><p>This is a field that allows you to select multiple Custom Fields and repeat the input in any order you like.</p>"
        }
    ]
}
For the basic response format of the GET API, please refer to the following documentation.
Define components for each element of the array (<Heading />, <ImageText />) and here is an example of passing values obtained via the API. Below is an implementation example in React.
exportconstMain = ({ repeat }) => (
<main>
{repeat.map((item, i) =>
item.fieldId === 'heading' ? (
// Use the component for displaying headings
<Headingkey={i}text={item.text} />
) : item.fieldId === 'imageText' ? (
// Use the component for displaying image + text
<ImageTextkey={i}image={item.image}text={item.text} />
) : null
)}
</main>
);
Here, the array of the repeat field (repeat) is transformed using the map() method, outputting the appropriate component for each fieldId. This allows you to build the view in the same order as entered in the editing screen.
Using repeat fields allows for the construction of flexible fields tailored to the expression. We also have examples of use cases and implementations of repeat fields available in the following blogs, so please refer to those as well.