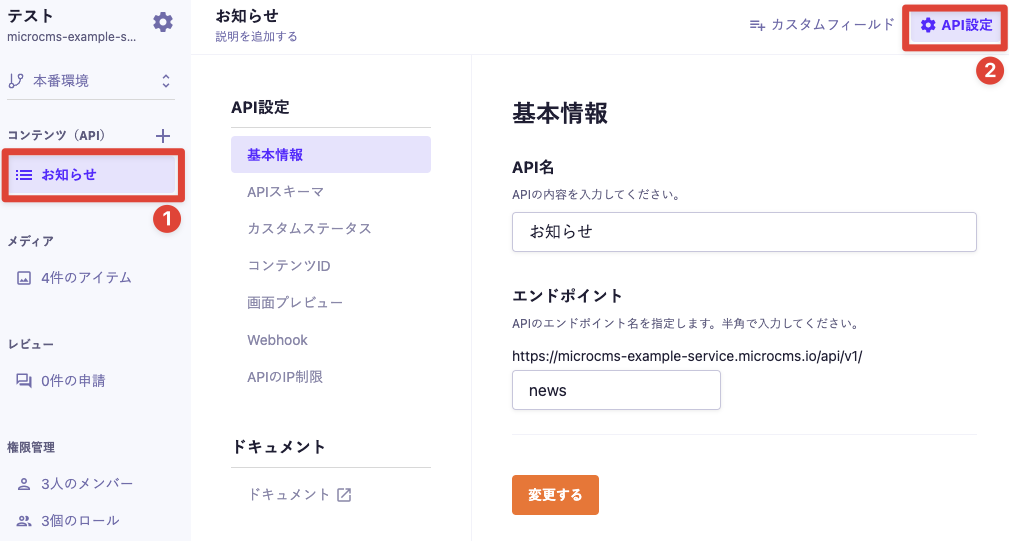
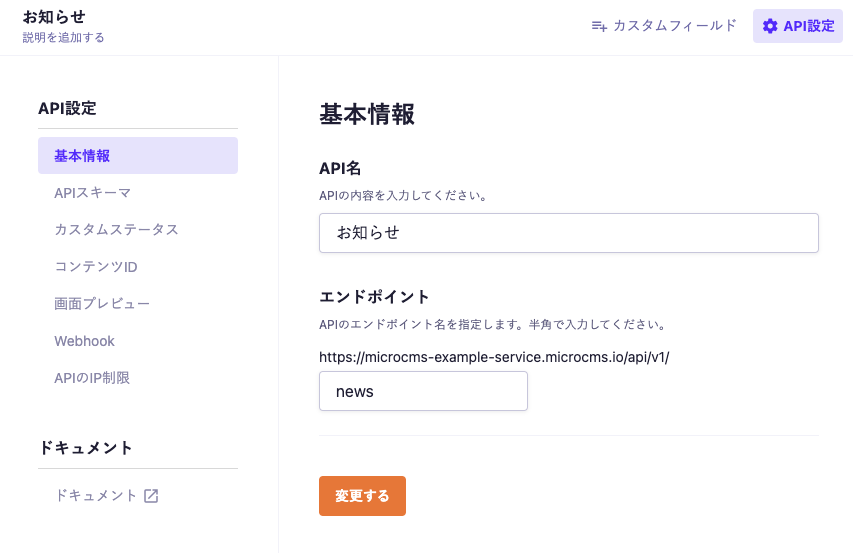
In the API settings screen, you can change various settings related to the API. You can access the API settings screen after selecting various APIs from the sidebar.
This is the value included in the URL for calling the API.
Caution
If you change the endpoint name and make a call using the old URL, a 404 error will occur. Please ensure that the change will not impact operations before proceeding.
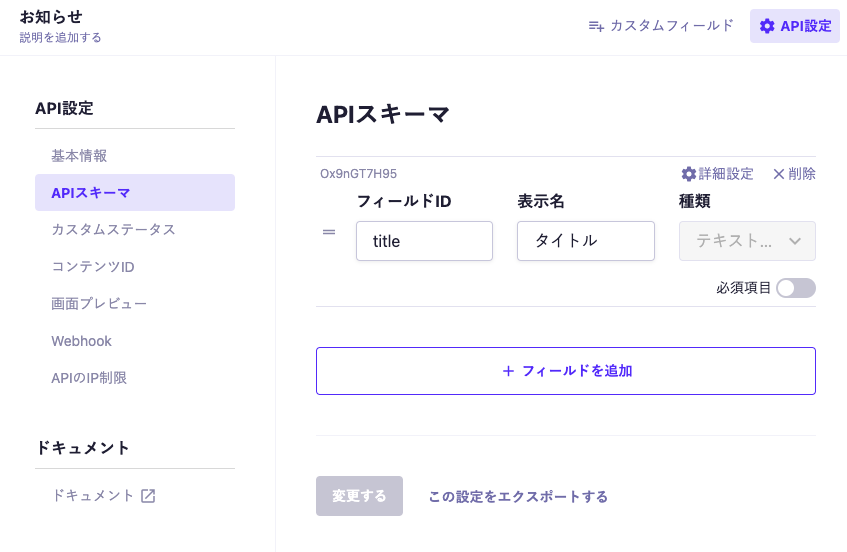
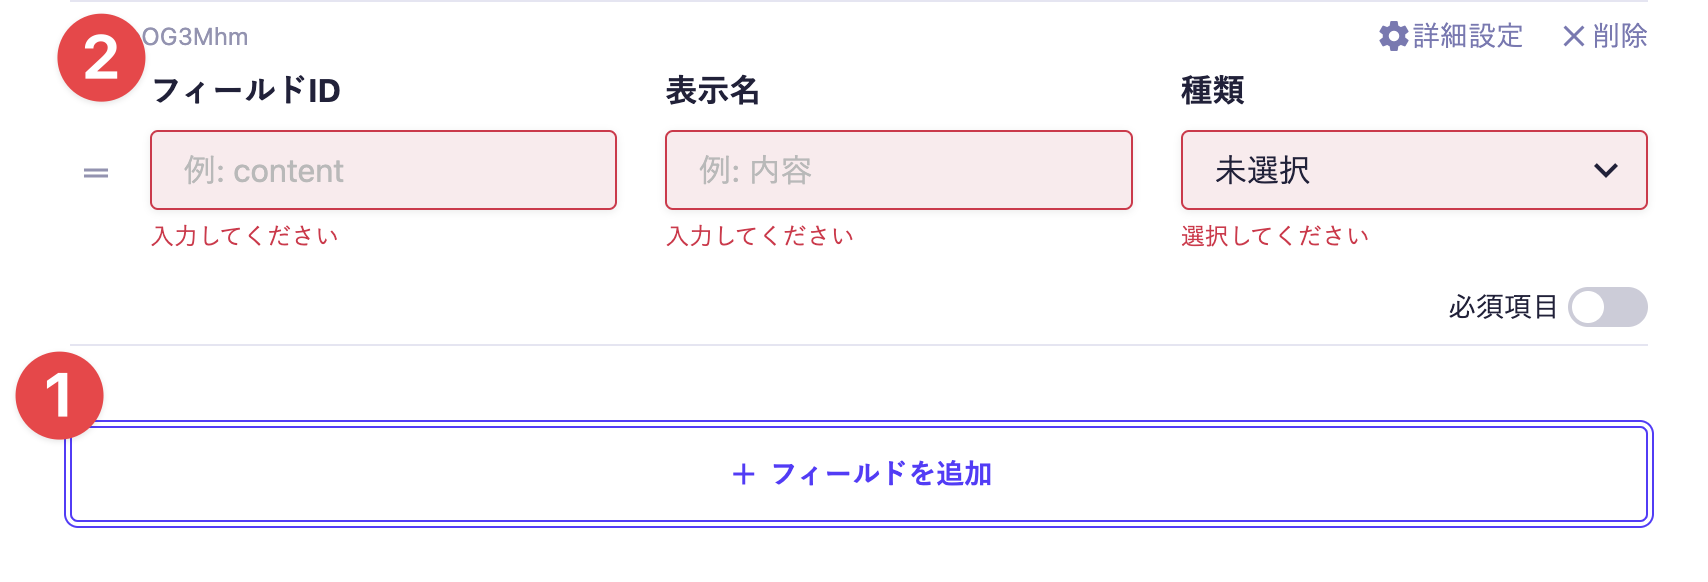
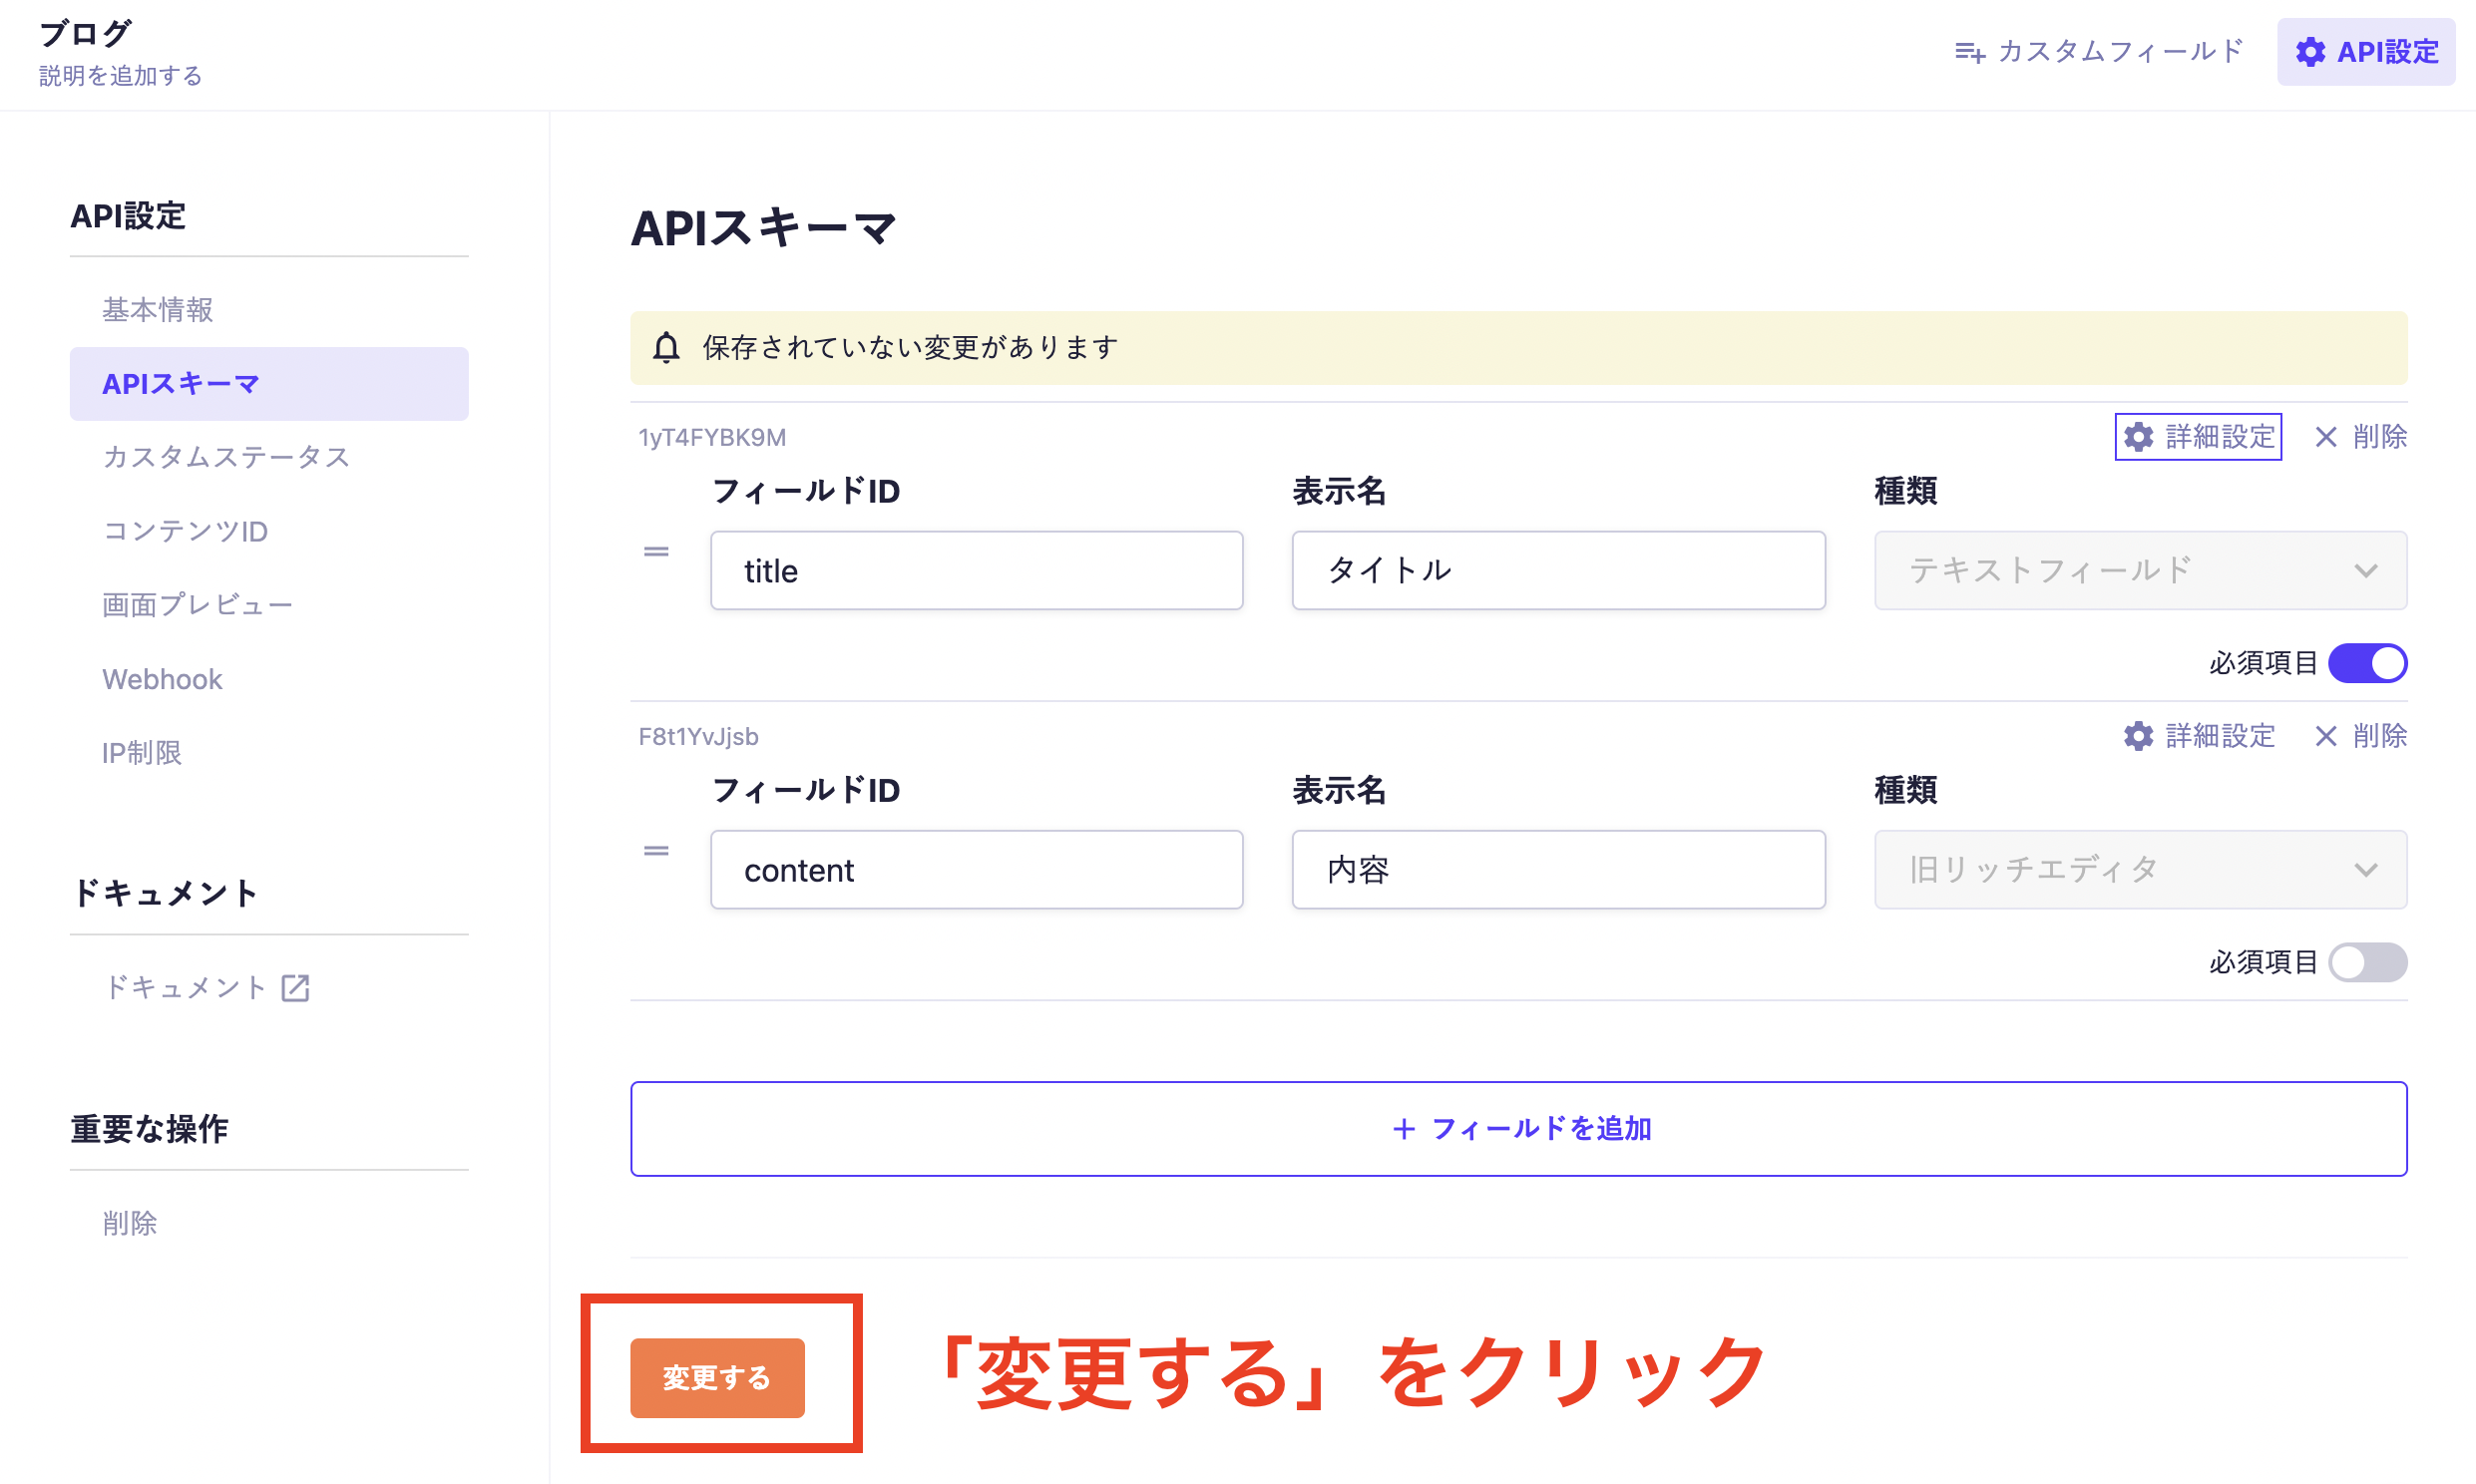
In the API Schema screen, you can add fields to the API schema and modify the settings of the created schema.
Caution
After creating a field, the settings can be changed at any time (with some exceptions). However, in such cases, the response from the Content API may change, which could affect the systems you are using. Please be cautious when making changes if you are already in operation.
You can restrict the available buttons in the toolbar.
Color Presets
You can select registered colors when setting the text color. Enabling "Show only color presets and hide the color picker" will allow you to select only the preset colors registered in advance. For more details on how to use it, please refer to "How to Use the Rich Text Editor".
Text Size Presets
You can select registered text sizes when setting the text size. For more details on how to use it, please refer to "How to Use the Rich Text Editor".
Custom Class
You can assign registered class names to specific text elements. For more details on how to use it, please refer to "How to Use the Rich Text Editor".
Default Values
You can set default values at the time of submission.
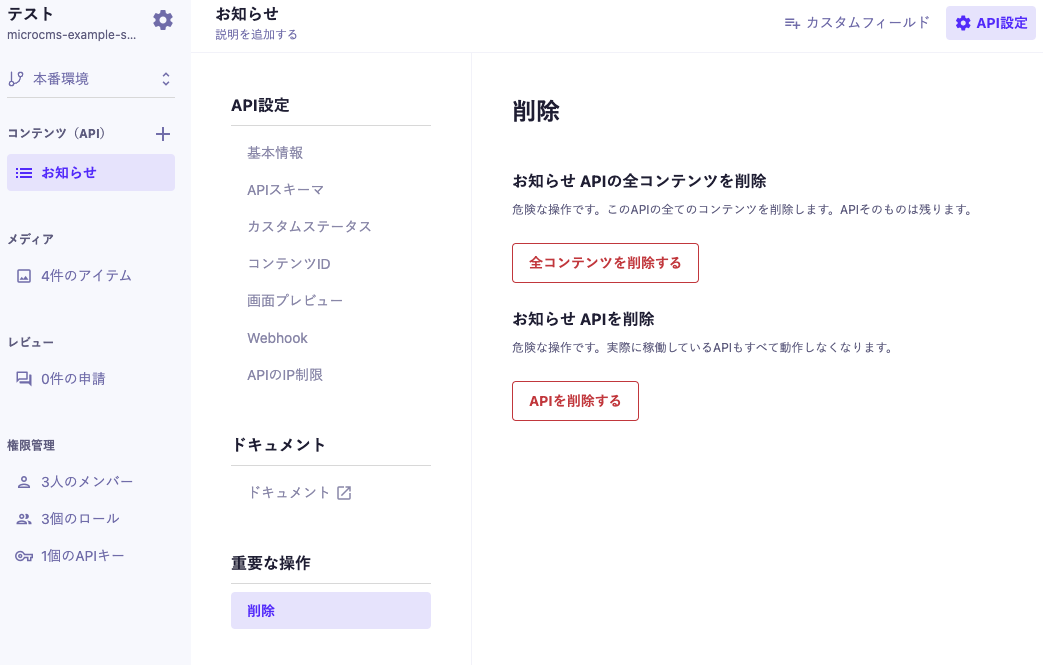
This feature allows you to delete all contents and APIs.
Caution
Since this is a dangerous operation, please carefully consider the impact before proceeding. Once the deletion operation is performed, it cannot be undone.
This will delete all contents that exist in the API.
Please note that you cannot delete all contents if any of the following conditions apply. If you wish to delete, please modify the contents that meet the conditions.
There is at least one content under review
There is at least one content referenced by another API through a "Multiple Content Reference Field"
This will delete the API. Once deleted, the corresponding API will no longer be available.
Please note that you cannot delete the API if any of the following conditions apply. If you wish to delete, please modify the contents or fields that meet the conditions.
There is at least one content
It is referenced by another API through a "Multiple Content Reference Field"