Getting Started (Server)
This document outlines the quickest steps to use microCMS from the server side with JavaScript.
Things to Confirm in Advance
- You will need Node.js and npm. Please install them in your development environment.
- You must have completed the creation of the microCMS service. If you haven't done this, please refer to the documentation below.
Setting Up microCMS
First, let's create a simple API with microCMS.
- Object format
- One text field
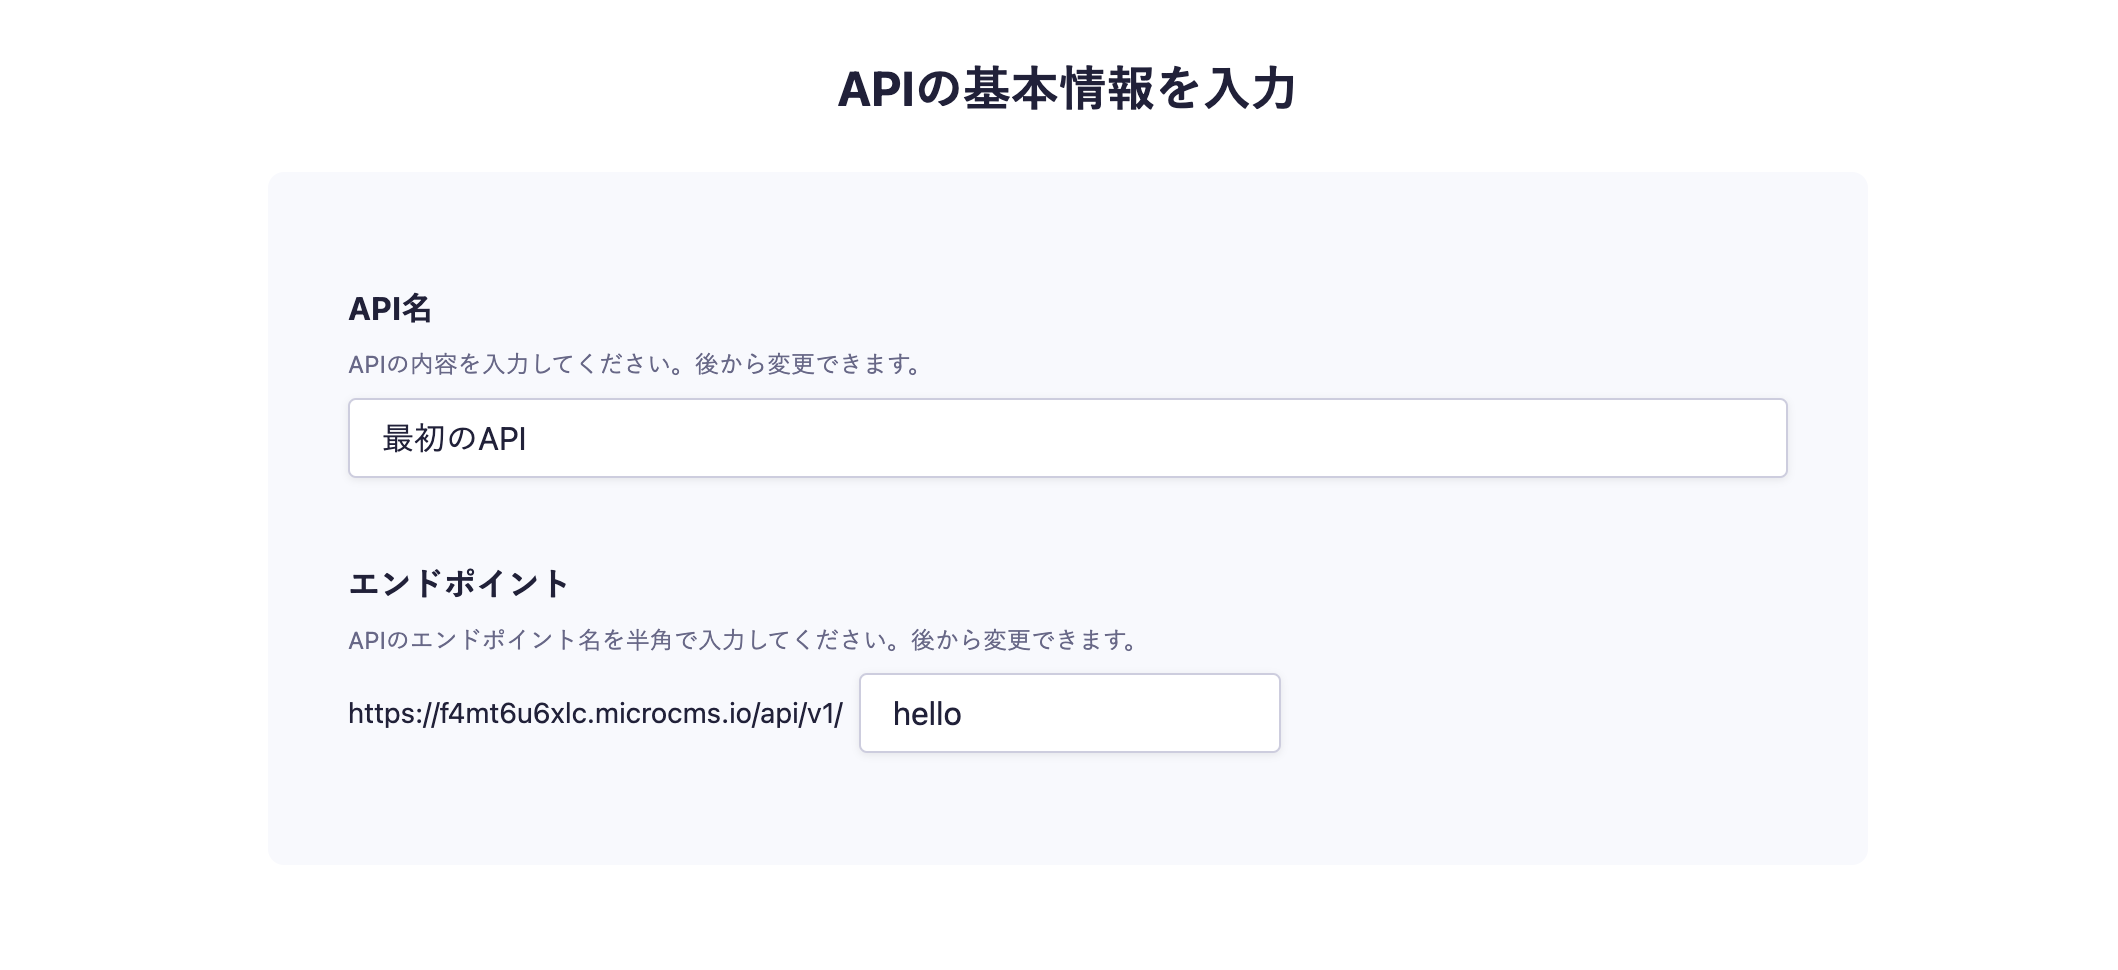
In the API creation screen, enter your desired API name and endpoint.

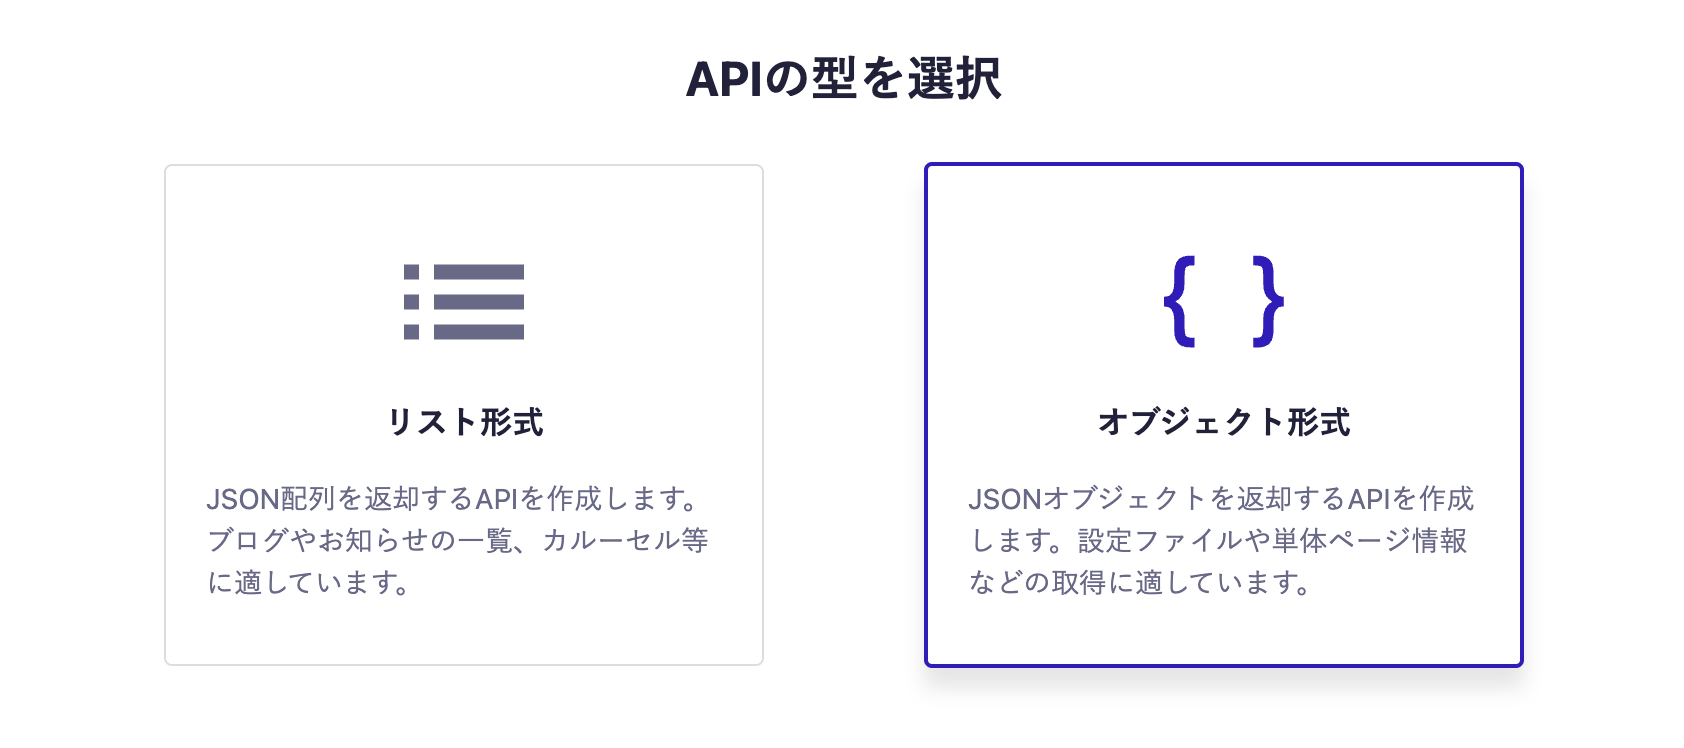
Next, select the object format.

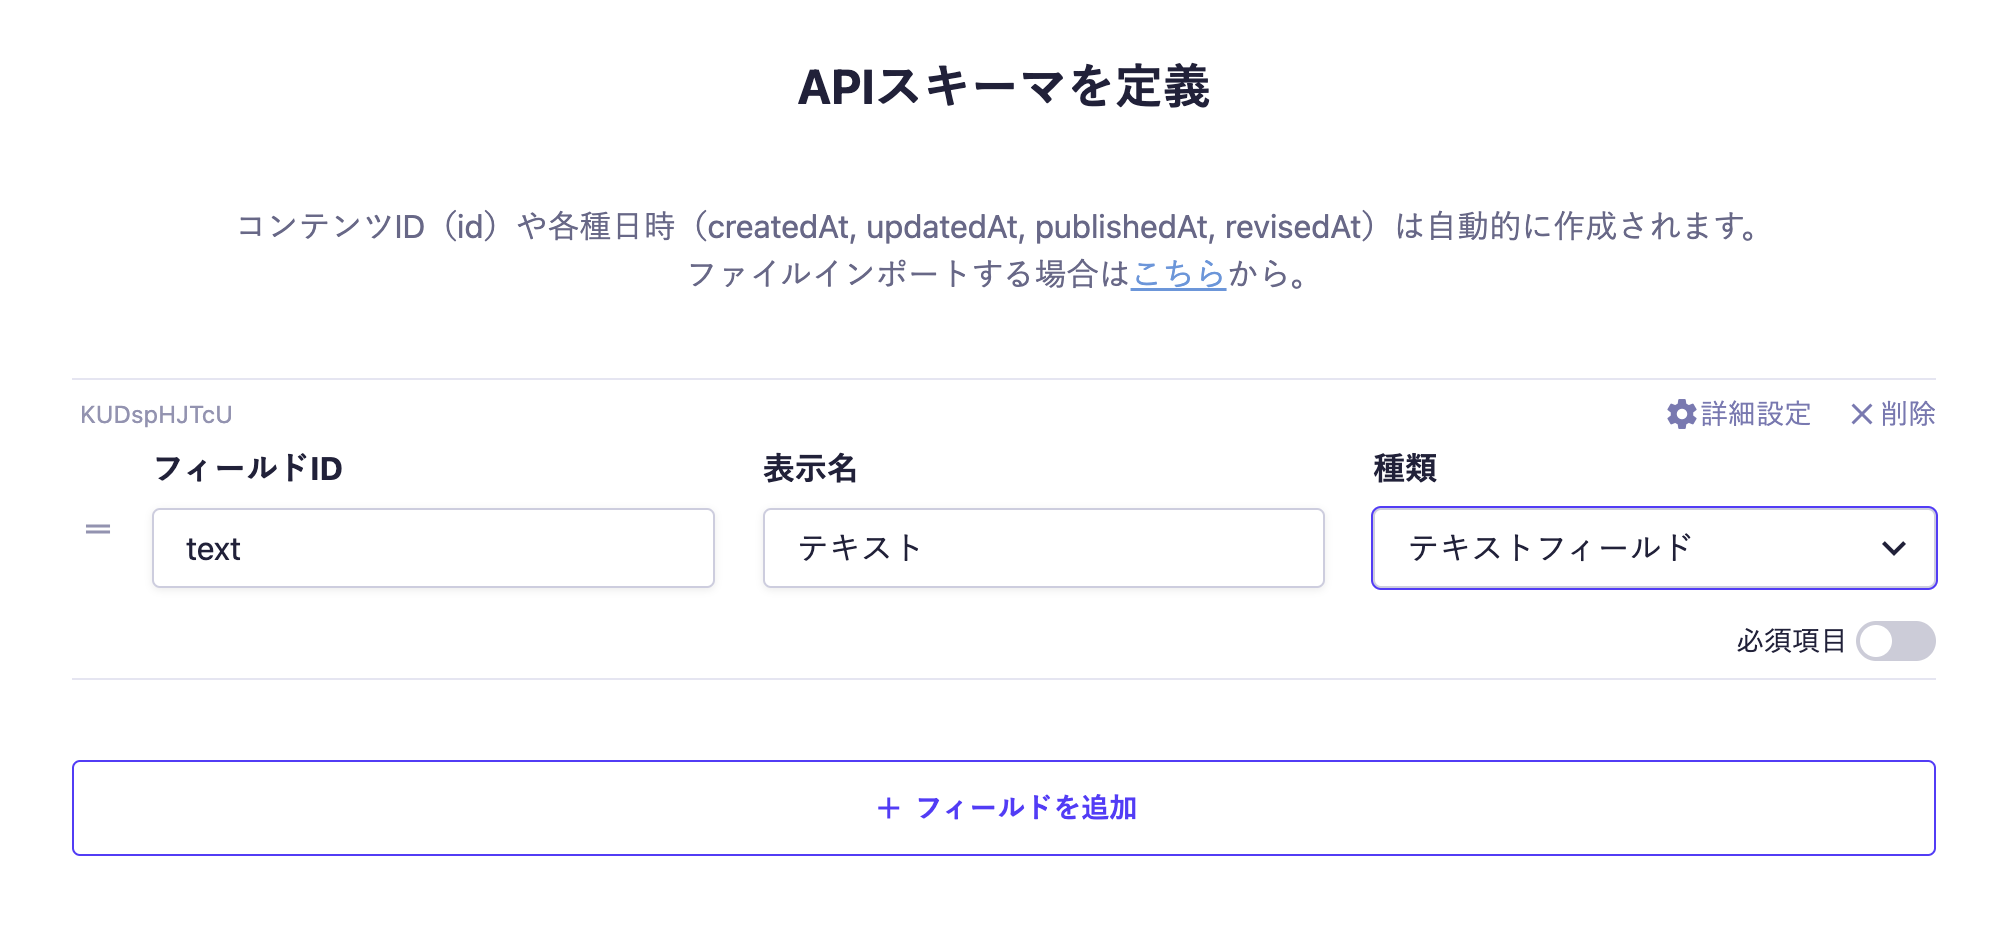
Finally, set up the fields. This time, we will set only one text field.

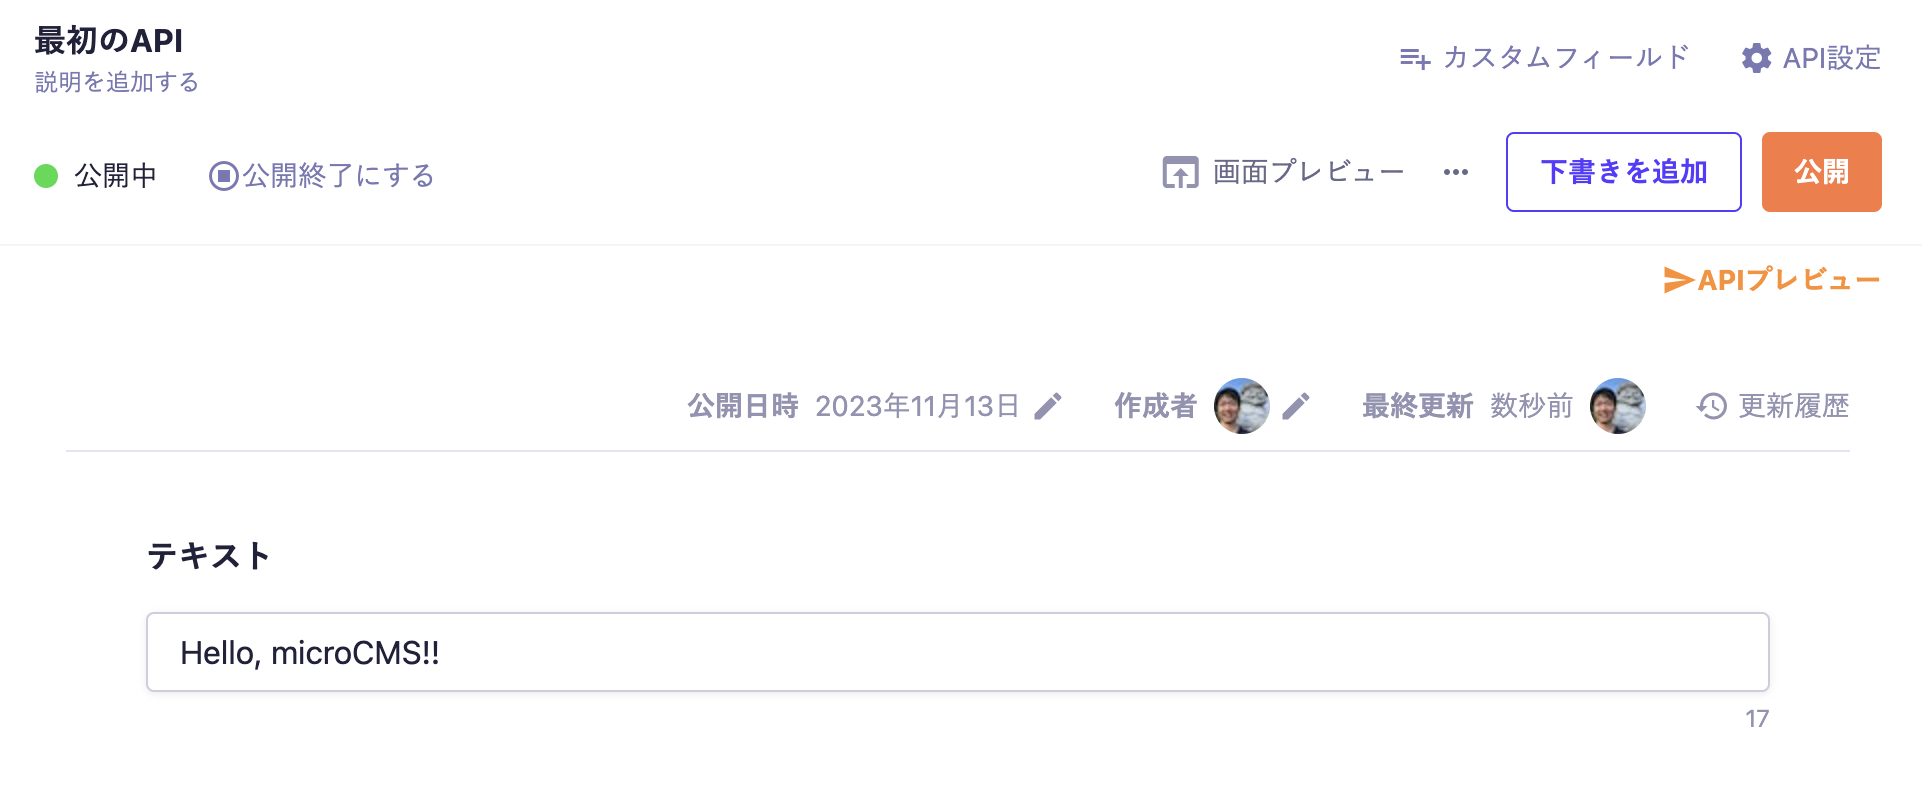
With the above settings, the API will be created and ready to accept content submissions.
Move to the editing screen, enter your desired values, and publish.

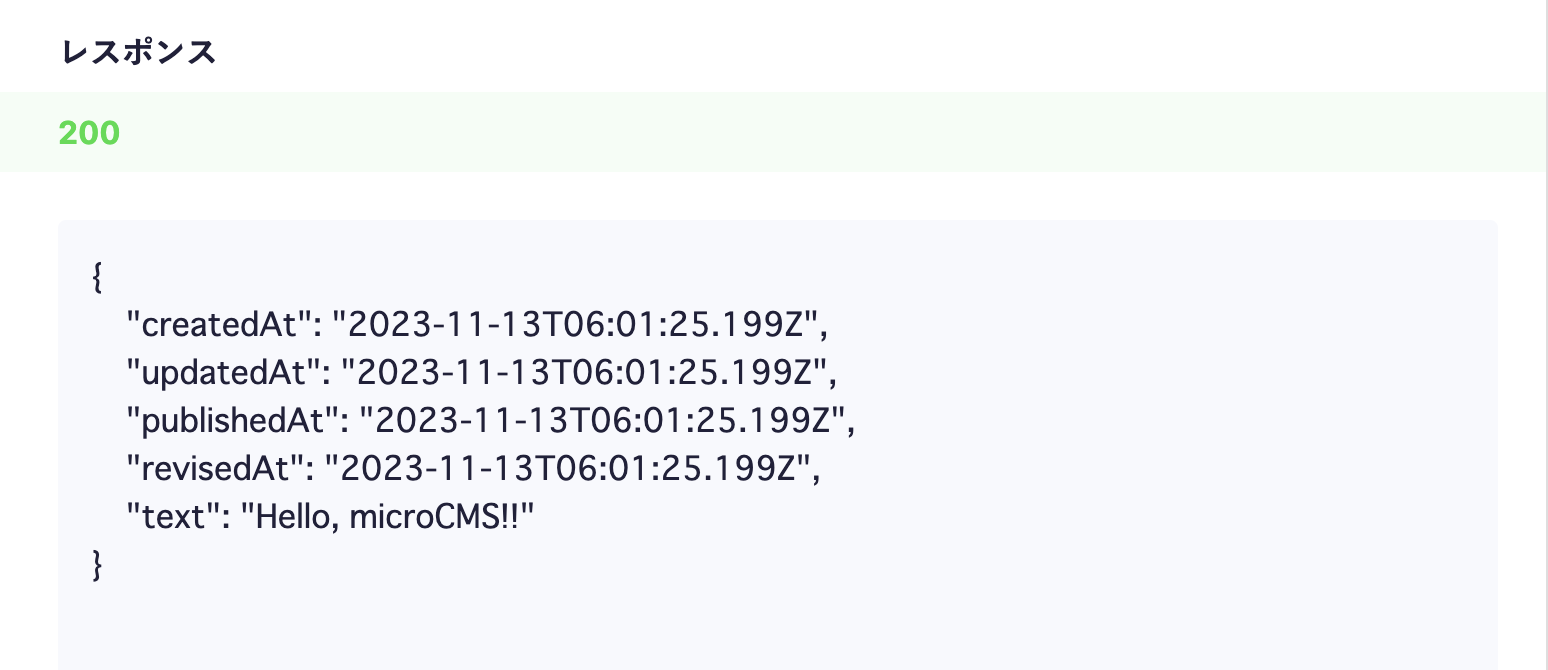
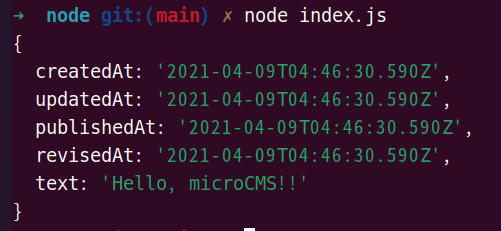
At this point, a response containing content data will be returned from the API.
Click on the API preview in the upper right corner to access the created API and confirm that a JSON response is returned.

Preparing the Node.js Project
First, run the following command to create the package.json file, which contains the basic information for the project.
$ npm init -yNext, install the microcms-js-sdk.
$ npm install microcms-js-sdkThen, create a file named index.js.
$ touch index.jsIn the created file, write the following code. (Please set service-domain and api-key to the values you configured.)
const { createClient } = require('microcms-js-sdk');
const client = createClient({ serviceDomain: 'service-domain', apiKey: 'api-key' });
// service-domain is the XXXX part of https://XXXX.microcms.io
client
.get({
endpoint: 'hello',
})
.then((res) => console.log(res))
.catch((err) => console.log(err));Finally, run the created file with the following command.
$ node index.jsYou can retrieve the content submitted to microCMS as a response.

