There are two ways to upload media in the management screen. In either method, it is possible to upload multiple files as well as a single file. For information on the types of media that can be uploaded, please refer to the help article "What types of media can be uploaded?".
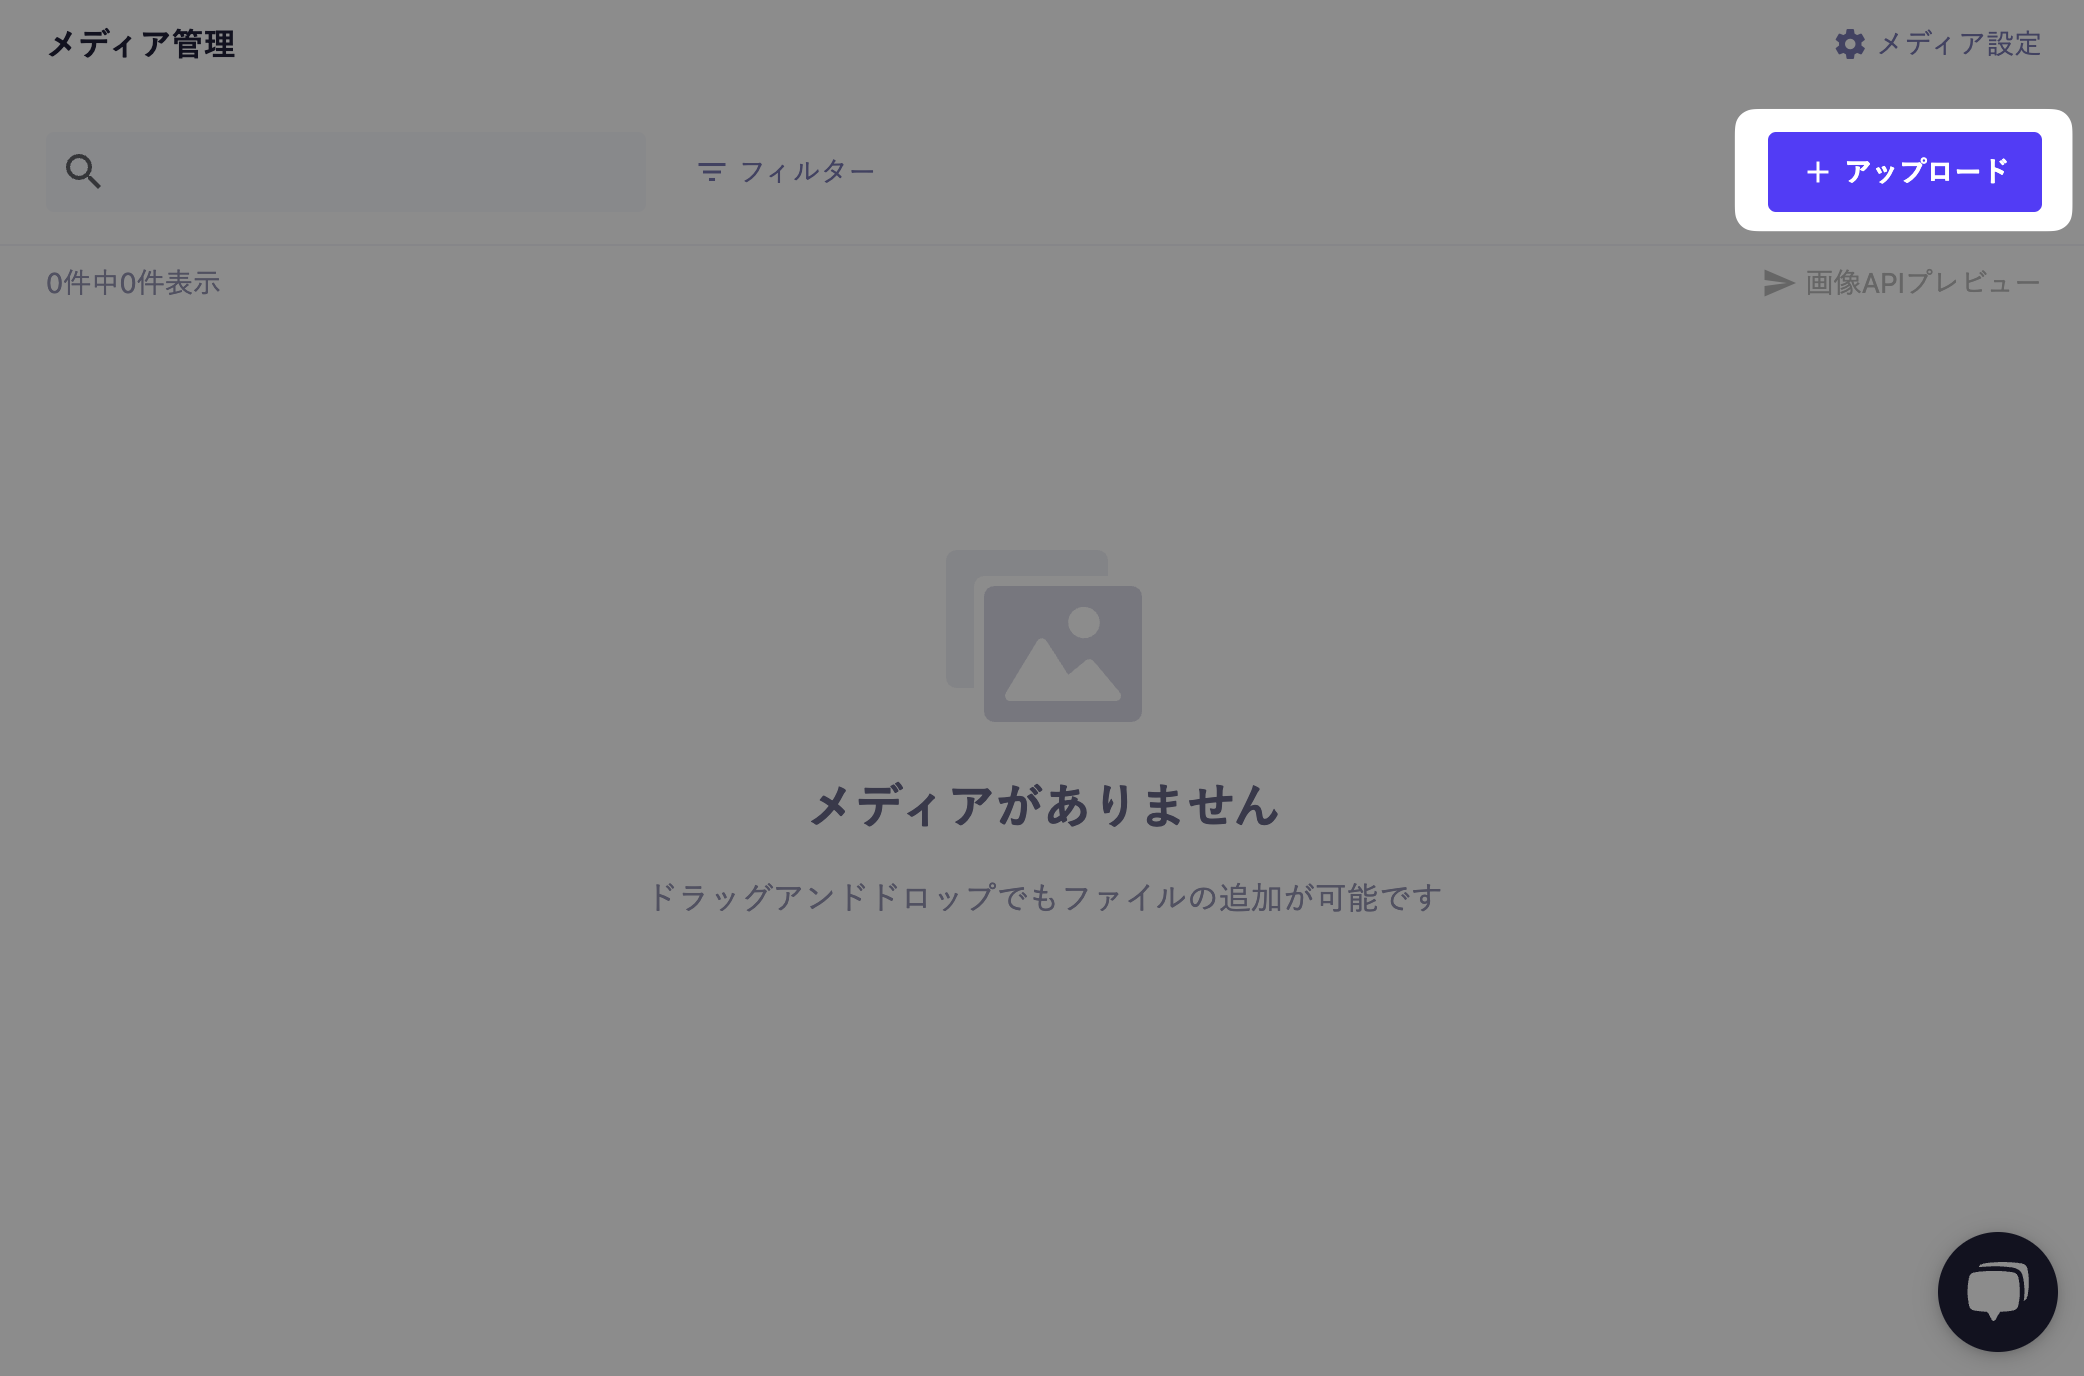
Click the "Upload" button in the upper right corner of the media management screen, and a file selection dialog will open, allowing you to upload files from there.
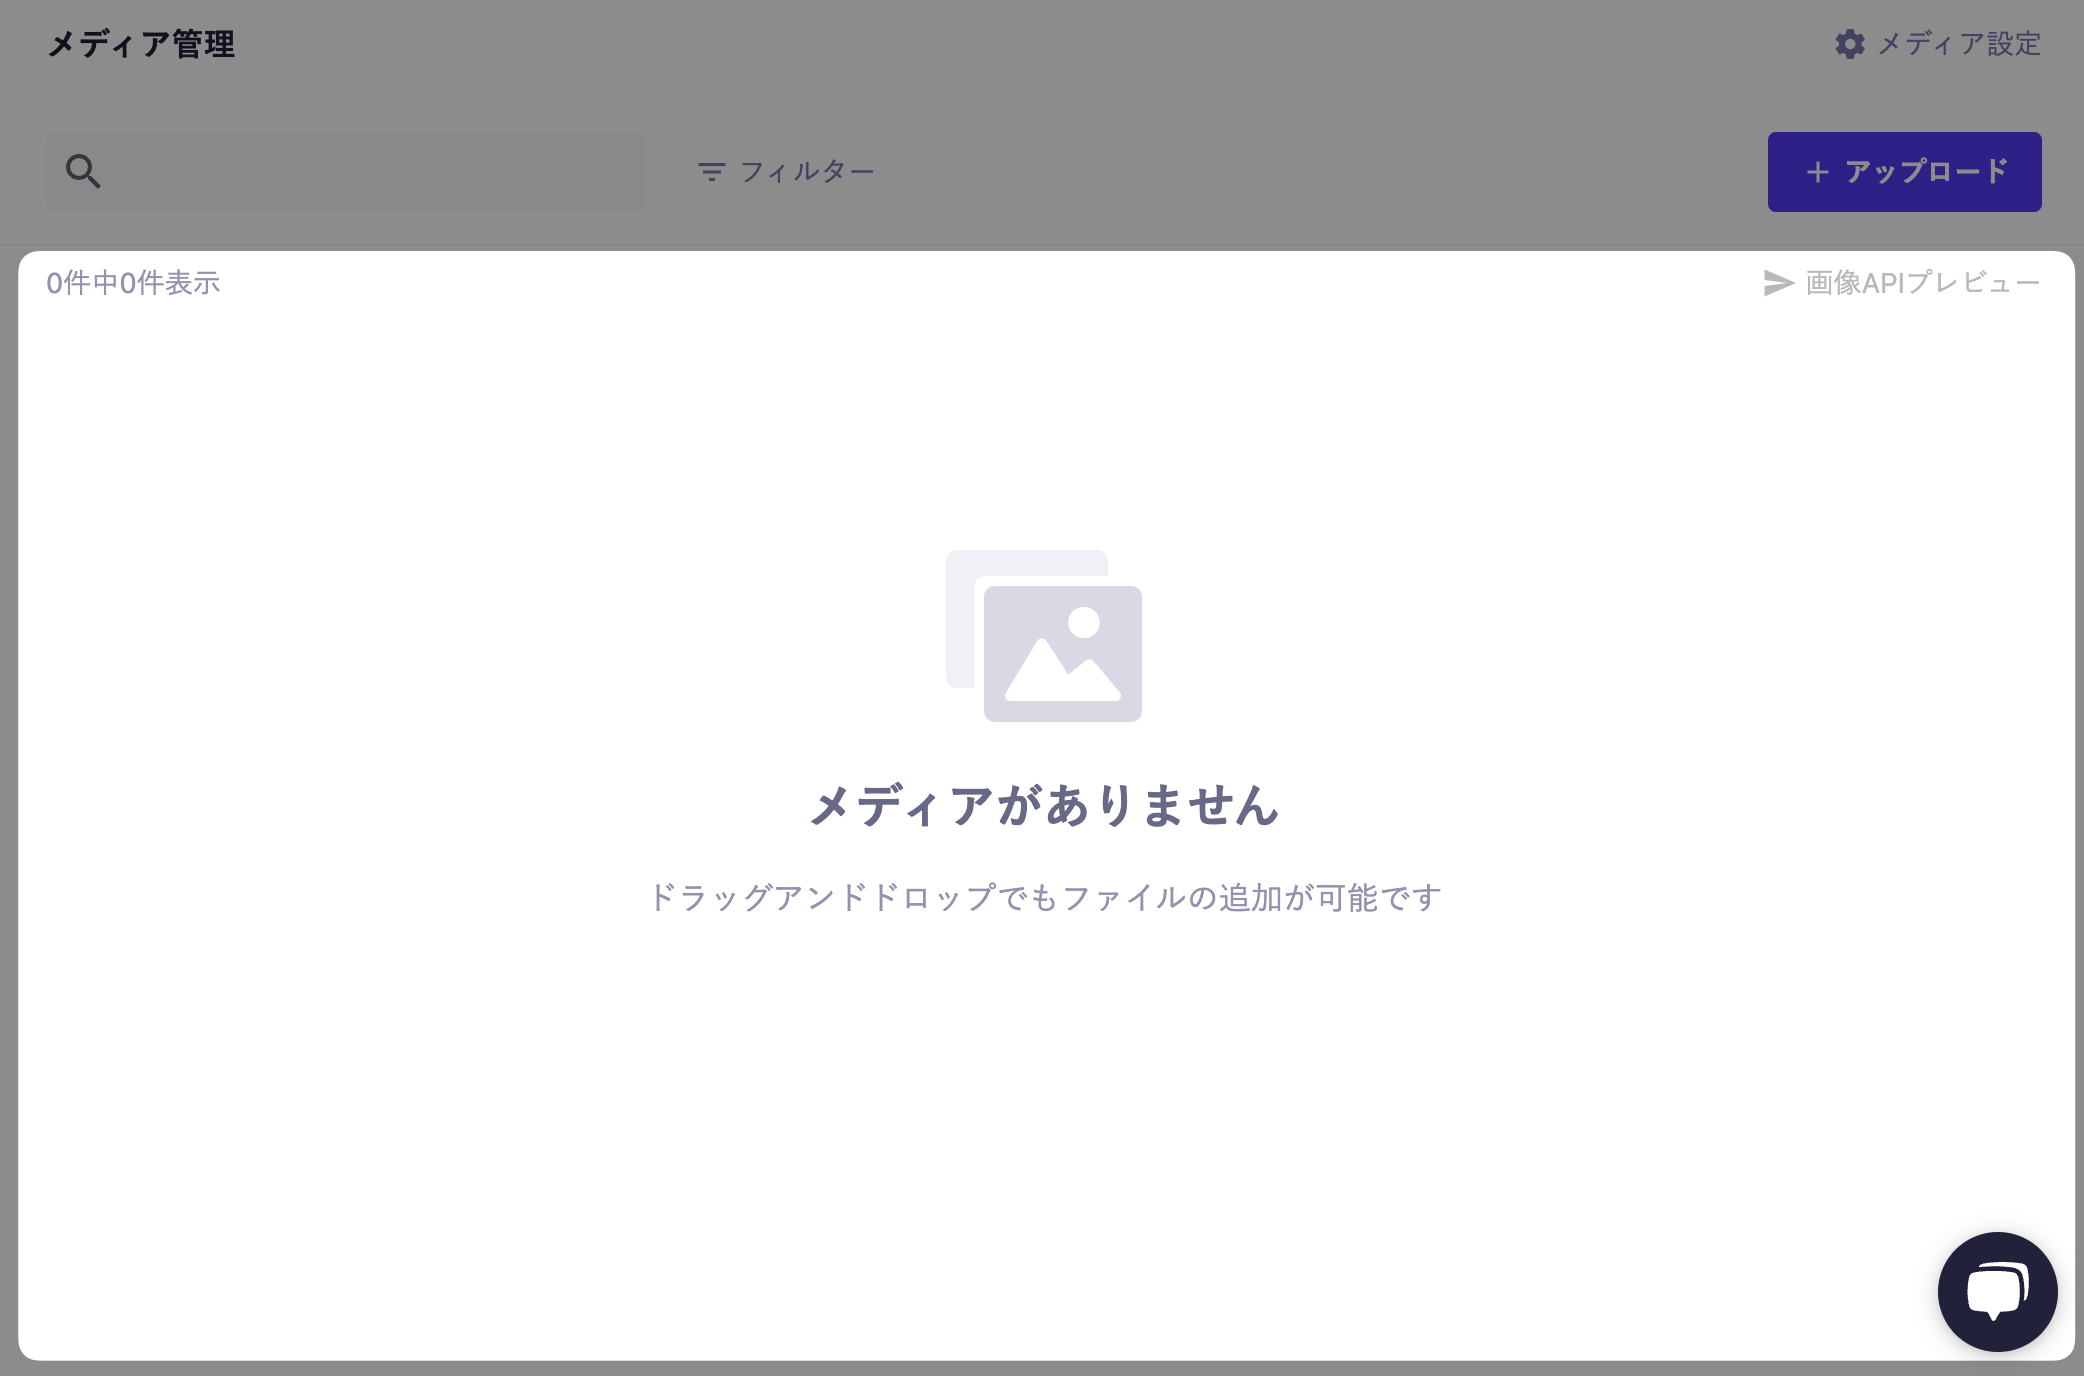
You can upload media by dragging and dropping it into the central area of the media management screen.
Information
You can also upload media via the API (some conditions apply). For more details, please check POST /api/v1/media.
Caution
When uploading multiple files, there is no specific limit on the quantity. However, when uploading a large number of files, there is a possibility that errors may occur. In that case, please try uploading in smaller batches.
Additionally, the values contained in the media URL follow the rules below.
The "xxxx" part: A unique random value for each service
The "yyyy" part: A random value for each media (since it is generated each time, different values will be assigned even if the same file is uploaded multiple times)
Media becomes "public" at the moment of upload. In other words, if you know the media URL, it can be accessed even by those who are not members of the microCMS service.
Information
When referencing media from published websites or web applications, there is a possibility that the media information included on the page may also be indexed by search engines.
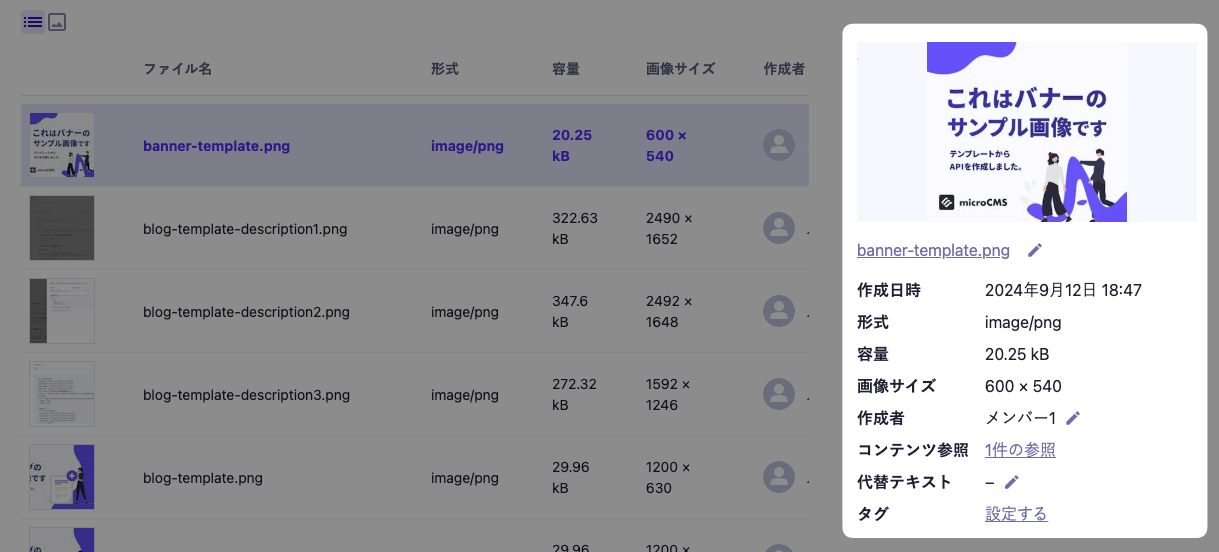
If there is content that references the media, it will be indicated as "◯ references" as shown below.
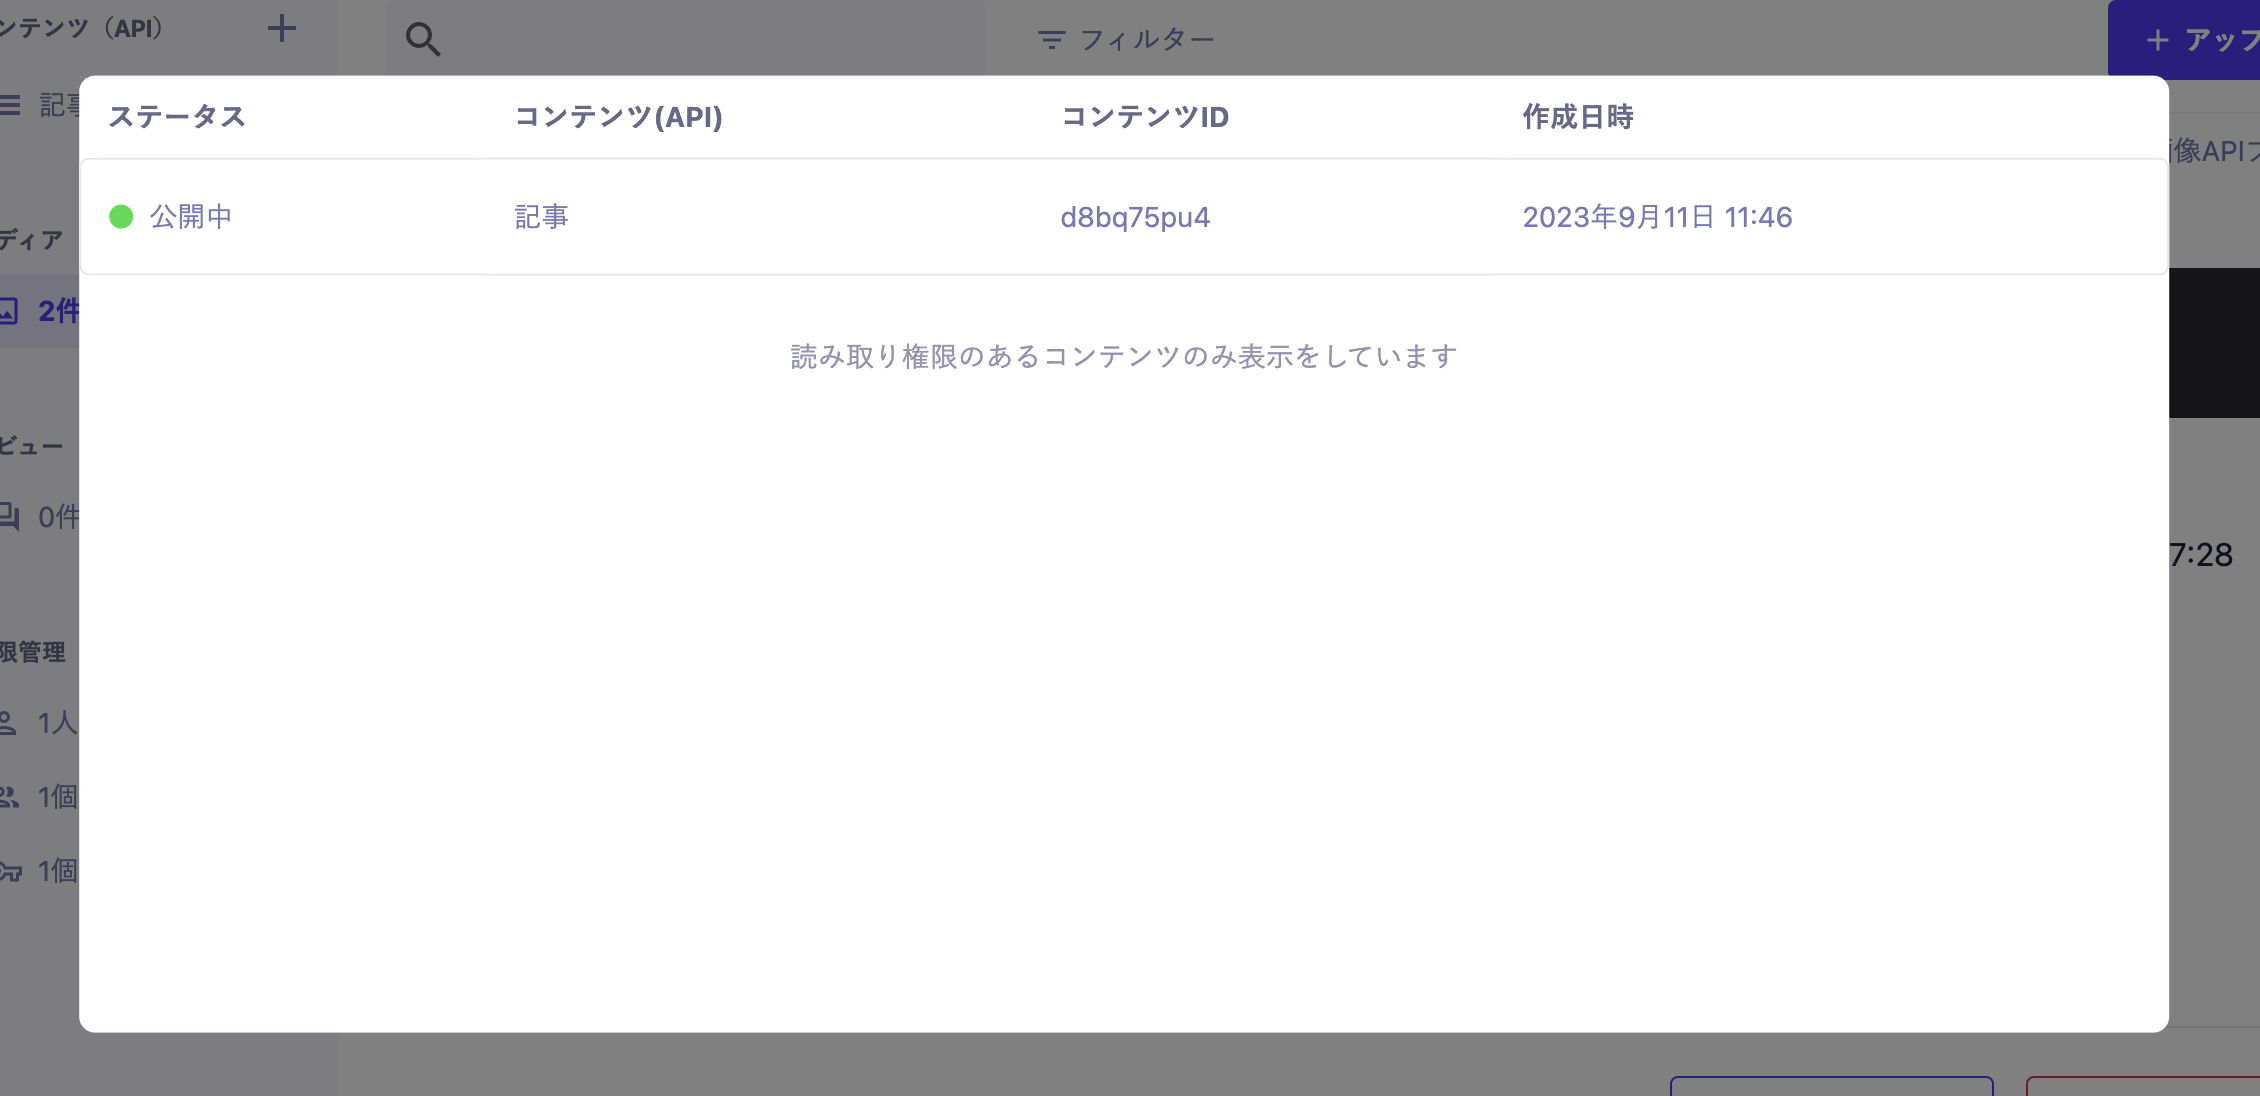
Clicking the "◯ references" link will display a list of content that references the media. Note that the displayed content is limited to media for which you have read permissions.
Clicking the link for each content will take you to the edit page for that content.
Caution
As a known issue, there may be cases where reference information for content is displayed even though there is no content referencing the media. If this occurs, please contact the support team via the chat section located at the bottom right of the management screen.
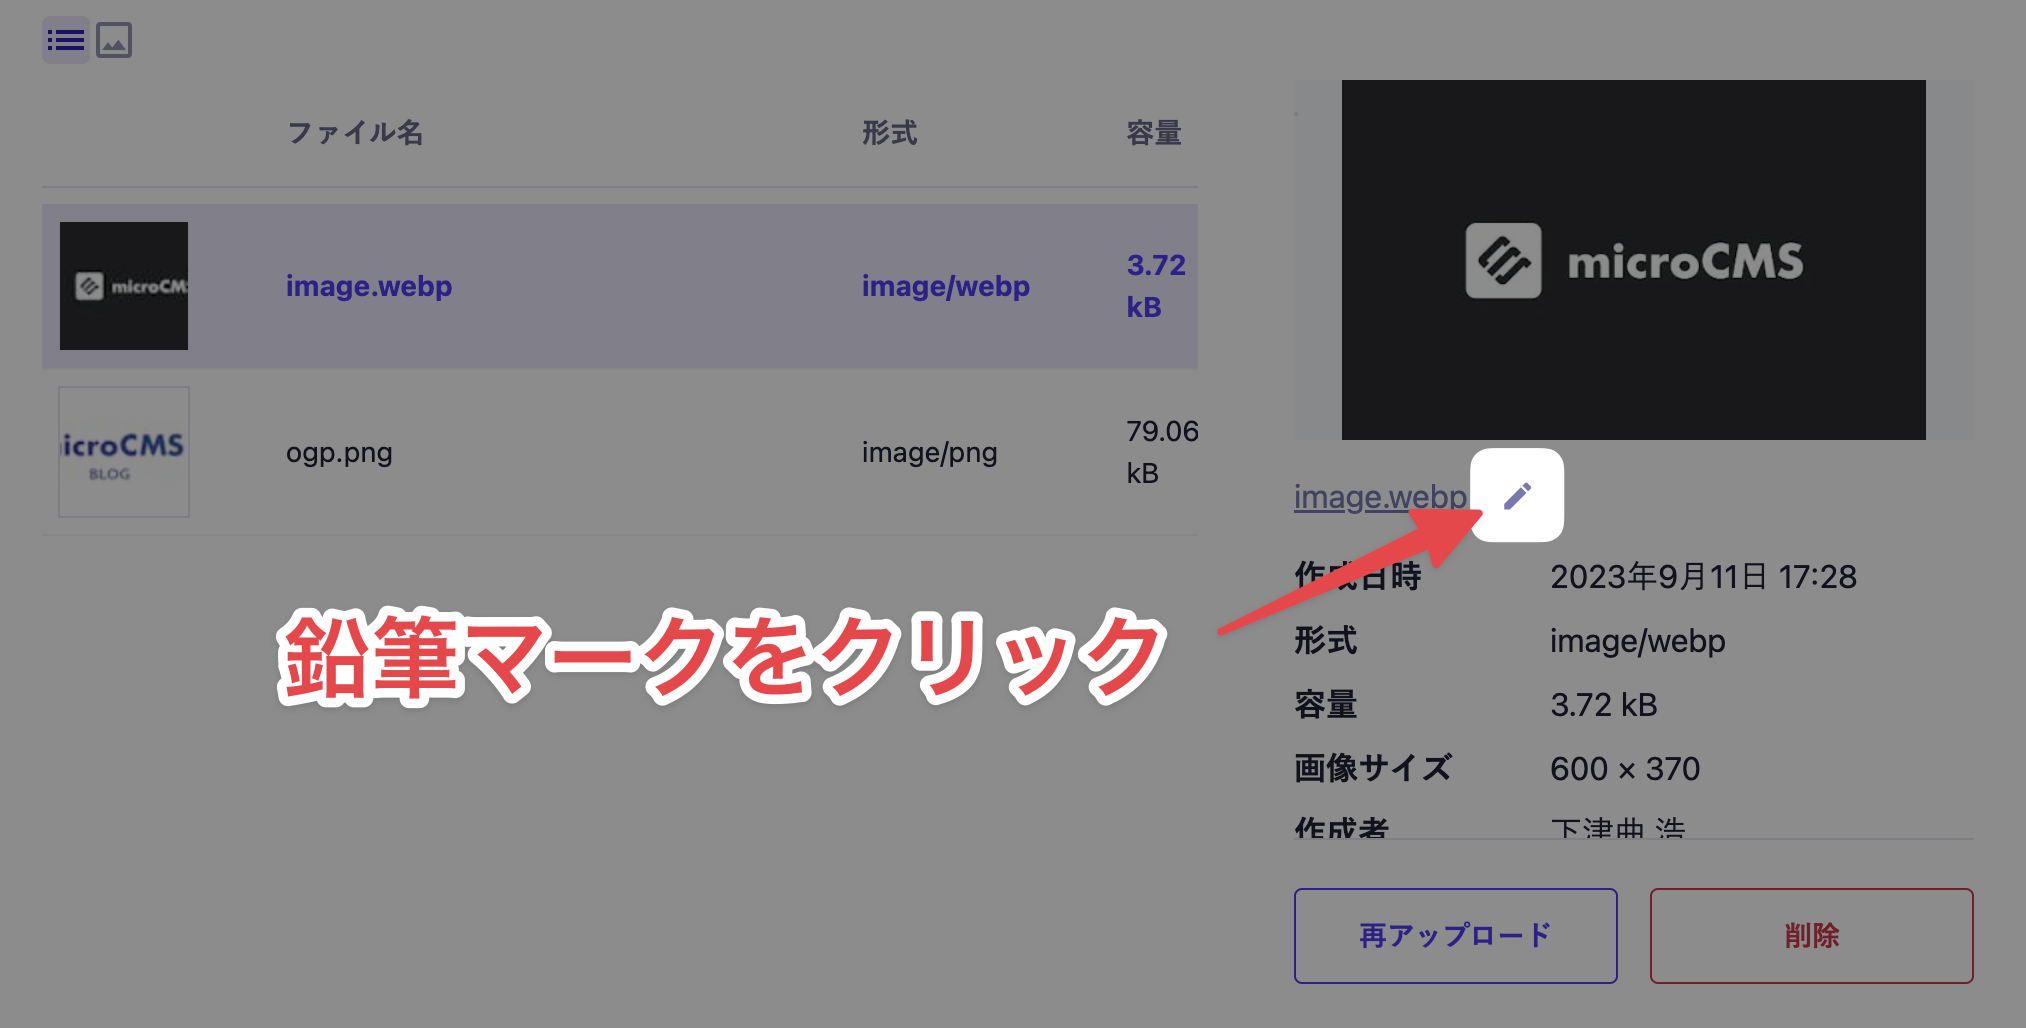
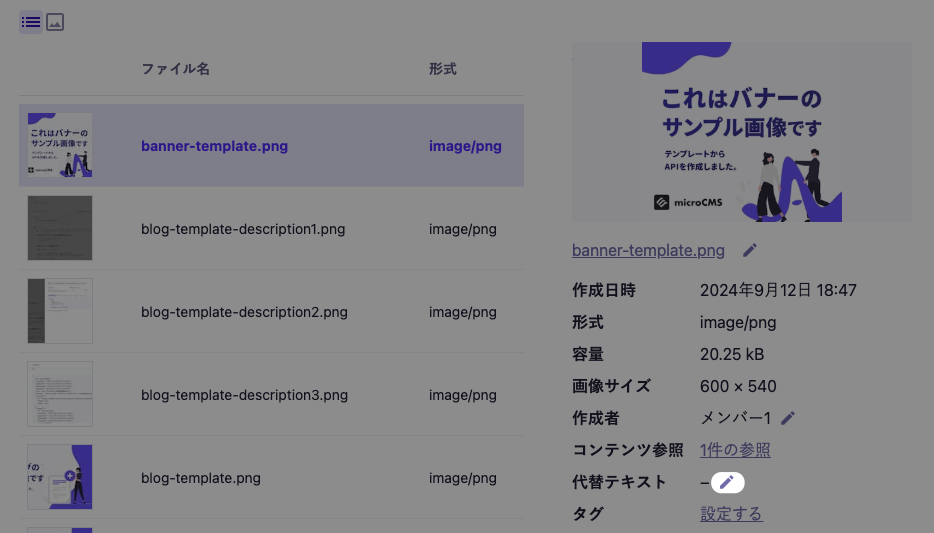
After uploading, you can change the media file name to any desired name. First, click the pencil icon located to the right of the media file name.
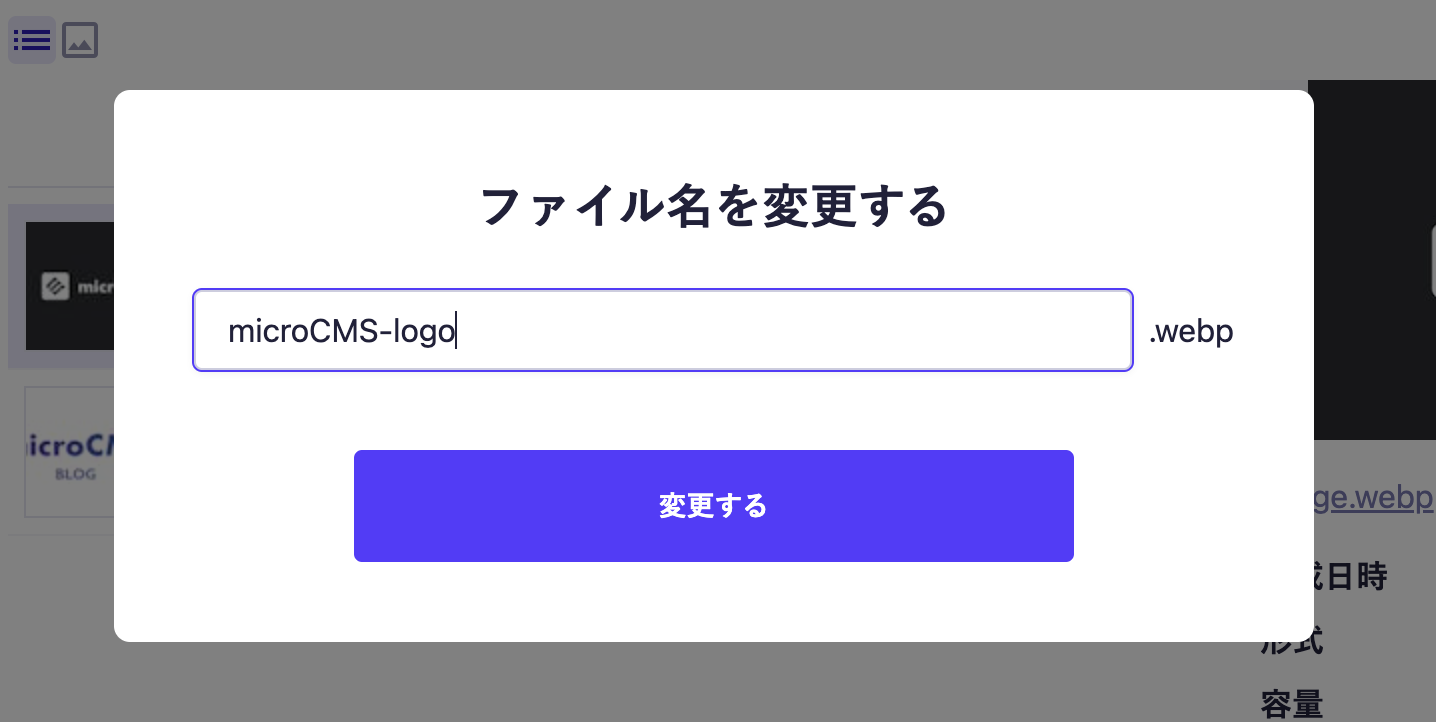
A file name editing modal will appear, so please enter the new file name. Click "Change" to complete the modification.
Caution
Changing the file name will also change the URL of the delivered media, making the previous URL inaccessible. If you are using the media URL directly, it may result in broken links.
In the case of an SSG configuration, the previous URL may become invalid and lead to broken links until a rebuild is performed.
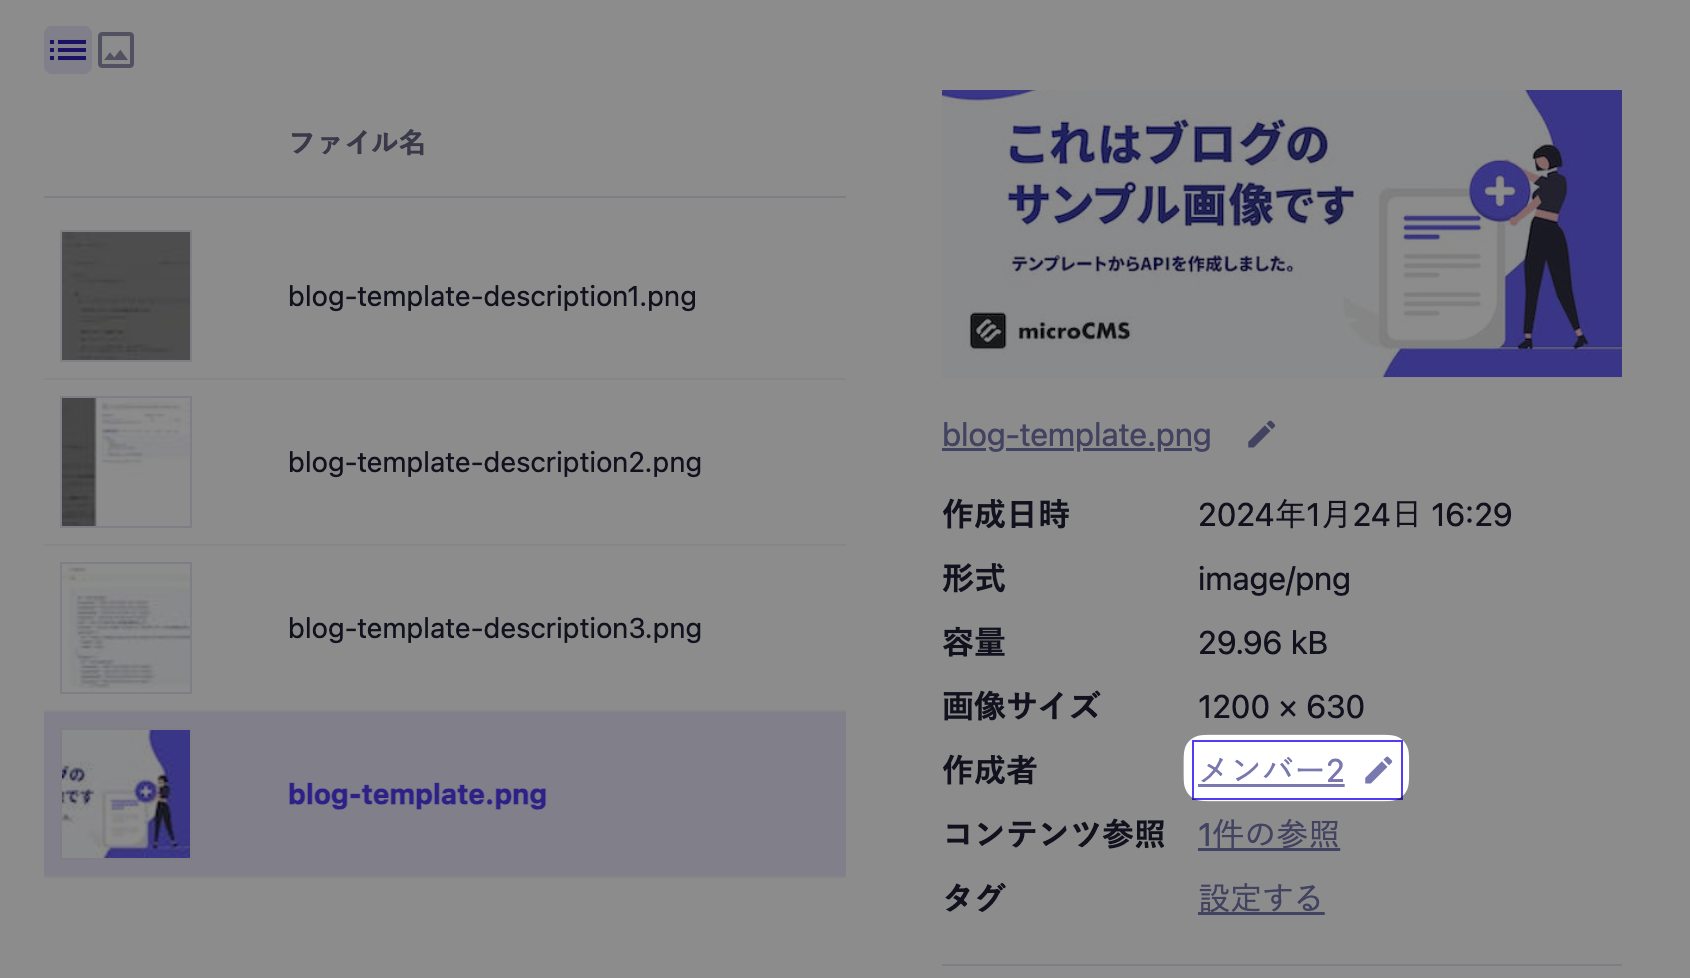
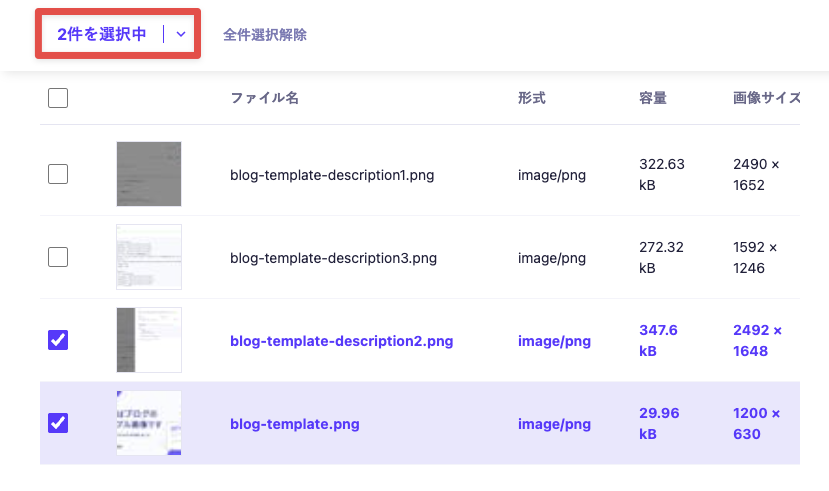
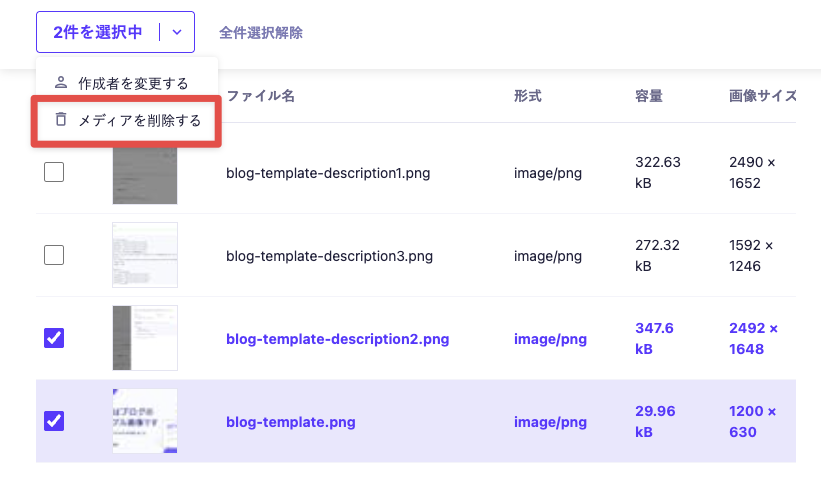
You can select multiple media items and change the creator in bulk. Check the media items for which you want to change the creator and click on "◯ items selected".
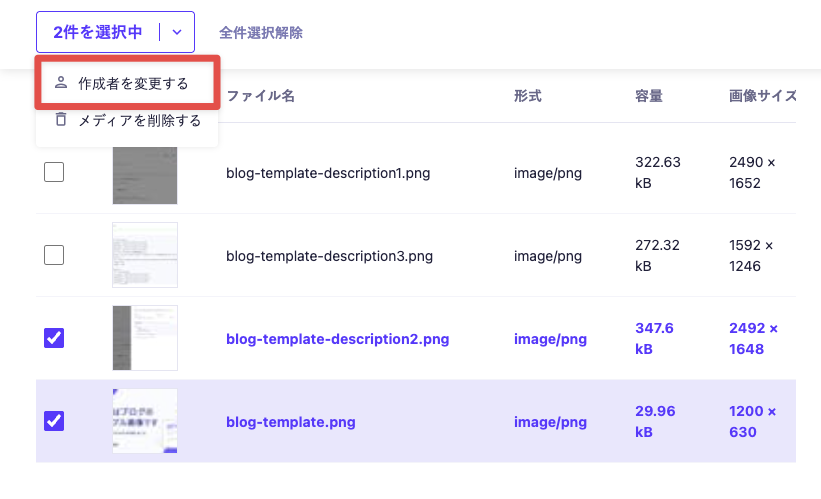
Click on "Change Creator".
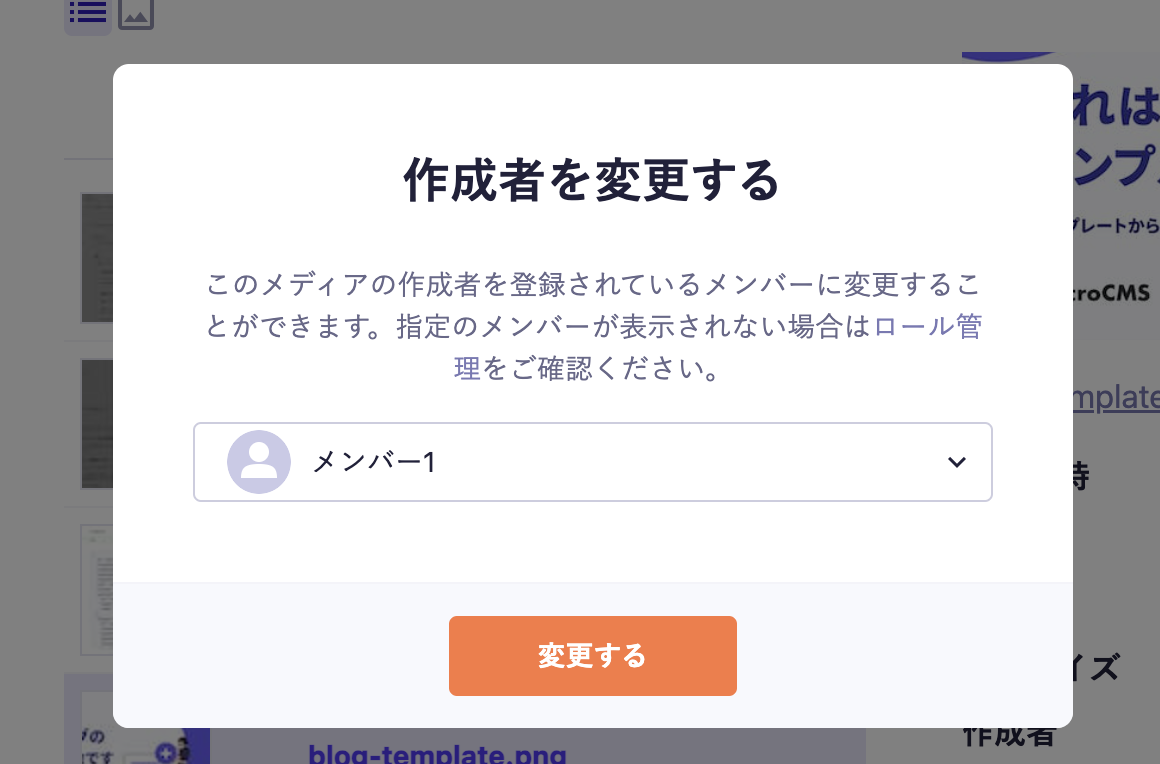
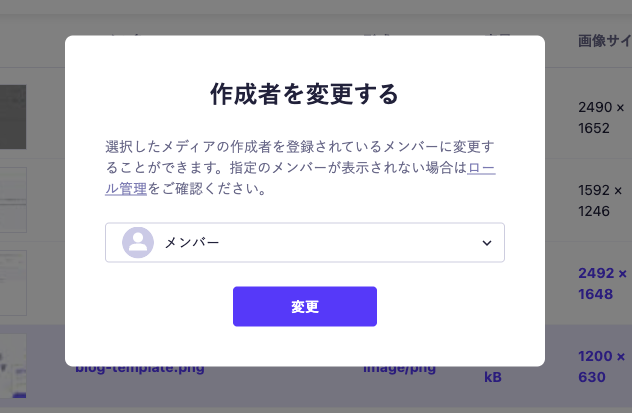
A modal will appear, so please select the member to change to. Click "Change" to complete the change.
Tips
The change of media creator can be utilized when the media read permission is set to "Only media created by members of this role."
Since the creator is a factor in the read range settings, it is used to change the range.
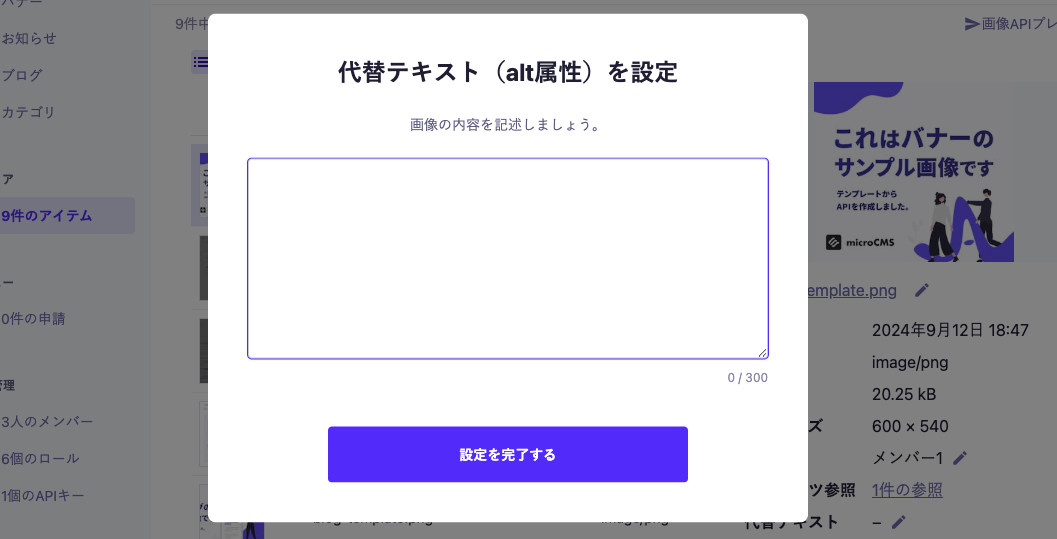
After uploading media, you can set any alternative text. The string you set will be output as the alt attribute of the img tag in the API response and Webhook payload (this can only be set for images).
First, click the pencil icon next to the alternative text.
After setting your desired string, press [Complete Settings] to finish the changes.
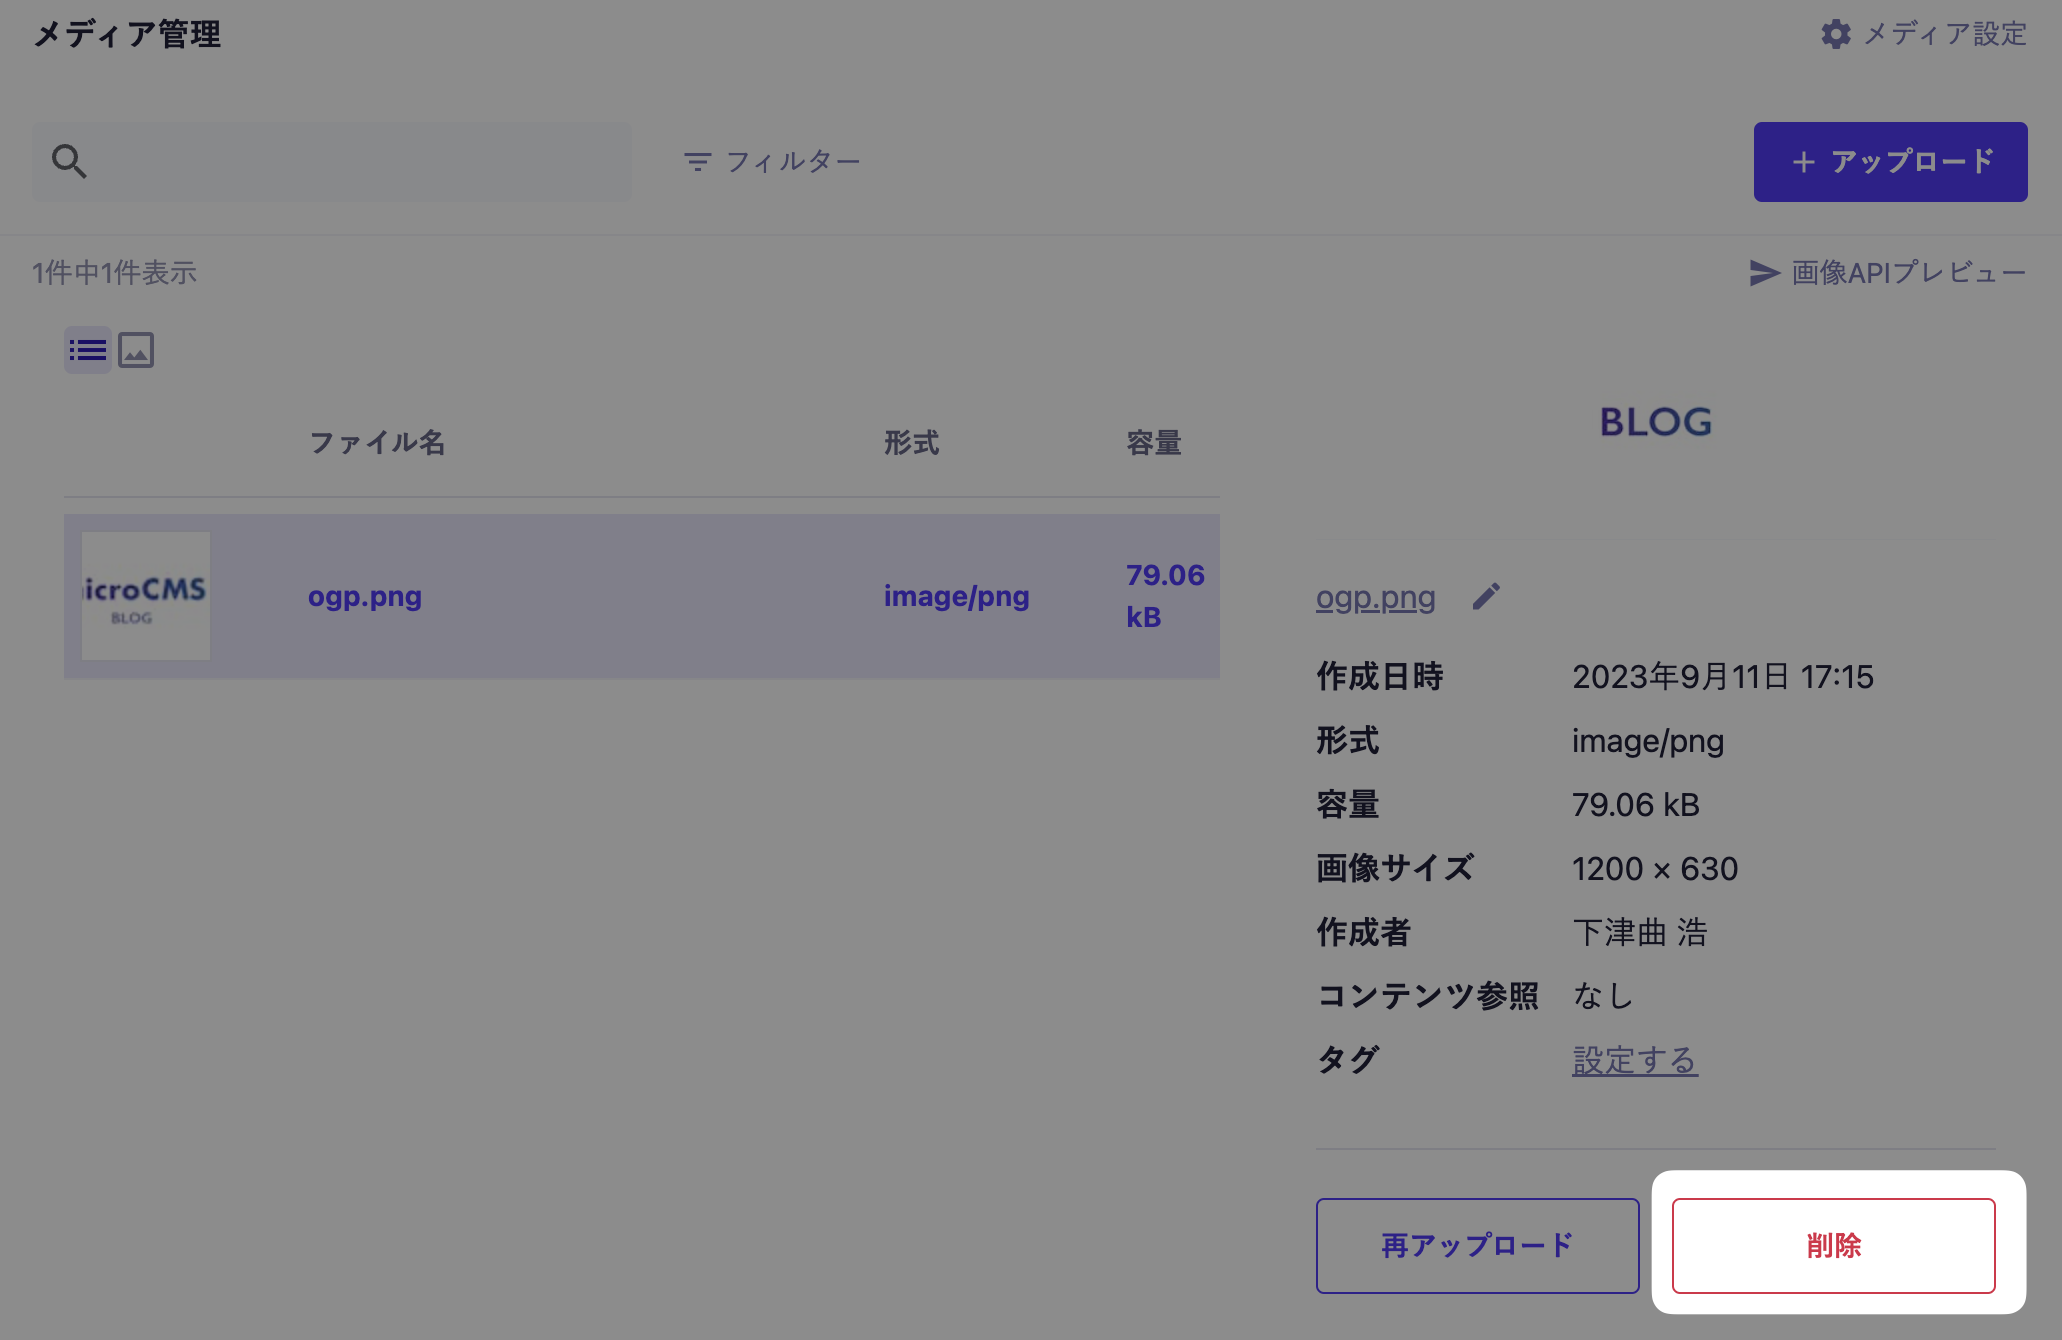
To prevent accidental deletion, you must ensure that there are no references from any content before deleting media. When deleting media, please remove all references from the content, and perform the deletion only when the reference count is zero.
After uploading, you can re-upload any media to overwrite it. This feature can be used in cases such as when you want to replace media referenced in the content.
First, select the media you want to re-upload and click the "Re-upload" button at the bottom of the right-side menu.
Then, a file selection dialog will open, allowing you to choose any media. A confirmation dialog will appear stating, "You are about to overwrite the media with the same URL. Do you want to continue uploading?" Click "OK" to start the media upload, which will overwrite the existing media.
Caution
If there is a cache remaining in the browser, the original media may be displayed immediately after re-uploading.
Information
When re-uploading, the set alternative text will be reset. Please reconfigure it according to the content of the re-uploaded file.
In a default re-upload, the media URL, including the file name, will not change. Even if you re-upload media with a different file name, the original file name will be maintained.
By default, the media URL will remain unchanged when re-uploaded. If you want to use the traditional re-upload method to replace the media with a changed URL, click on "Replace with a New URL".
Caution
When you use "Replace with new URL" to re-upload media, the URL of the delivered media will also change, and access via the URL before re-uploading will no longer be possible. If you are directly using the media URL, there is a possibility of broken links.
In the case of an SSG configuration, the URL before re-uploading may become invalid and lead to broken links until a rebuild is performed.
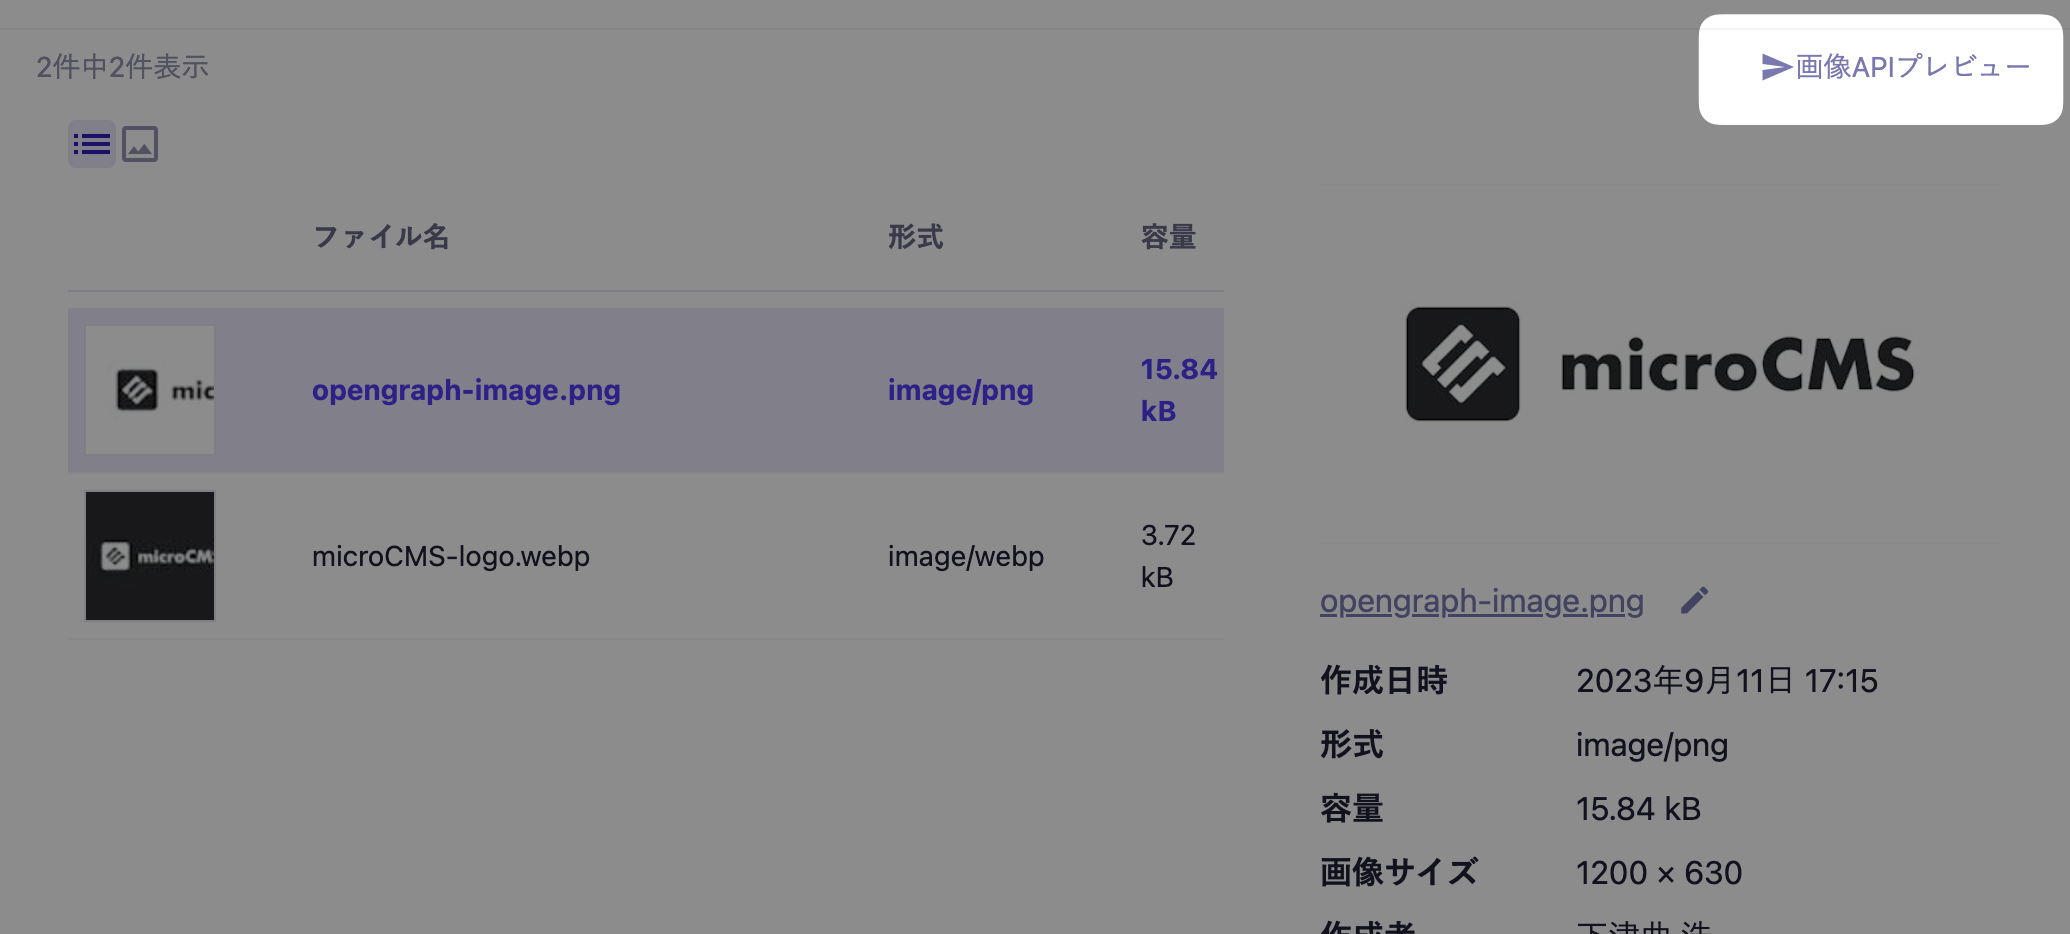
For media of the image type, you can check the preview when applying the Image API.
First, click the "Image API Preview" button located at the top right of the selected media.
Then, a preview will be displayed showing the results of applying various image APIs (such as ?w=300, ?fit=crop&w=200&h=200, etc.).
Information
The parameters that can be checked in the preview are only a part of the available options. For details on parameters that can be used with the image API, please refer to the document titled "What is the Image API".
Amazon S3 Integration is a feature that allows you to switch the storage destination of media such as images and videos uploaded from the microCMS management screen from the default microCMS storage to an Amazon S3 bucket that you have prepared.
There are changes in specifications that may affect your usage, such as changes to the media distribution URL or the inability to use the image API, so please check the documentation for details.
In the media management screen, there are additional features as listed below. For details on each feature, please refer to the respective documentation pages.