microCMS

Getting Started

This document outlines the shortest steps to use microCMS with Remix.
If you are using microCMS from Remix for the first time, please try these steps first.

Things to Confirm in Advance

  • You need to understand how to register a microCMS account, create a service, and create an API. Please refer to the operation manual.
  • Node and npm are required for development with Remix. Please install them in your development environment.


Setting Up microCMS

First, we will create a very simple API in microCMS.

  • Object format
  • One text field


Below is an example of the configuration. For detailed steps on creating the API, please refer to Creating an API.

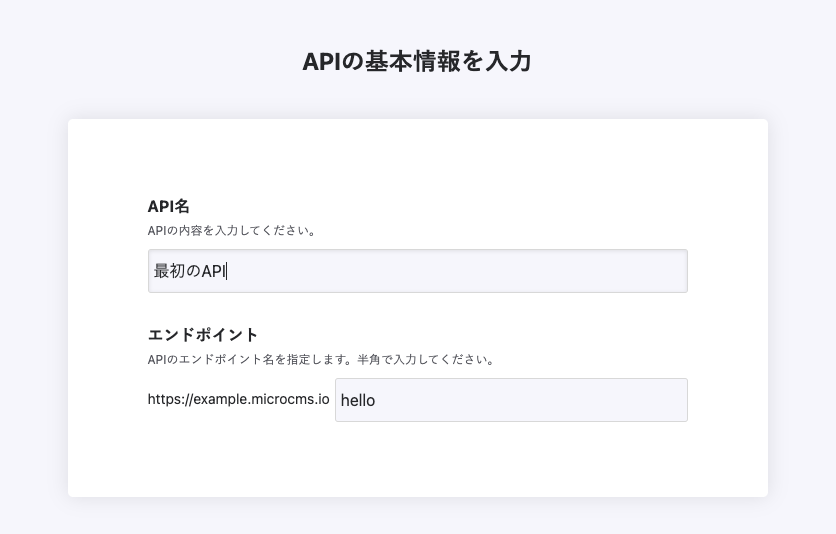
In the API creation screen, enter a suitable API name and endpoint.


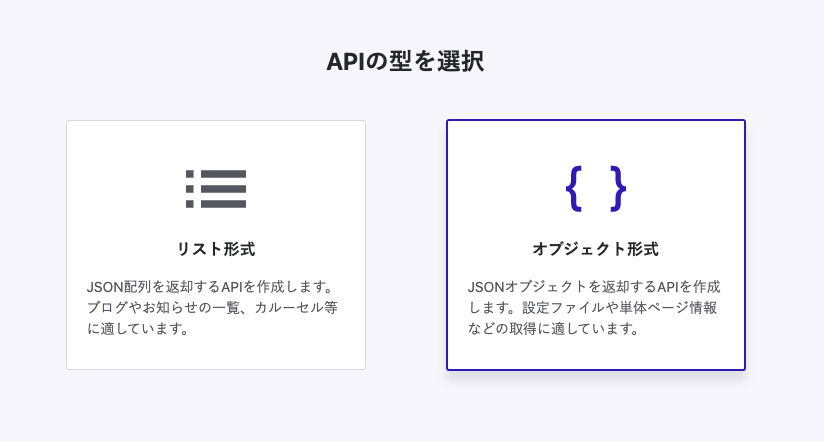
Next, select the object format.


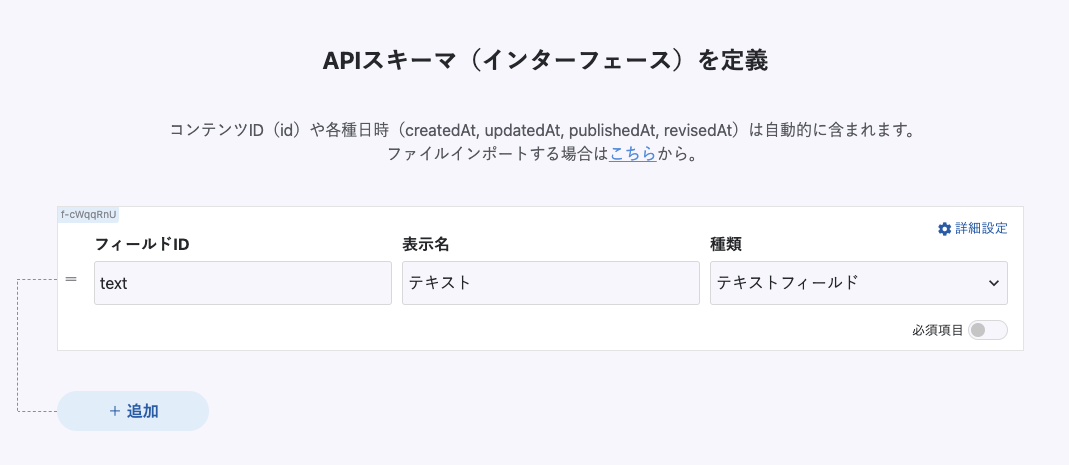
Finally, set the fields. This time, we will set only one text field.


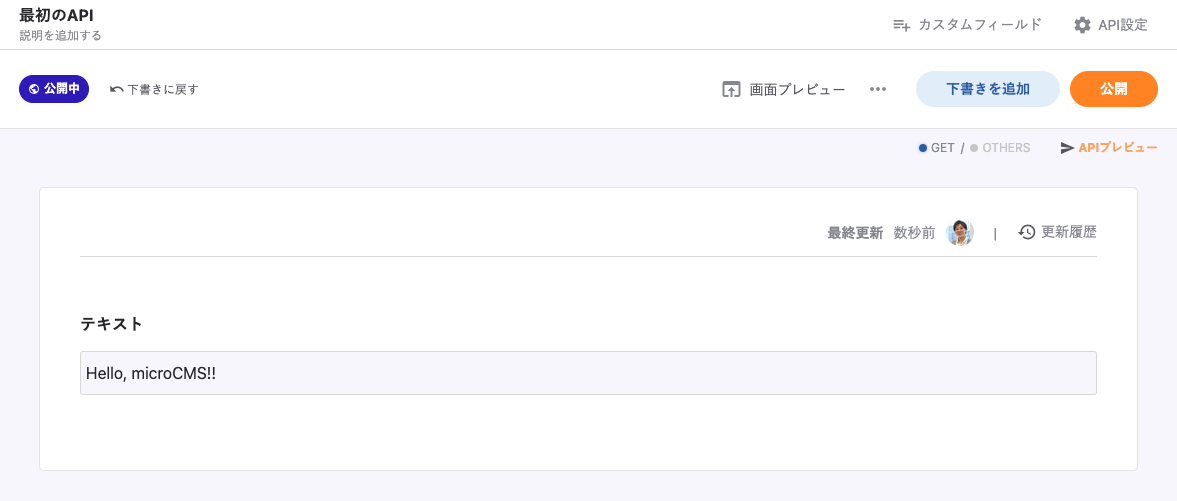
By creating the API with the above settings, a very simple submission screen will be created, allowing you to input values and publish them.


Let's also confirm that you can retrieve JSON with the following curl command. (You can check this immediately in the "API Preview" on the above screen without opening a terminal, etc.)

curl "https://YOUR_SERVICE.microcms.io/api/v1/YOUR_ENDPOINT" -H "X-API-KEY: XXXXXXXX-XXXX-XXXX-XXXX-XXXXXXXXXXXX"

Preparing the Remix Project

Next, create a Remix project using the official CLI provided by Remix. Let's run the following command.

npx create-remix remix-microcms

The CLI will ask about using TypeScript and checking the deployment environment. In this tutorial, we will select the following options.

  • TypeScript
  • Remix App Server

Once the project creation is complete, let's start the development server using the dev command.

cd remix-microcms
npm run dev

Then, access localhost:3000. If the creation is successful, you will see a screen like the one below in your browser.

Initializing microcms-js-sdk

First, install the microcms-js-sdk provided officially.

$ npm install microcms-js-sdk

Then, create a client.server.ts file inside the /app/libs folder to initialize the SDK. You can check the API_KEY from Service Settings > API-KEY. Please set the service-domain and api-Key.

import { createClient } from 'microcms-js-sdk';

export const client = createClient({
  serviceDomain: 'service-domain',  // service-domain is the XXXX part of https://XXXX.microcms.io
  apiKey: 'api-key',
});

In Remix, you can exclude it from the client-side bundle by naming it *.server.ts.

Fetching and Displaying Information from microCMS

Next, we will fetch information from the microCMS API we just created and display it on the screen. Let's edit /app/routes/index.tsx.

import type { LoaderFunction } from "@remix-run/node";
import { useLoaderData } from "@remix-run/react";
import { client } from "~/libs/client.server";


export const loader: LoaderFunction = async () => {
  const data = await client.get({ endpoint: "hello" });
  return data;
};


export default function Index() {
  const data = useLoaderData();


  return (
    <div style={{ fontFamily: "system-ui, sans-serif", lineHeight: "1.4" }}>
      <h1>{data.text}</h1>
      <ul>
        <li>
          <a
            target="_blank"
            href="https://remix.run/tutorials/blog"
            rel="noreferrer"
          >
            15m Quickstart Blog Tutorial
          </a>
        </li>
        <li>
          <a
            target="_blank"
            href="https://remix.run/tutorials/jokes"
            rel="noreferrer"
          >
            Deep Dive Jokes App Tutorial
          </a>
        </li>
        <li>
          <a target="_blank" href="https://remix.run/docs" rel="noreferrer">
            Remix Docs
          </a>
        </li>
      </ul>
    </div>
  );
}

Here, we are using LoaderFunction to fetch data from microCMS. This is a function that is called on the server side during server-side rendering. This part of the process is executed on the server side and is not included in the client-side bundled JS. We are storing the data in data using useLoaderData and passing the data retrieved from microCMS.

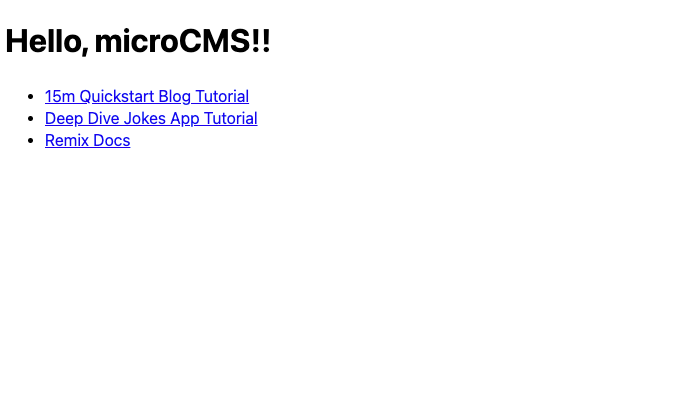
Now, let's access localhost:3000 to check the result.


Also, please confirm that changing the submission content in microCMS changes the displayed content on the screen.