This document outlines the quickest steps to use microCMS from an iOS application. If you are using microCMS from an iOS application for the first time, please try these steps first.
You need to understand how to register for a microCMS account, create a service, and create an API. Please refer to the operation manual for more information.
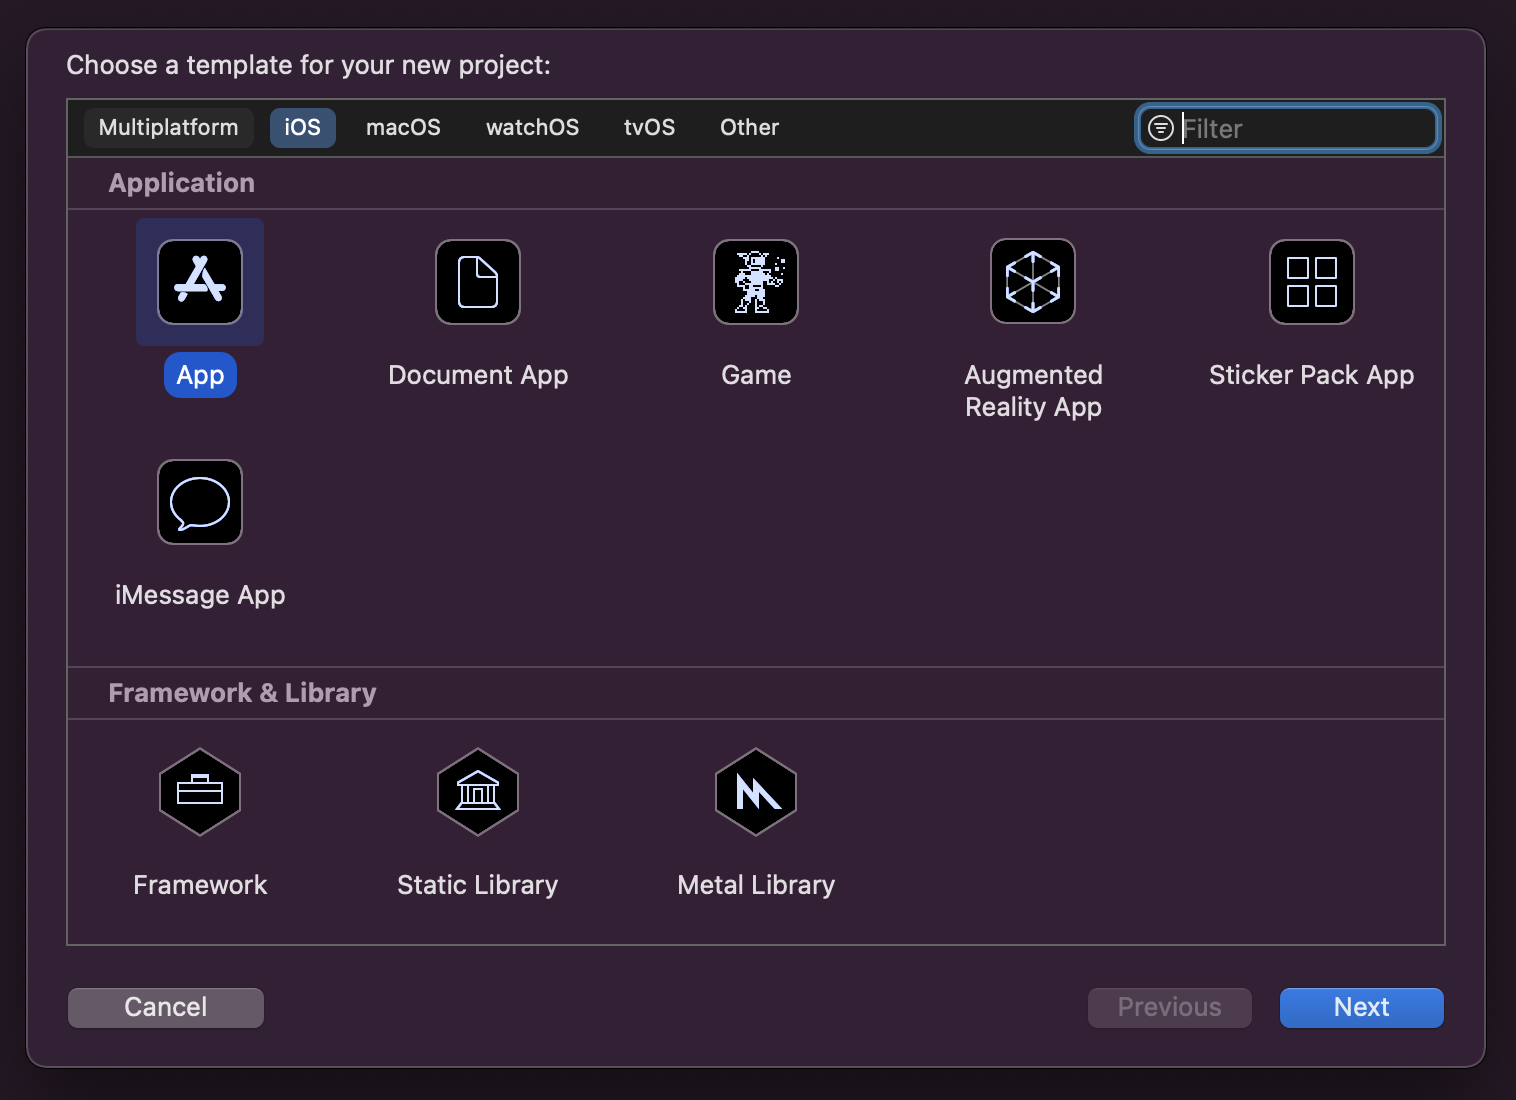
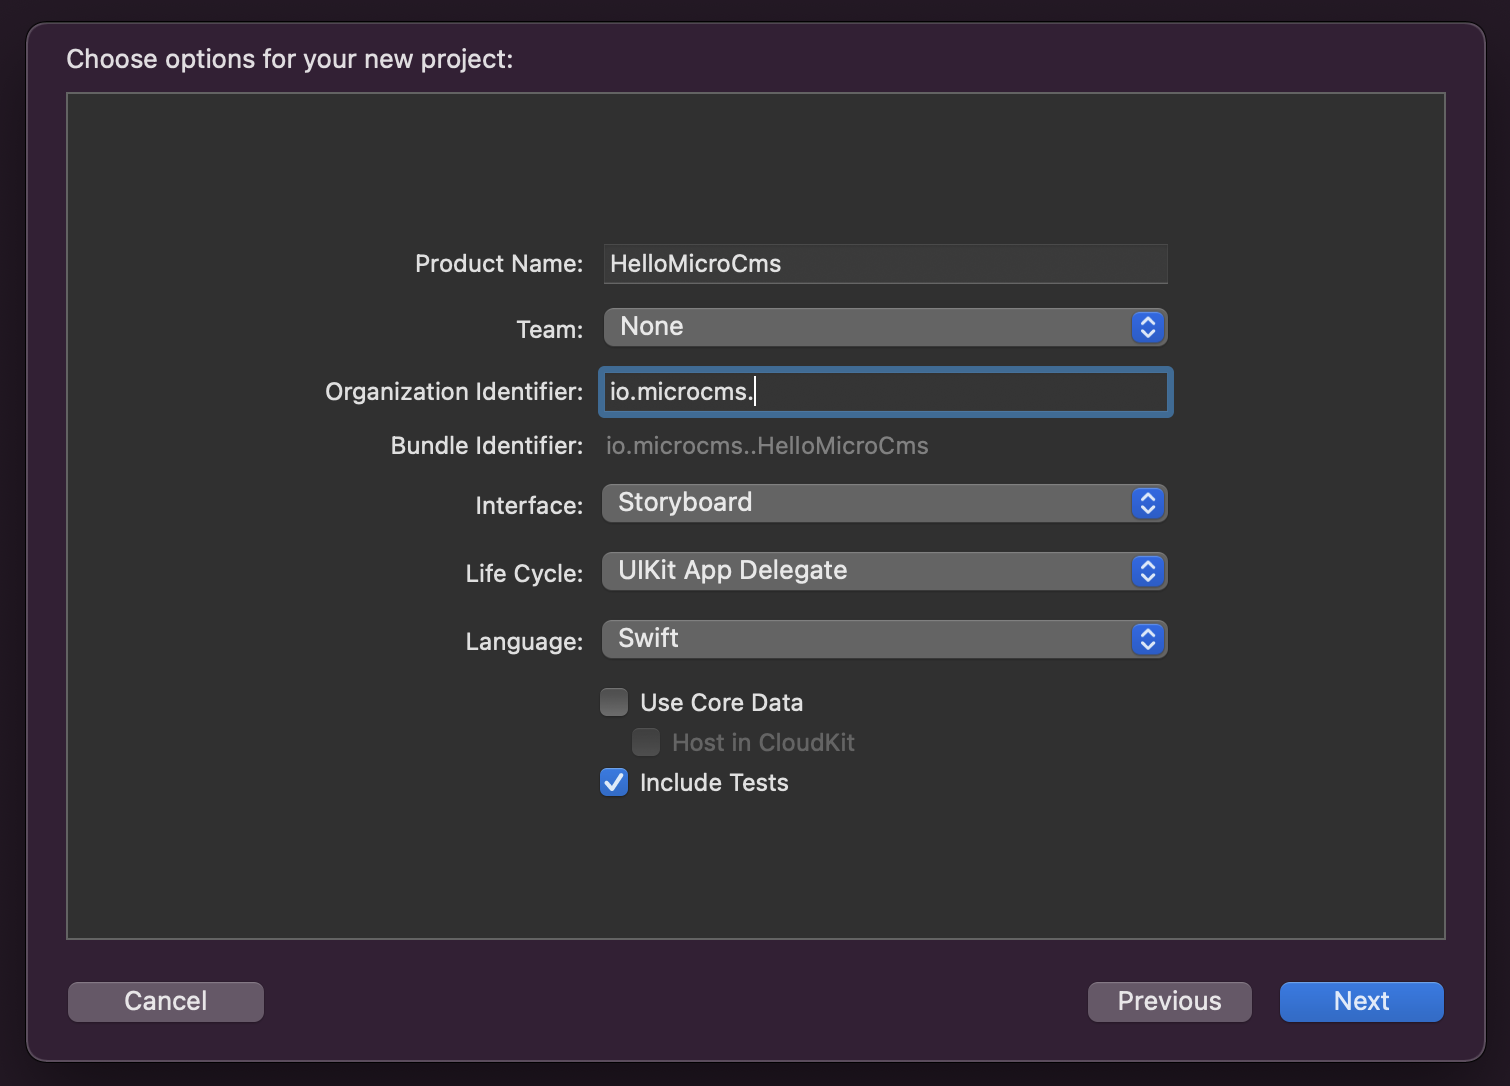
An iOS development environment is required. Please prepare the necessary development environment, such as Xcode, in advance.
You must meet the requirements for using the microcms-ios-sdk. Please ensure you understand the supported platforms and licenses before using it.
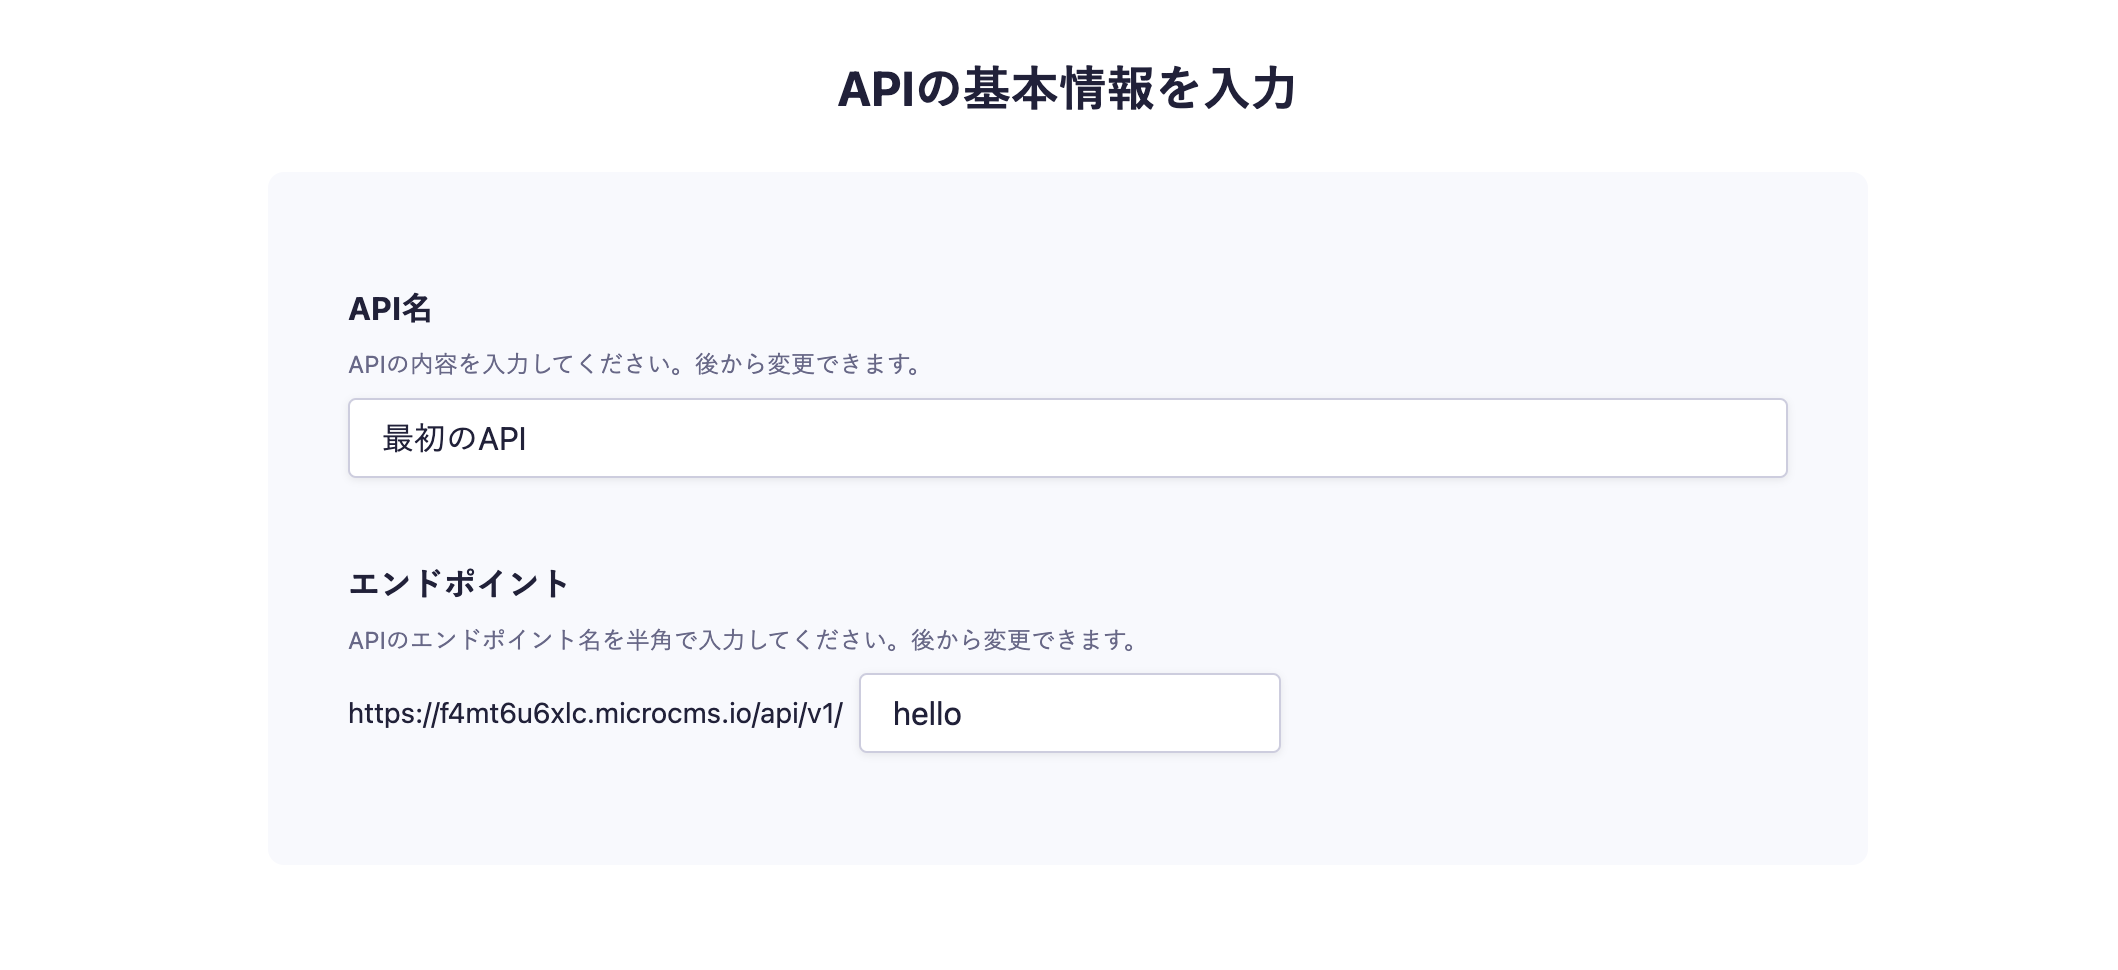
On the API creation screen, enter a desired API name and endpoint.
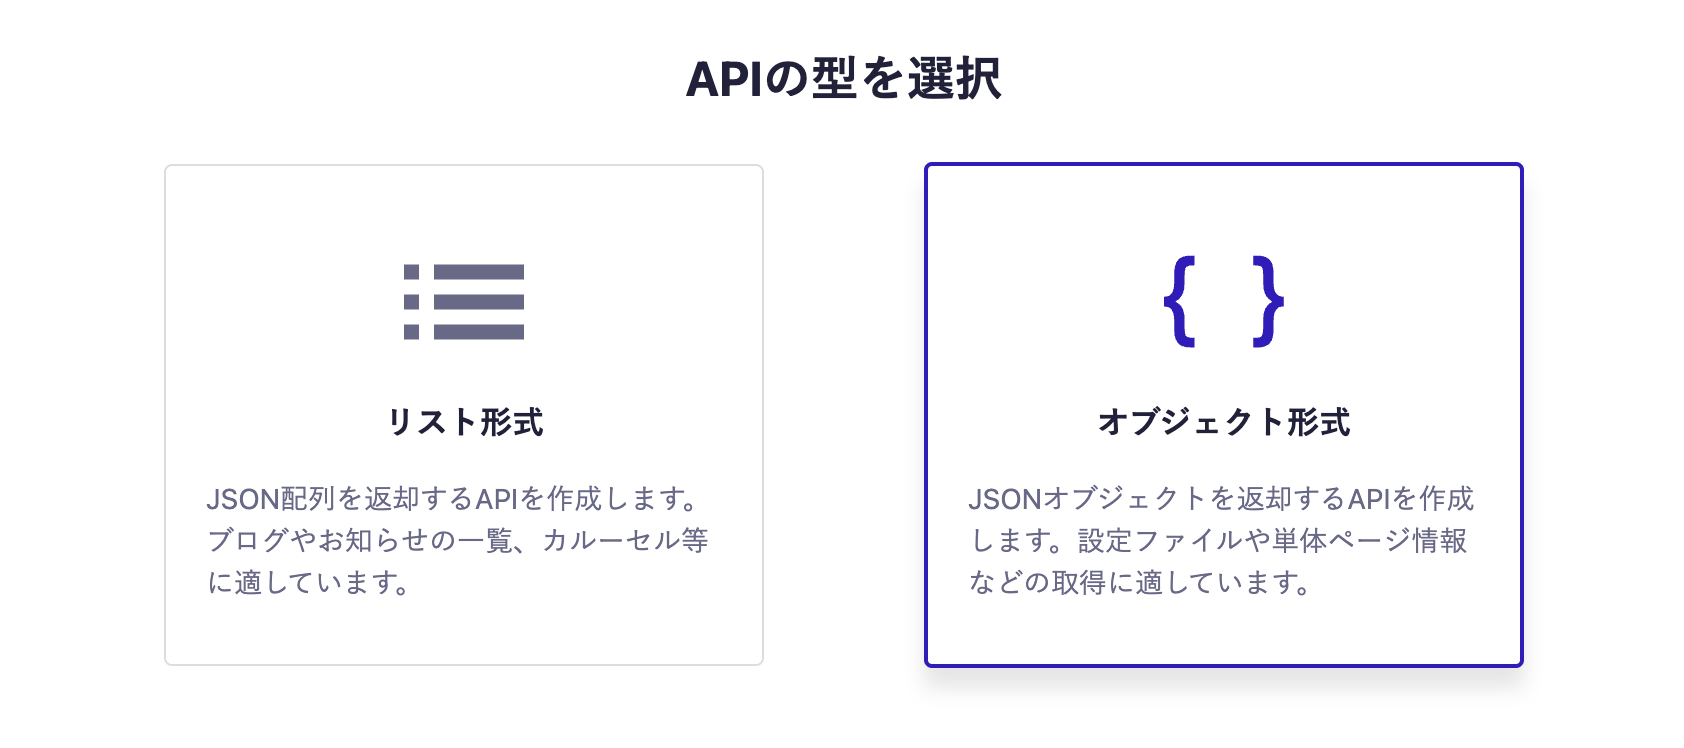
Next, select the object format.
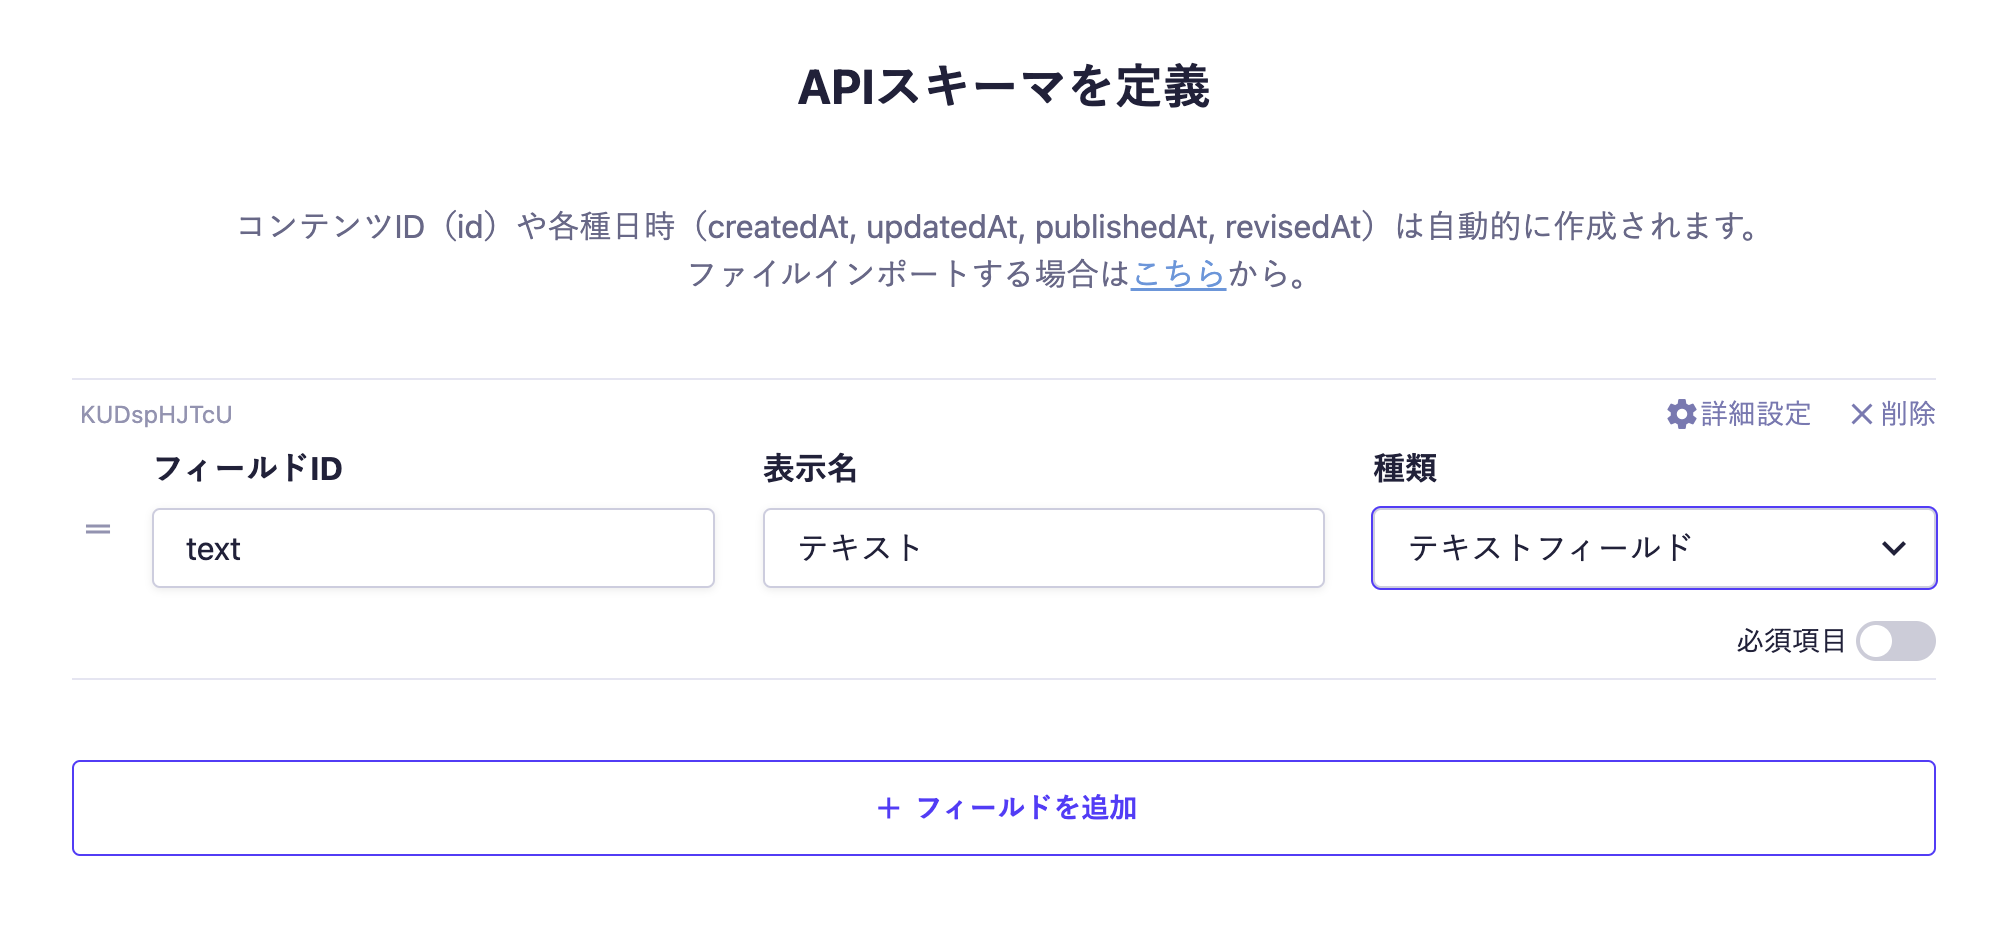
Finally, set the fields. This time, we will set only one text field.
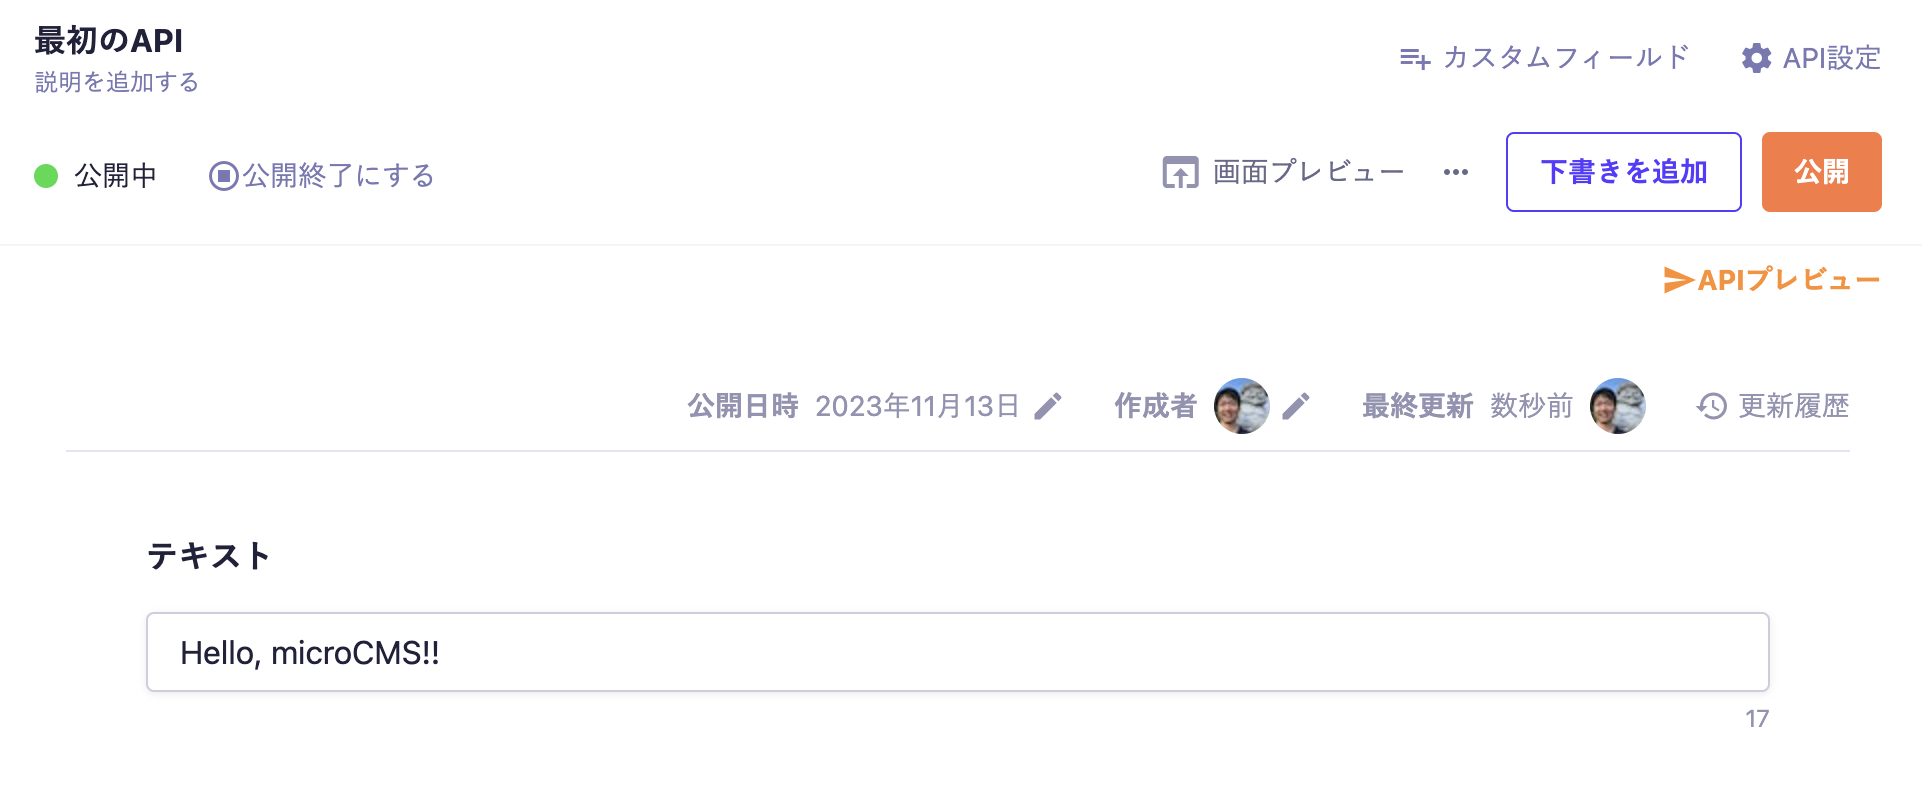
With the above settings, the API will be created, allowing you to submit content. Move to the editing screen, enter the desired values, and publish.
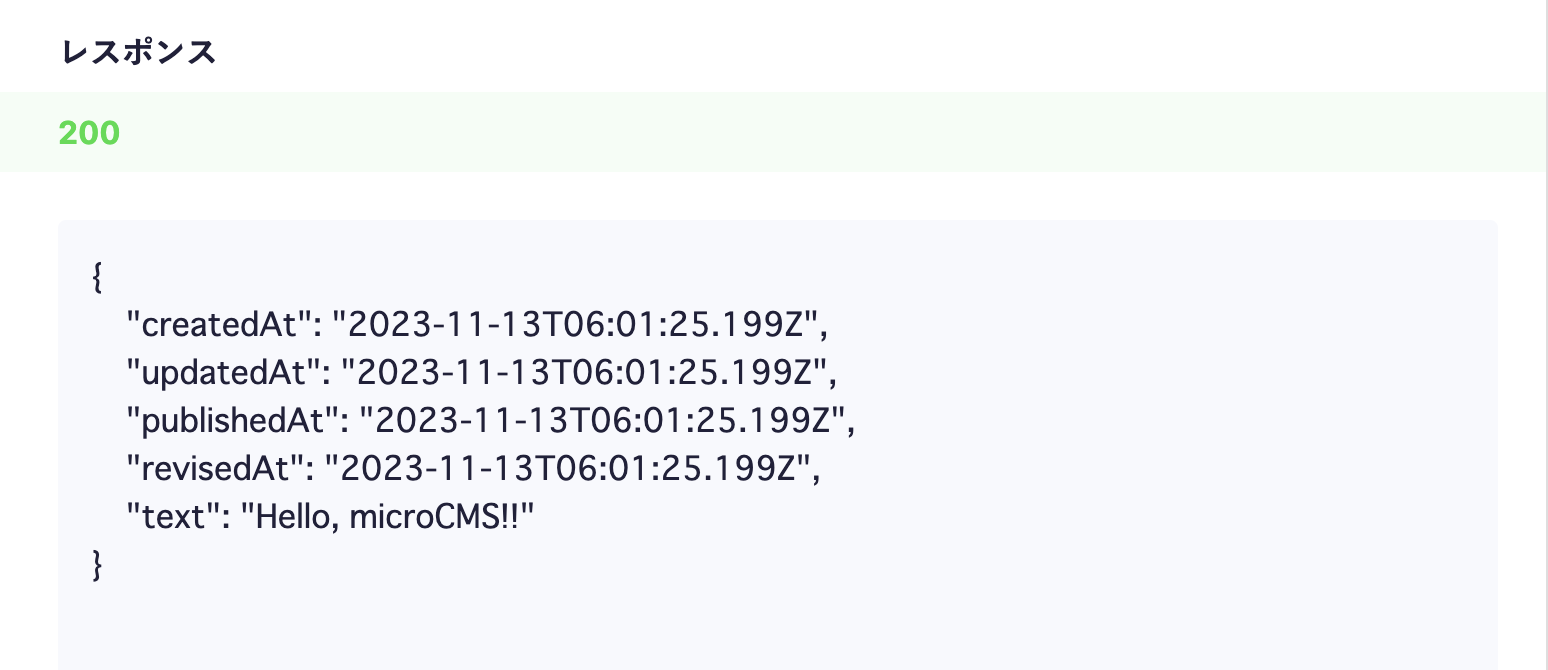
At this point, a response containing content data will be returned from the API. Click on the API preview in the upper right corner to access the created API and confirm that a JSON response is being returned.
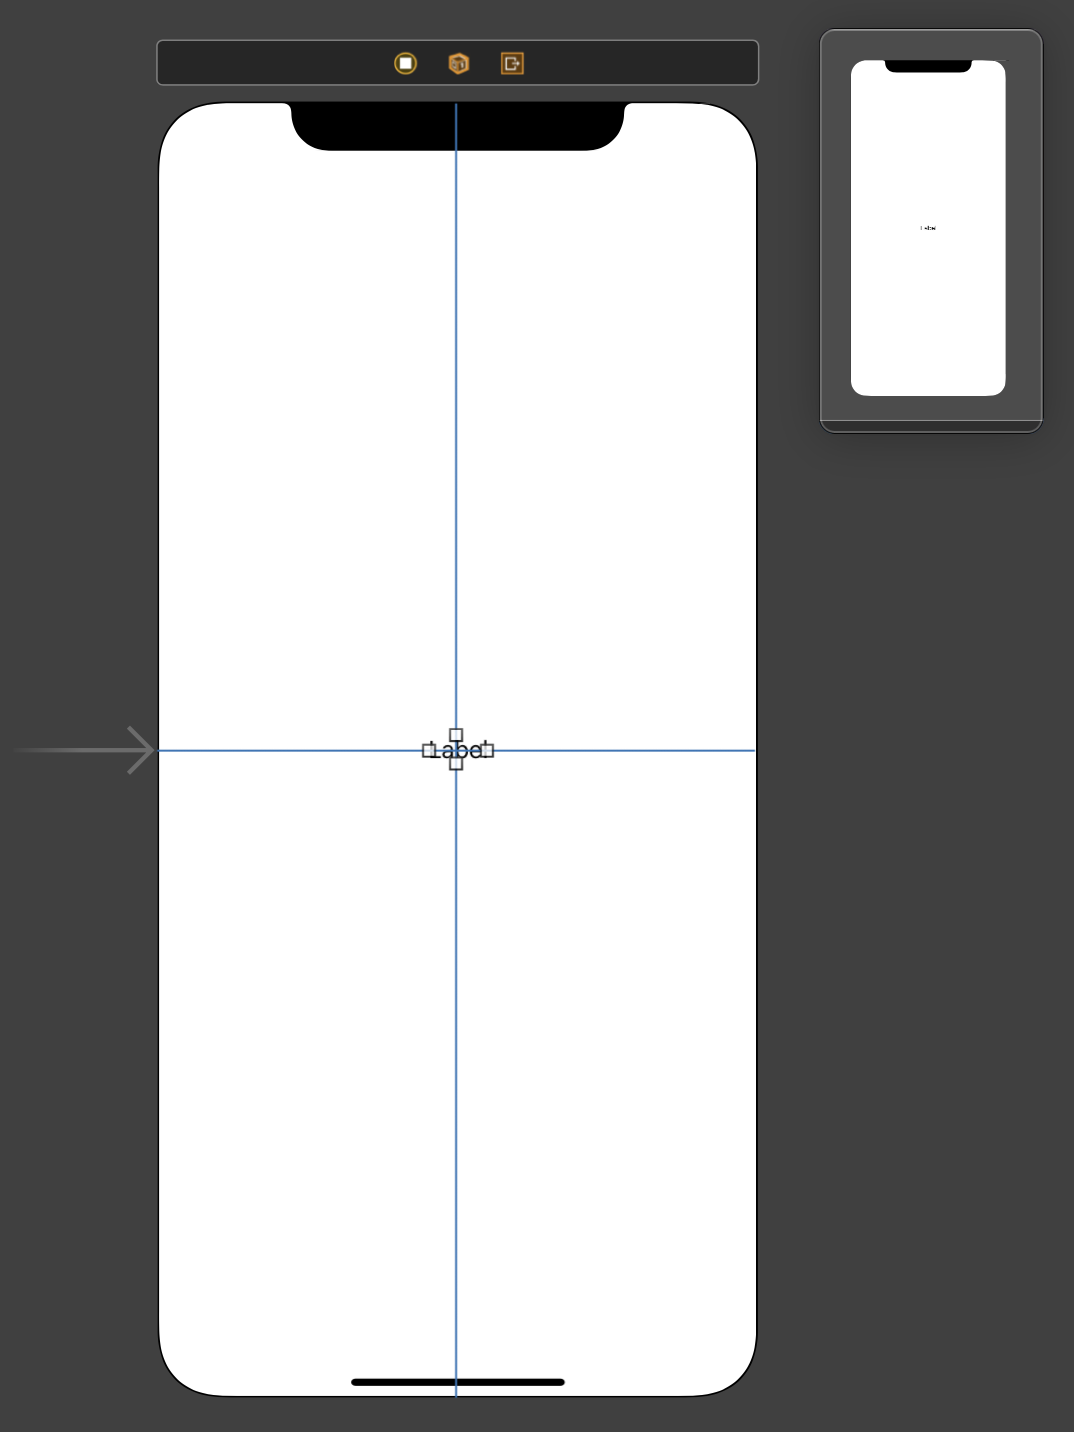
We will fetch information from the microCMS API created earlier and display it on the screen. Open Main.storyboard and add a Label to the center of the screen.
Connect the Outlet of this Label and define it with the variable name label.
Next, add the information retrieval process using the SDK to ViewController.swift. This time, we will display the information at the timing of the screen display, so we will perform the process in viewDidLoad().
import UIKit
// 1. Add import statementimport MicrocmsSDK
classViewController: UIViewController {
@IBOutletweakvar label: UILabel!
overridefuncviewDidLoad() {
super.viewDidLoad()
// 2. Initialize the clientlet client =MicrocmsClient(
serviceDomain: "<YOUR_SERVICE>",
apiKey: "XXXXXXXX-XXXX-XXXX-XXXX-XXXXXXXXXXXX")
// 3. Fetch information using the SDK and display it on the screen
client.get(endpoint: "YOUR_ENDPOINT") { [weakself] result inswitch result {
case .success(let object):
iflet object = object as? [String: Any],
let title = object["title"] as?String {
self?.label.text = title
}
case .failure(let error):
print("[Error] \(error)")
}
}
}
}
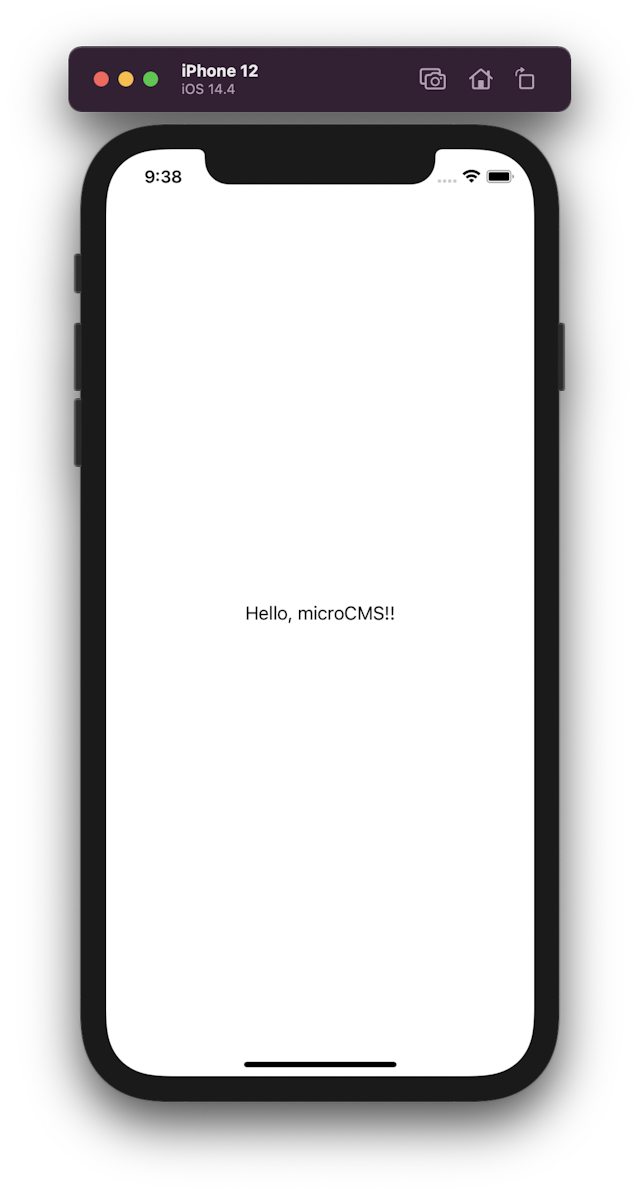
When you run this state, it will fetch the content submitted to microCMS and display it on the screen.
Also, please confirm that changing the content submitted to microCMS will change the displayed content on the screen.