Getting Started
This document outlines the shortest steps to use microCMS from an Android application.
If you are using microCMS from an Android application for the first time, please try these steps first.
Things to Confirm in Advance
- You need to understand how to register a microCMS account, create a service, and create an API. Please refer to the operation manual.
- You need an Android development environment. Please prepare by referring to the official Android Studio site.
- You must meet the requirements for using the microcms-android-sdk. Please use it after understanding the supported platforms and licenses.
Setting Up microCMS
First, we will create a very simple API in microCMS.
- Object format
- One text field
Below is an example of the configuration. For detailed steps on creating the API, please refer to Creating an API.
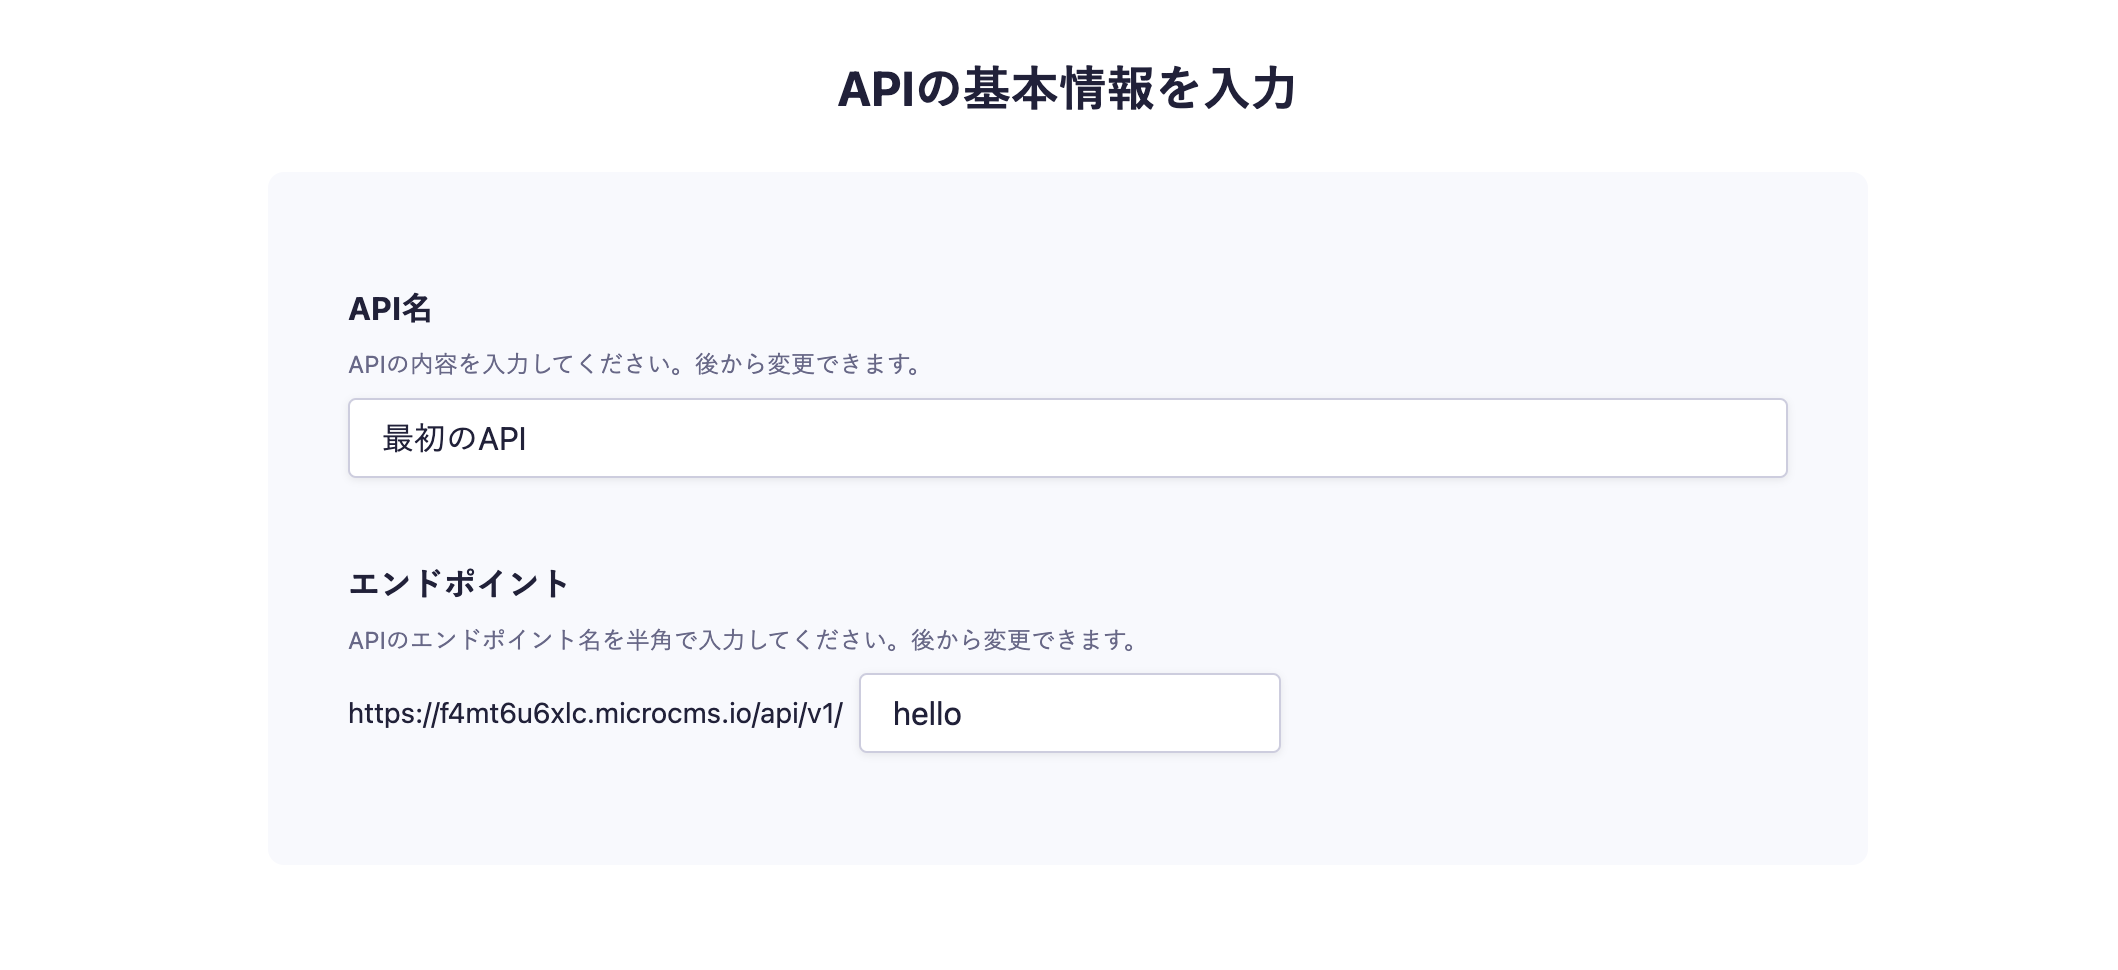
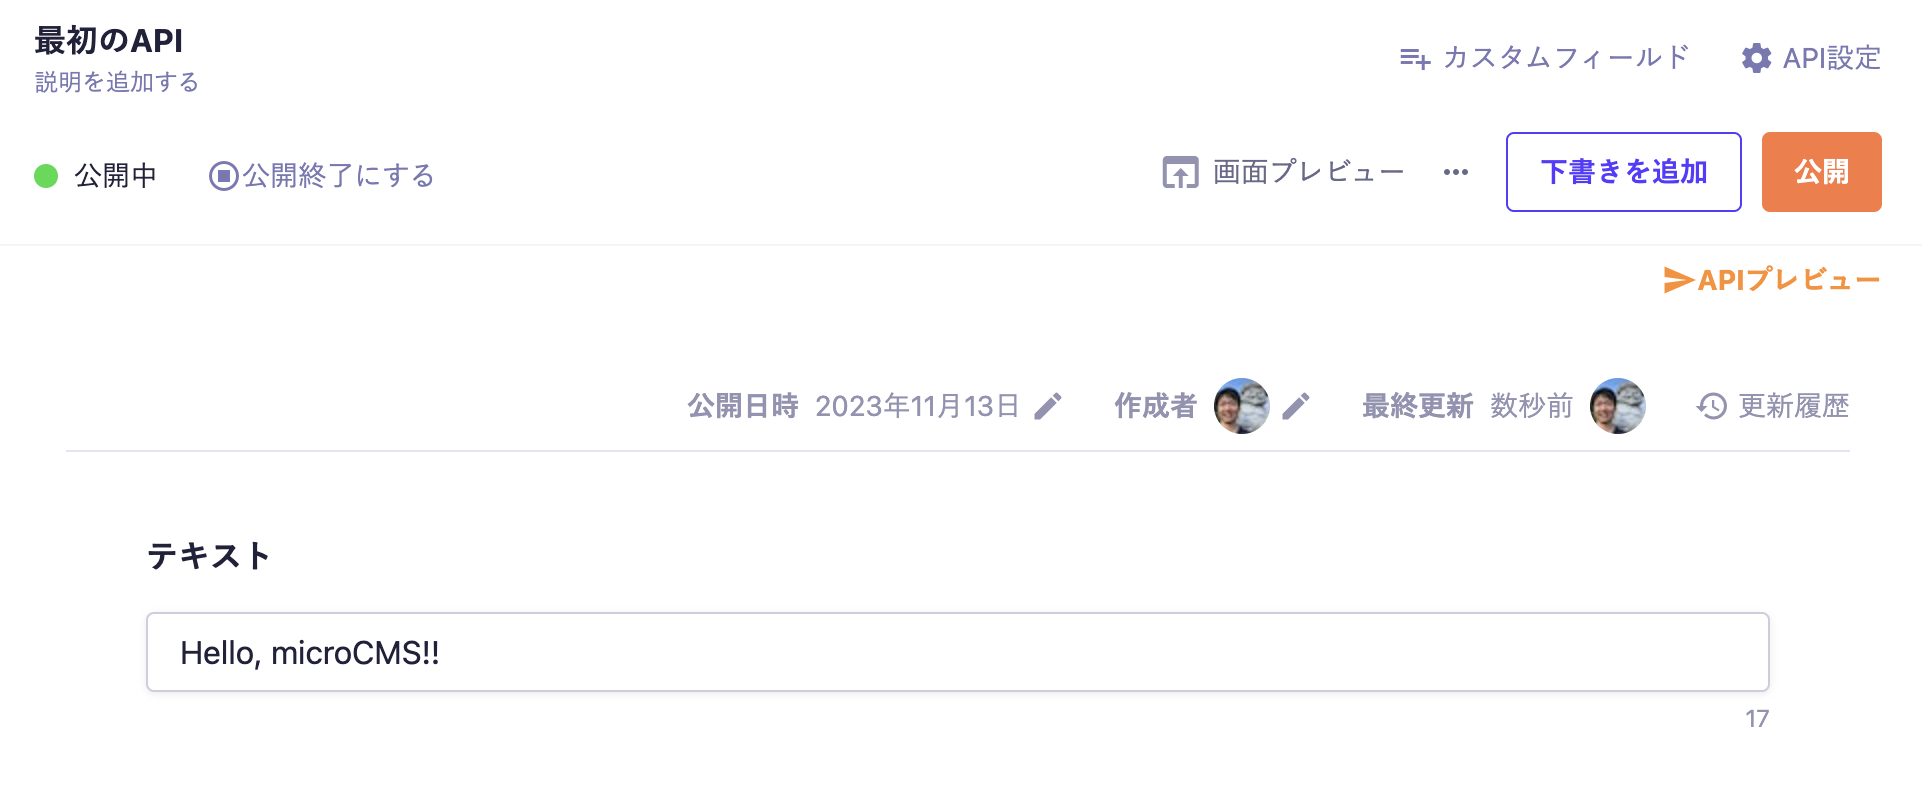
In the API creation screen, enter the desired API name and endpoint.

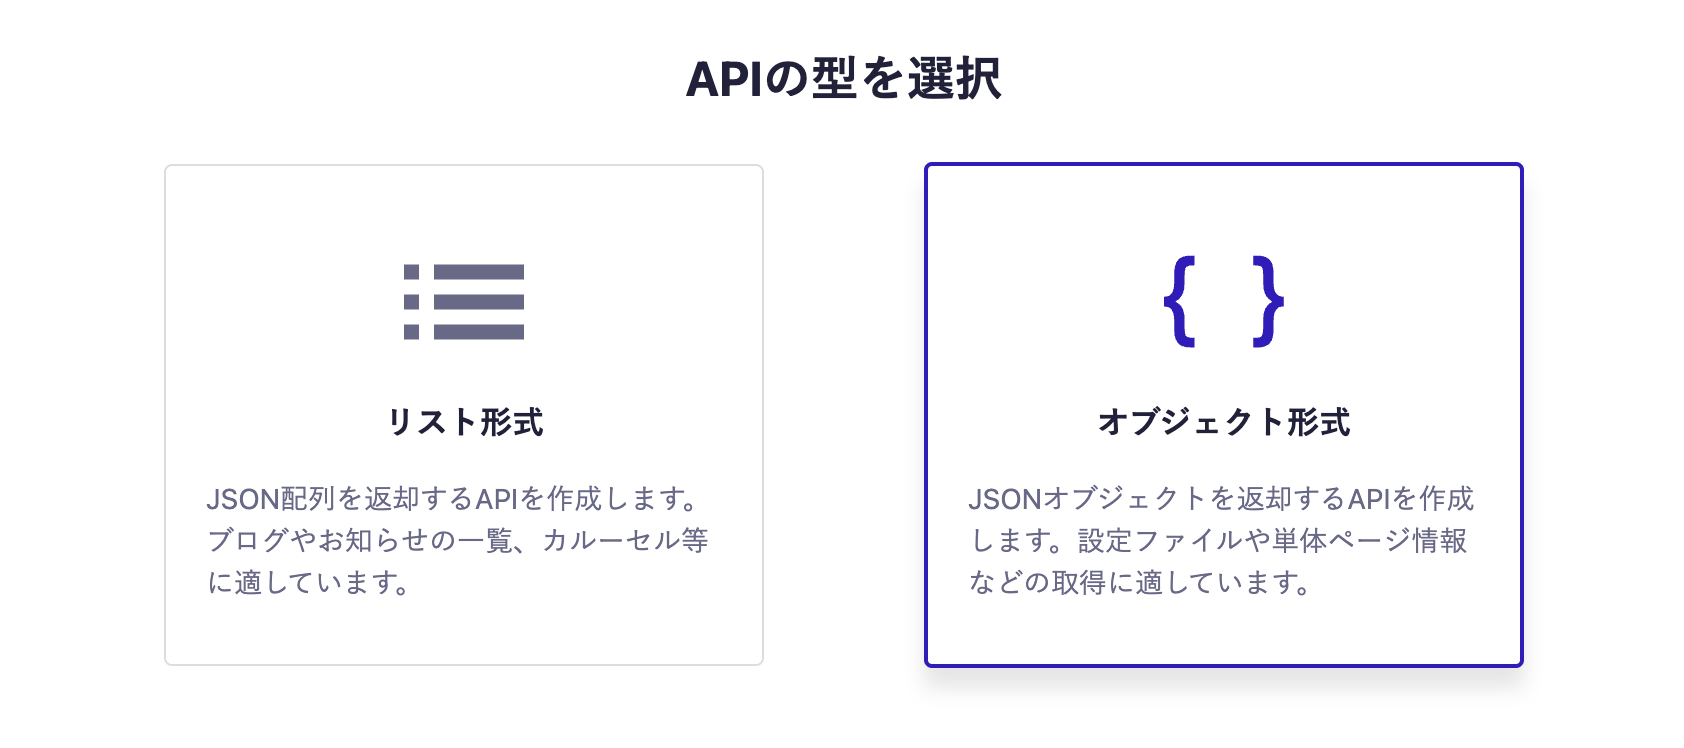
Next, select the object format.

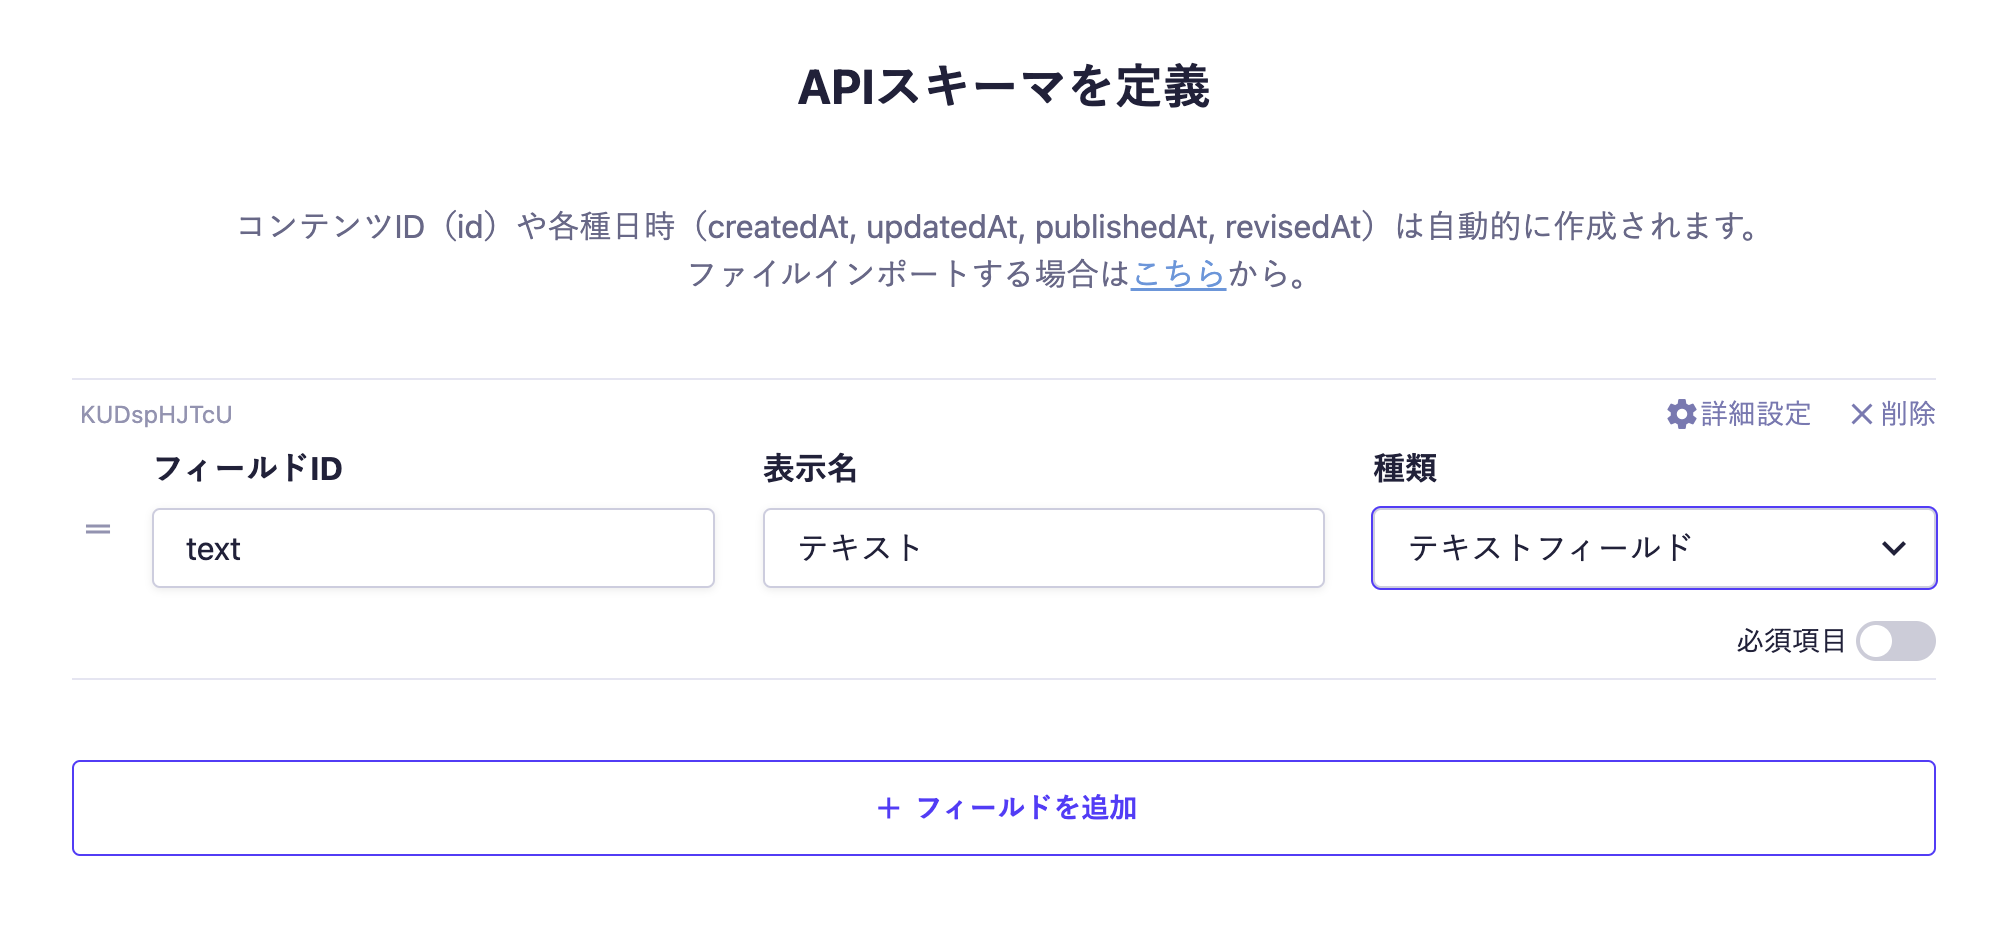
Finally, set the fields. This time, we will set only one text field.

With the above settings, the API will be created, allowing you to submit content.
Move to the editing screen, enter the desired values, and publish.

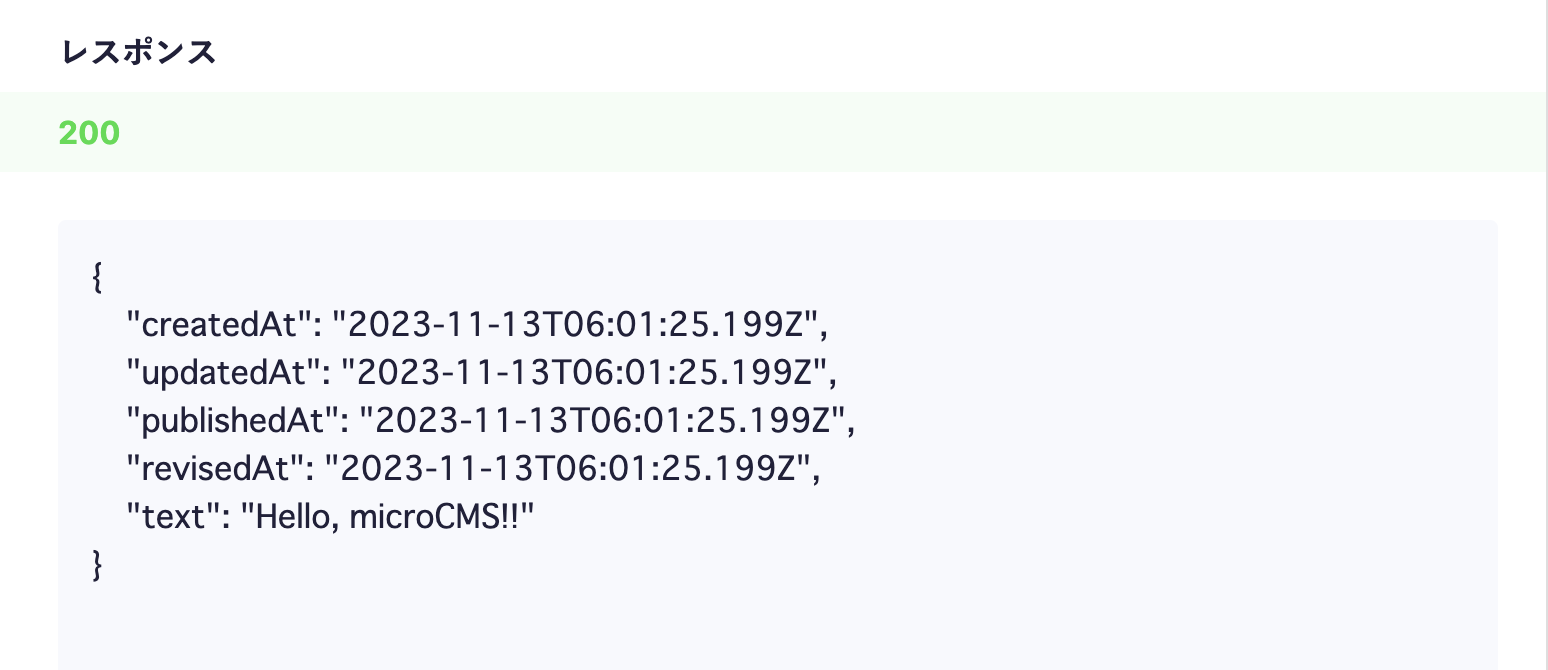
At this point, a response containing content data will be returned from the API.
Click on the API preview in the upper right corner to access the created API and confirm that a JSON response is being returned.

Android App Development
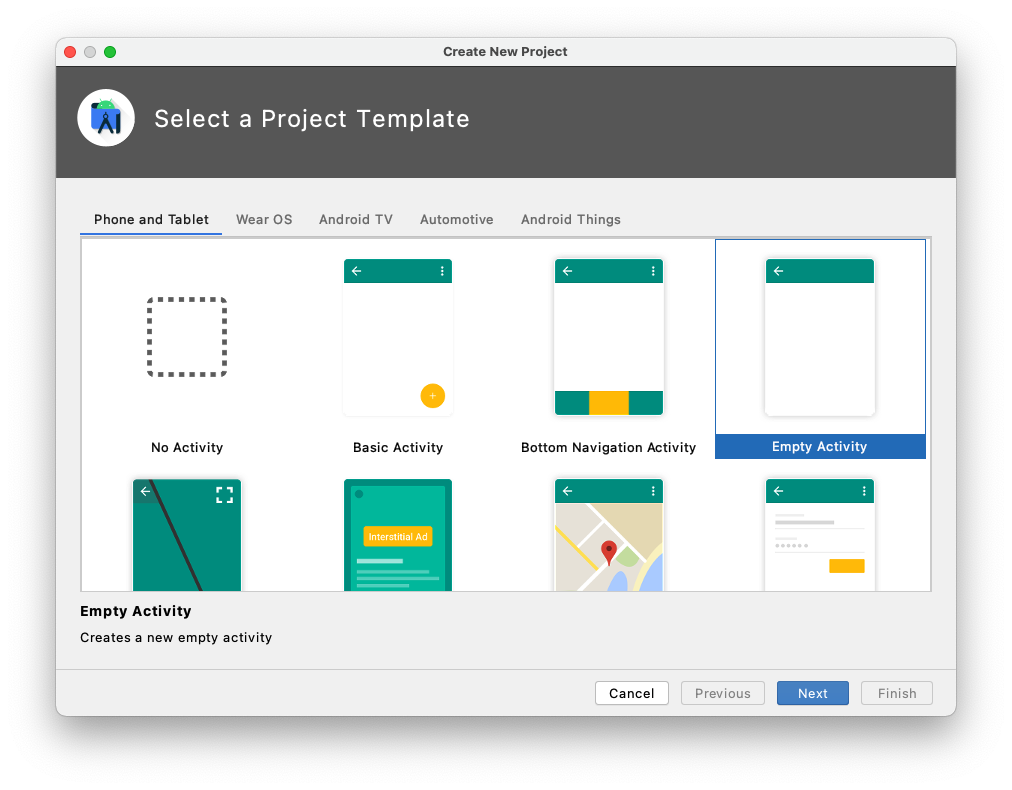
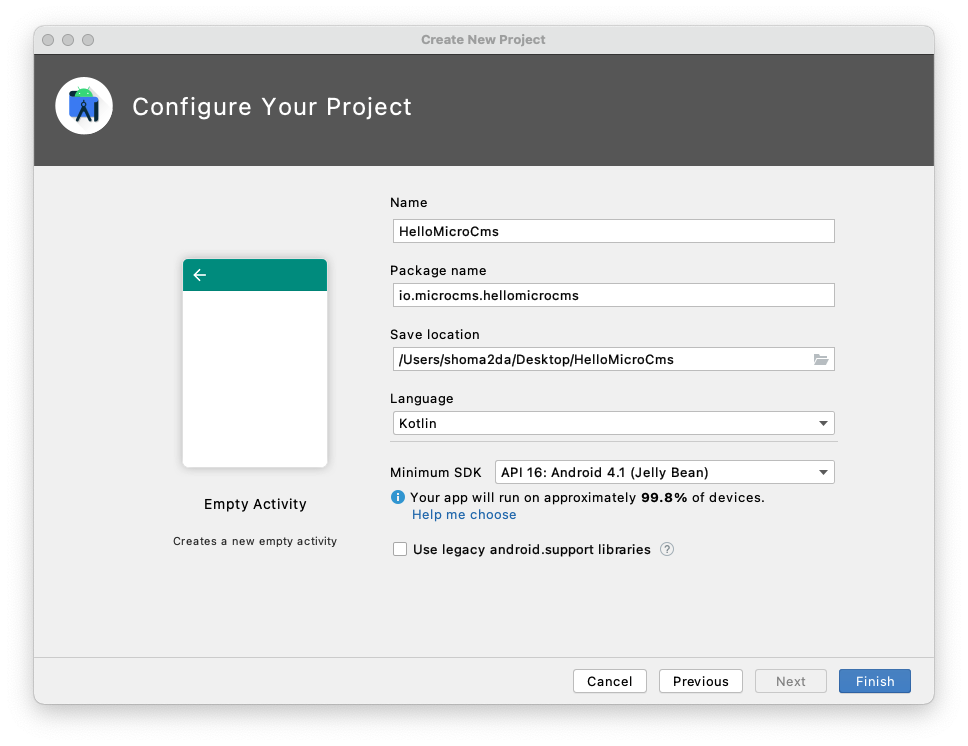
Next, we will develop the Android app.
First, create an Android project as usual. (Confirmed with Android Studio 4.1.3)
Use the "Empty Activity" template.


Loading the SDK
microcms-android-sdk is distributed via Maven Central.
Since it is not included in the default references, first add it to the root build.gradle.
buildscript {
//...
repositories {
mavenCentral() // Add this line
google()
jcenter()
}
//...
}
Next, add the dependency.
dependencies {
implementation 'io.microcms:android-sdk:2.1.0' // Add this line
//...
}
That concludes the loading of the SDK.
Fetching and Displaying Information from microCMS
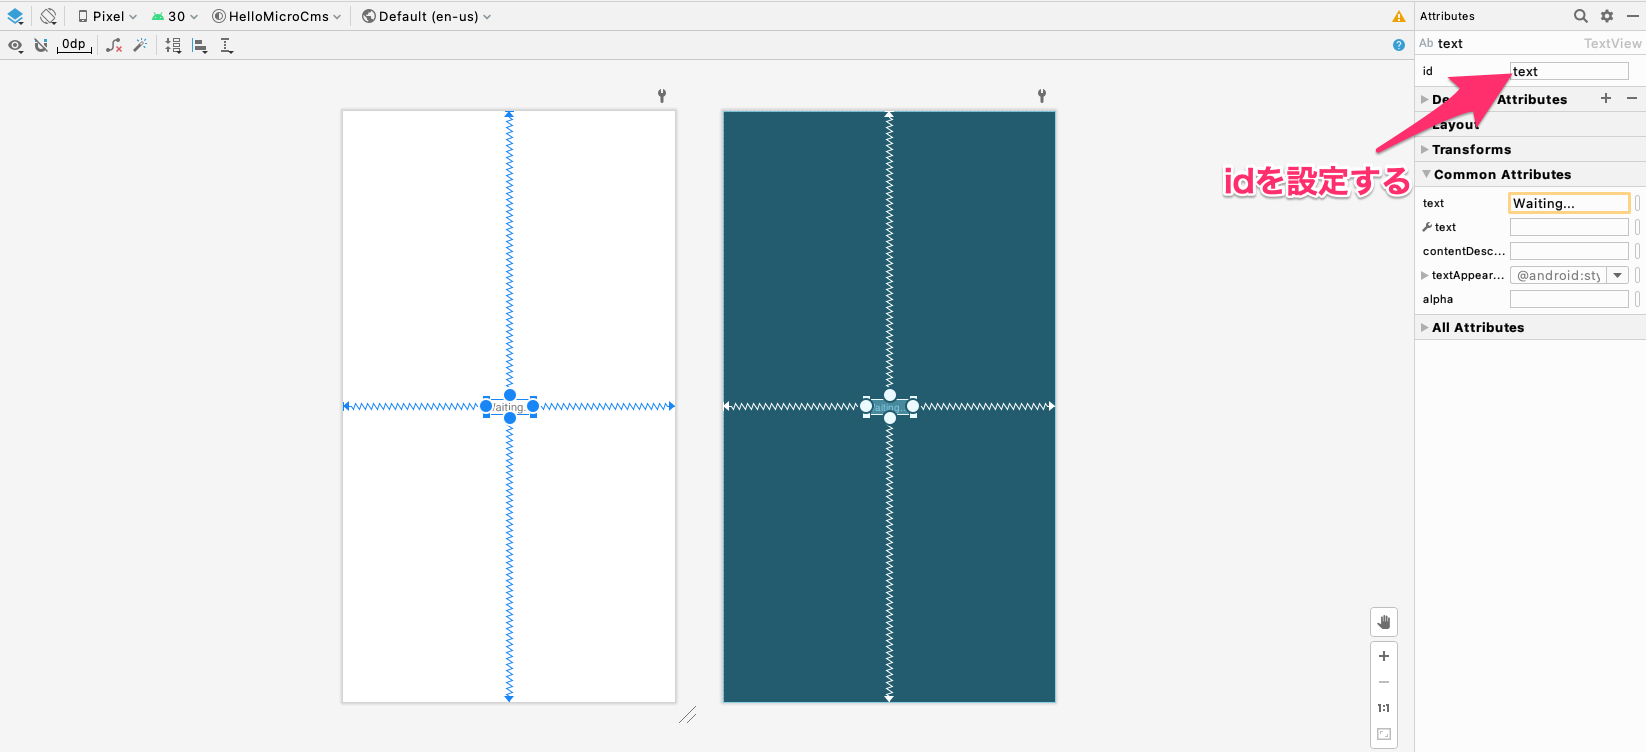
Next, we will fetch information from the microCMS API created earlier and display it on the screen.
First, let's set an id for the text that is displayed by default.

Next, edit the AndroidManifest.xml. Since communication is essential for fetching information from microCMS, we will grant the INTERNET permission.
<uses-permission android:name="android.permission.INTERNET"/>
Finally, in MainActivity.kt, we will fetch information using the SDK and display it on the screen.
import io.microcms.android.MicrocmsClient
class MainActivity : AppCompatActivity() {
override fun onCreate(savedInstanceState: Bundle?) {
super.onCreate(savedInstanceState)
setContentView(R.layout.activity_main)
// Start adding from here
val textView = findViewById<TextView>(R.id.text)
val client = MicrocmsClient("YOUR_SERVICE", "XXXXXXXX-XXXX-XXXX-XXXX-XXXXXXXXXXXX")
client.get("YOUR_ENDPOINT") { result ->
result.onSuccess { json ->
textView.text = json.getString("text")
}
}
// End adding here
}
}
When executed in this state, it will fetch the content submitted to microCMS and display it on the screen.

Please also confirm that changing the content submitted to microCMS will change what is displayed on the screen.

